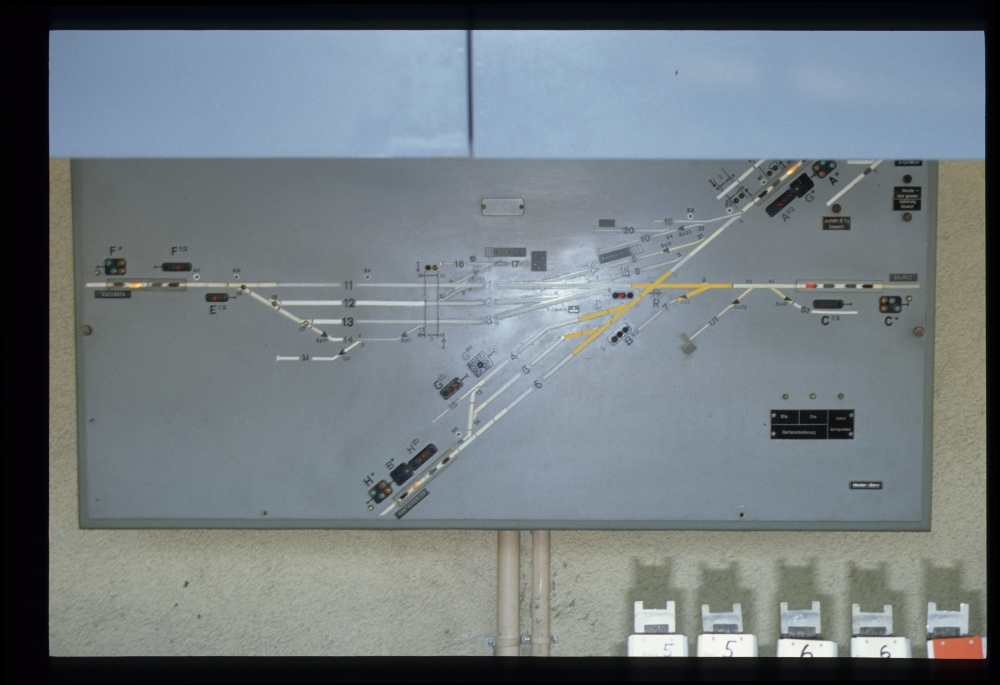
The signal box at Kerzers is preserved as a museum, thus one still can visit the interlocking apparatus shown here. My photos, however, were made when the interlocking was still controlling the points and signals of Kerzers station, where the lines of BLS and SBB cross each other.
The four lines emanating from Kerzers are
- the SBB line towards Lyss via Fräschels,
- the BLS line towards Neuchâtel via Müntschemier,
- the BLS line in the opposing direction to Bern via Ferenbalm and Gummenen
- and the SBB line towards Murten and Payerne via Galmiz.

In addition to the typical routes entering and leaving the station, Kerzers also allowed a train to leave the goods track 14. Moreover, it was possible to leave and enter the SBB track towards and from the BLS line to Ferenbalm, presumably so that goods trains could reach the part of the station with the goods shed without too much zig-zagging:
- From Müntschemier into 6,5,4
- To Müntschemier from 6,5,4
- From Fraeschels into 3,2,1
- To Fraeschels from 3,2,1
- To Fraeschels from 14
- To Galmiz from 3,2,1
- To Galmiz from 3,2,1
- To Ferenbalm from 1
- To Ferenbalm from 6,5,4
- From Ferenbalm into 1
- From Ferenbalm into 6,5,4
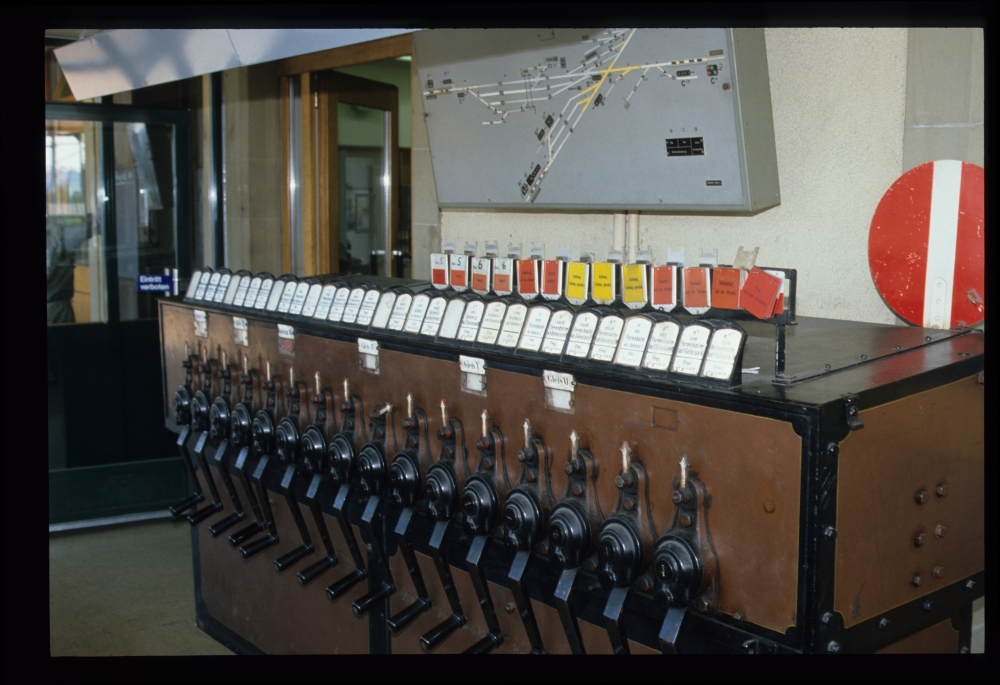
Command frame, traffic bureau, Kerzers, 18.8.1988
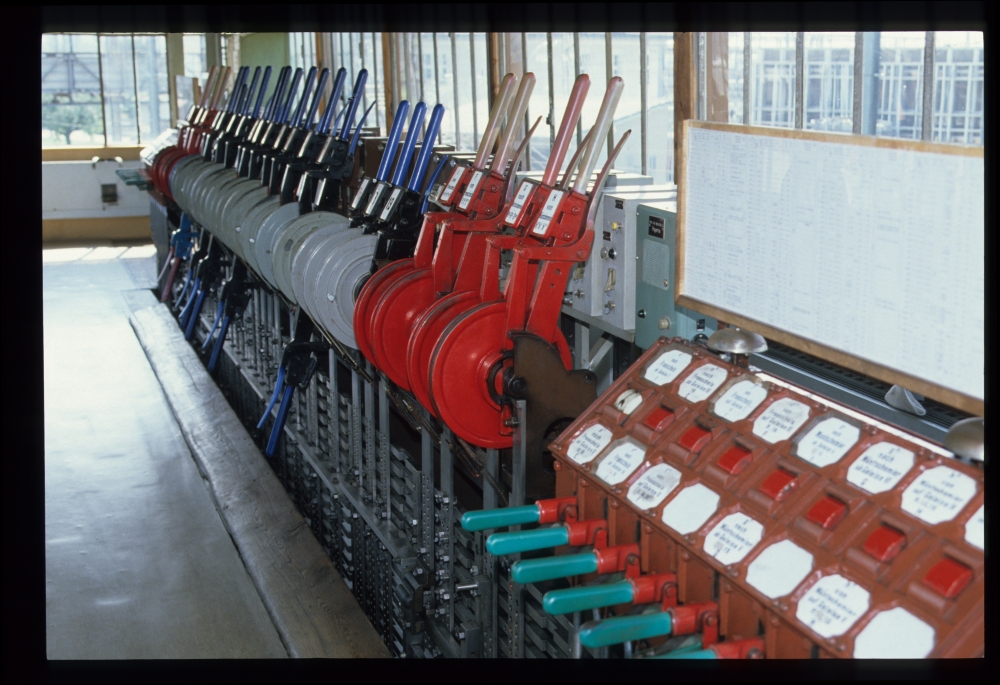
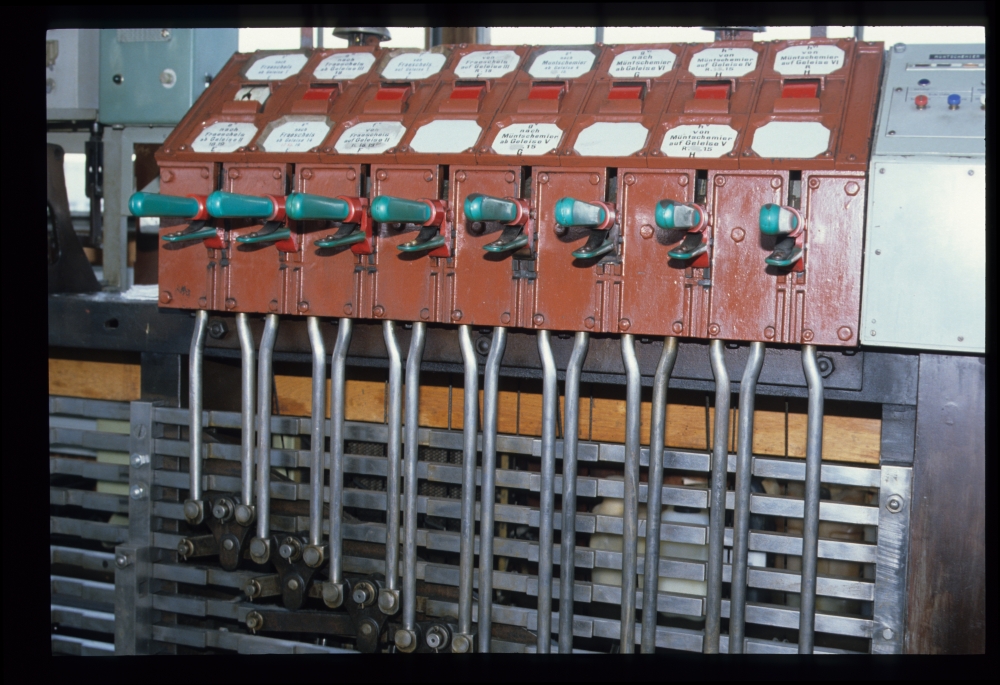
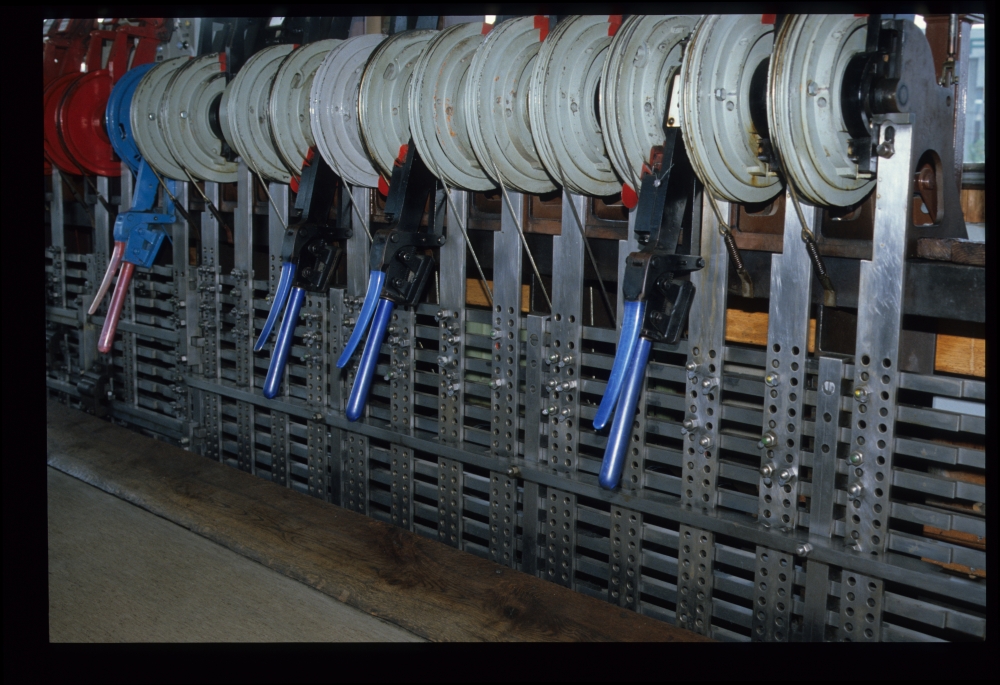
The following pictures show the command frame with the route set from track 3 towards Galmiz:
Command frame, traffic bureau, Kerzers, 18.8.1988
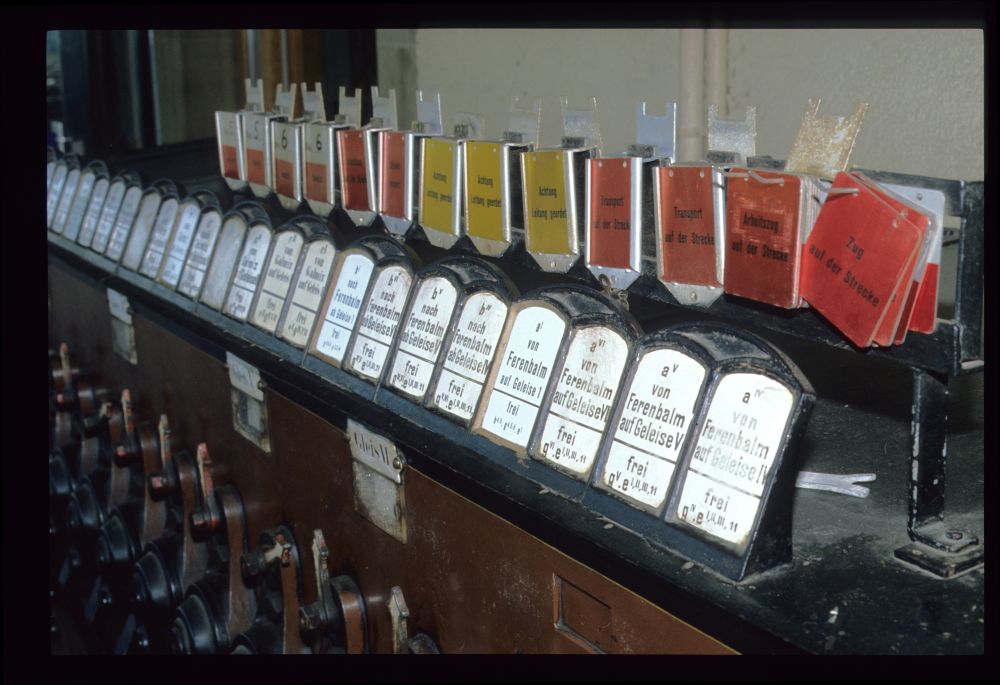
Command frame, traffic bureau, Kerzers, 18.8.1988
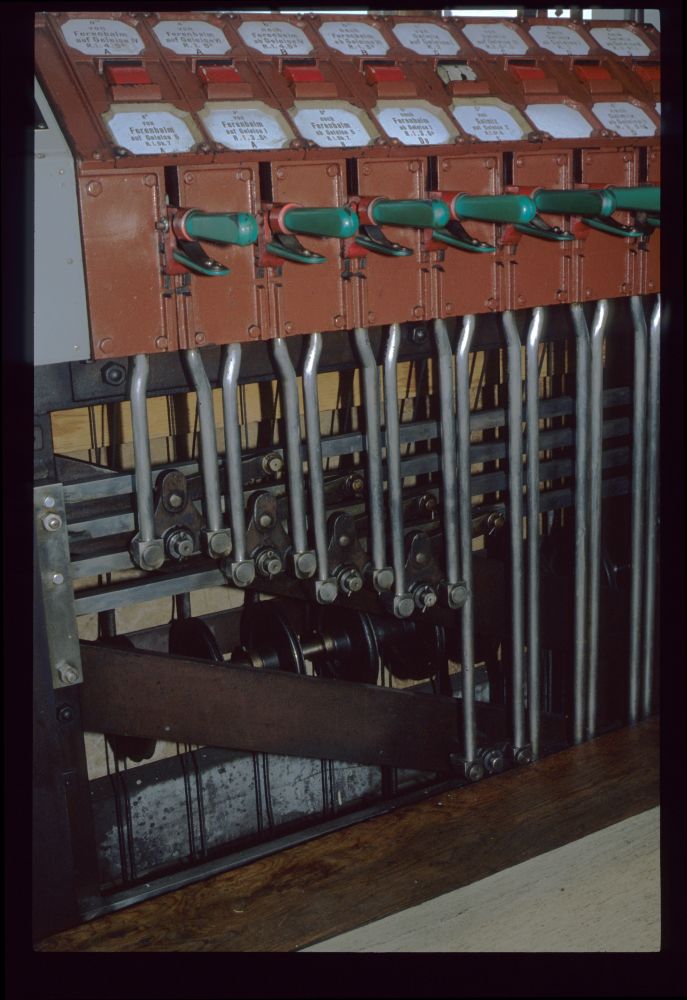
A somewhat "artistic" picture of all the route cranks:
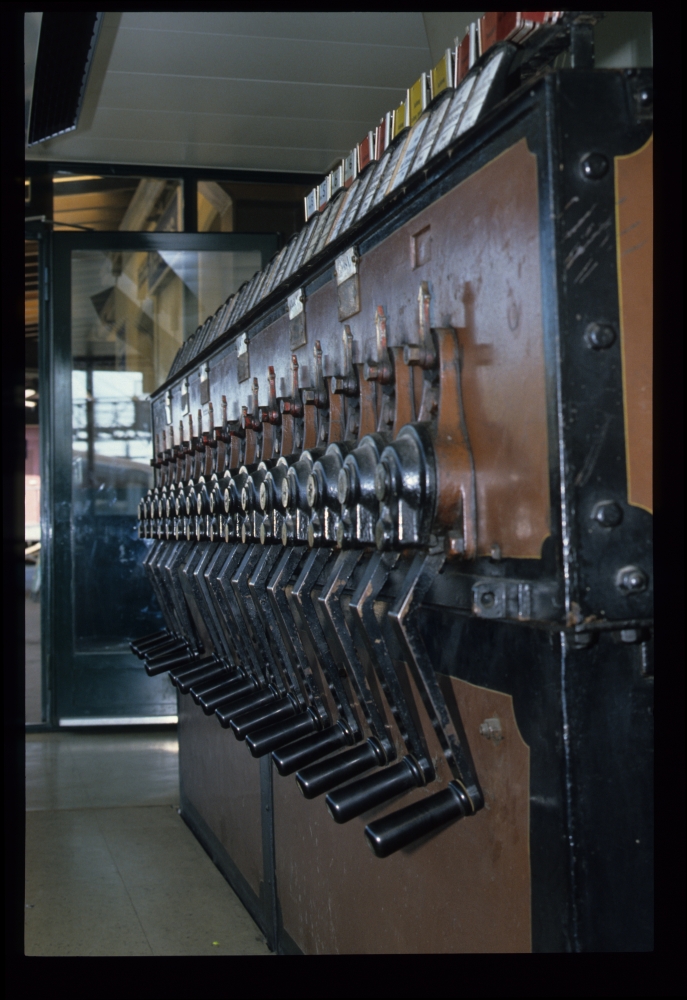
Command frame, traffic bureau, Kerzers, 18.8.1988
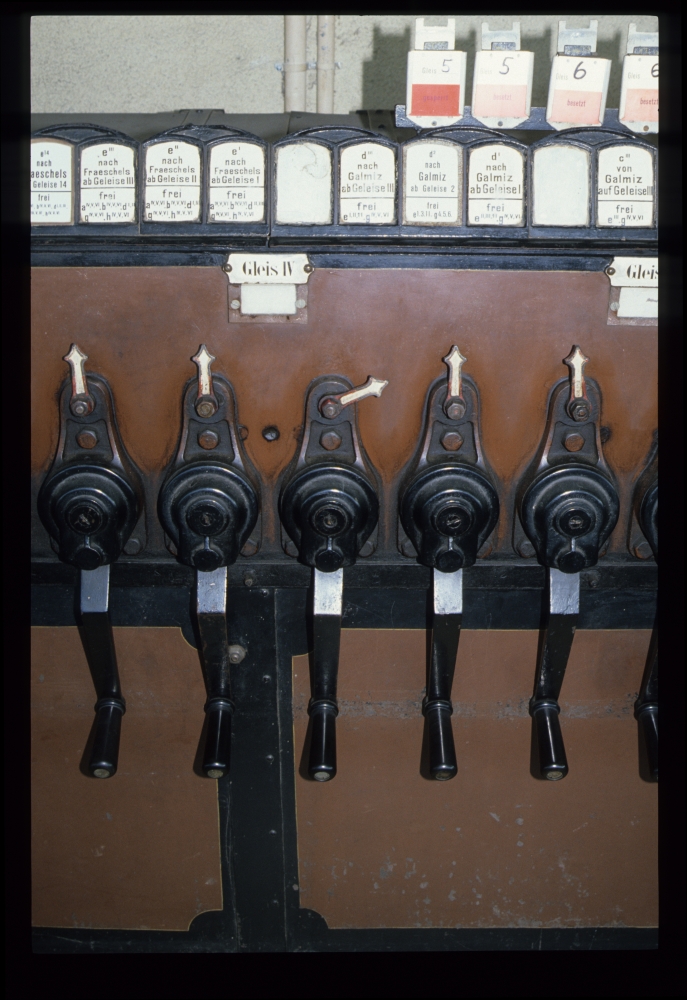
The track panel, which contains the signal indicators, is a later addition to this original Schnabel&Henning frame:
Track panel with signal indicators, traffic bureau, Kerzers, 18.8.1988
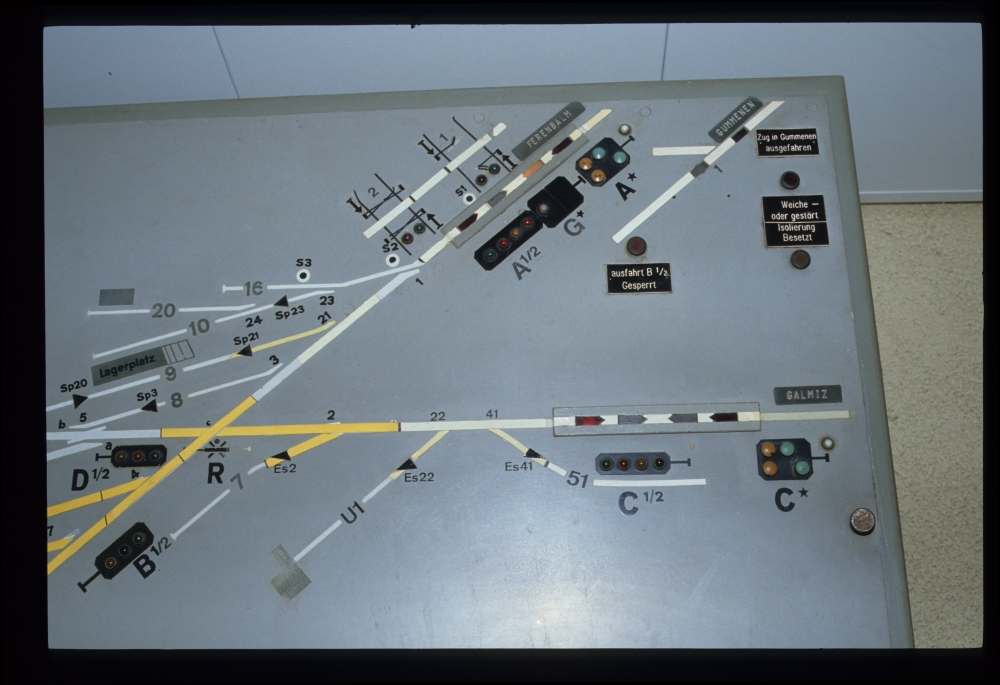
Detail of track panel, Kerzers, 18.8.1988
Something was improved on the outside of the signal box—new lamps, new paint, new something else?
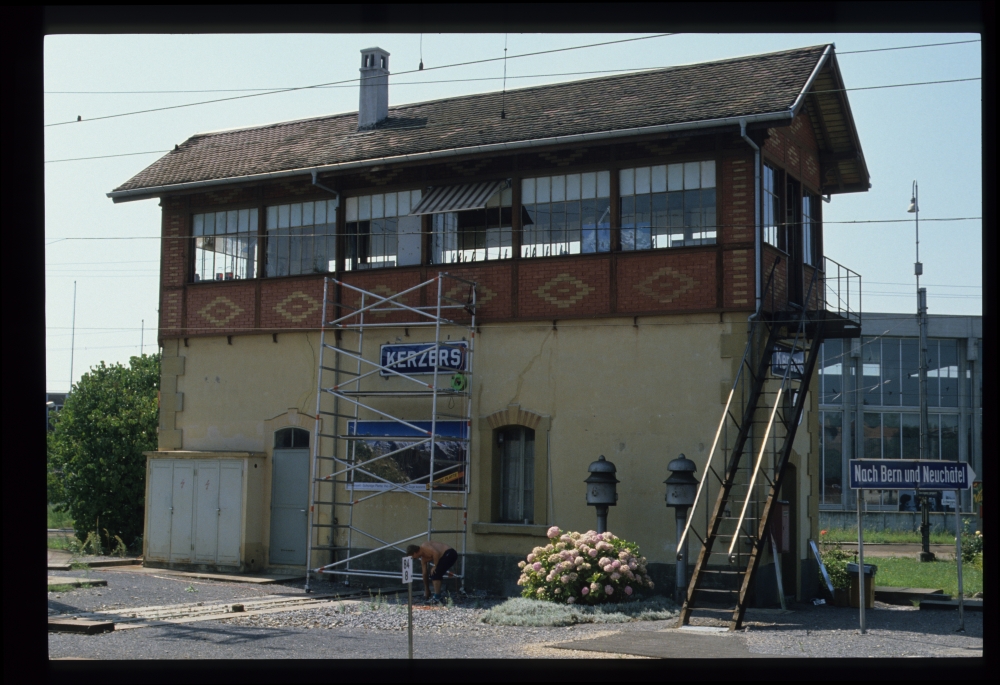
Signal box, Kerzers, 18.8.1988
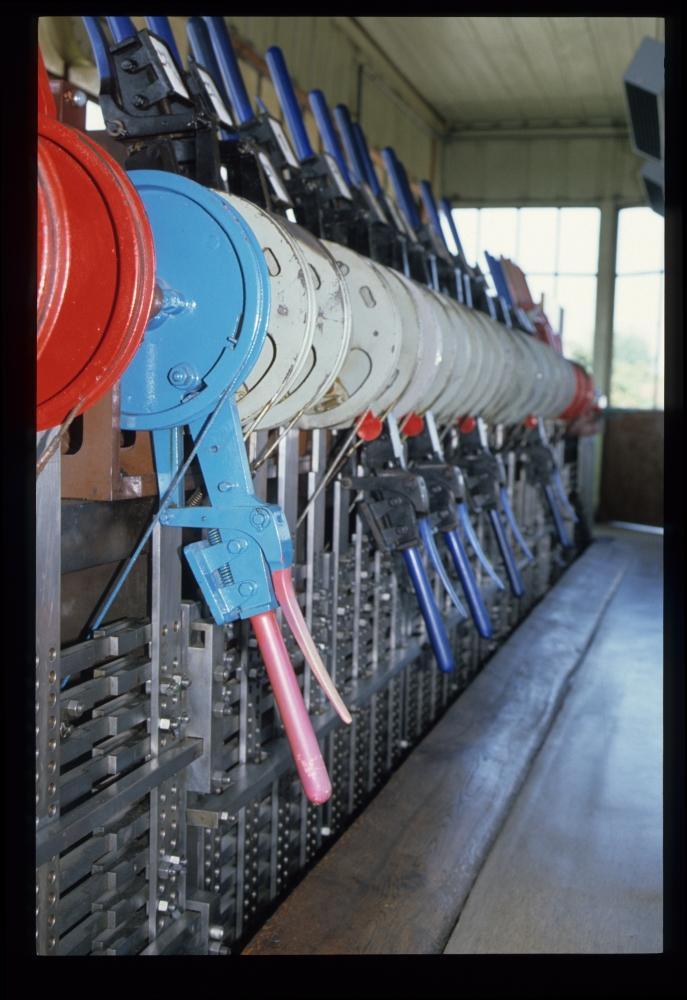
Here is a picture of the complete interlocking frame inside the signal box. On the left and the right are the route releases (which are moved via the cranks in the traffic bureau), in between are the points and signal levers. On the very left and right, line block operation panels had been added later:
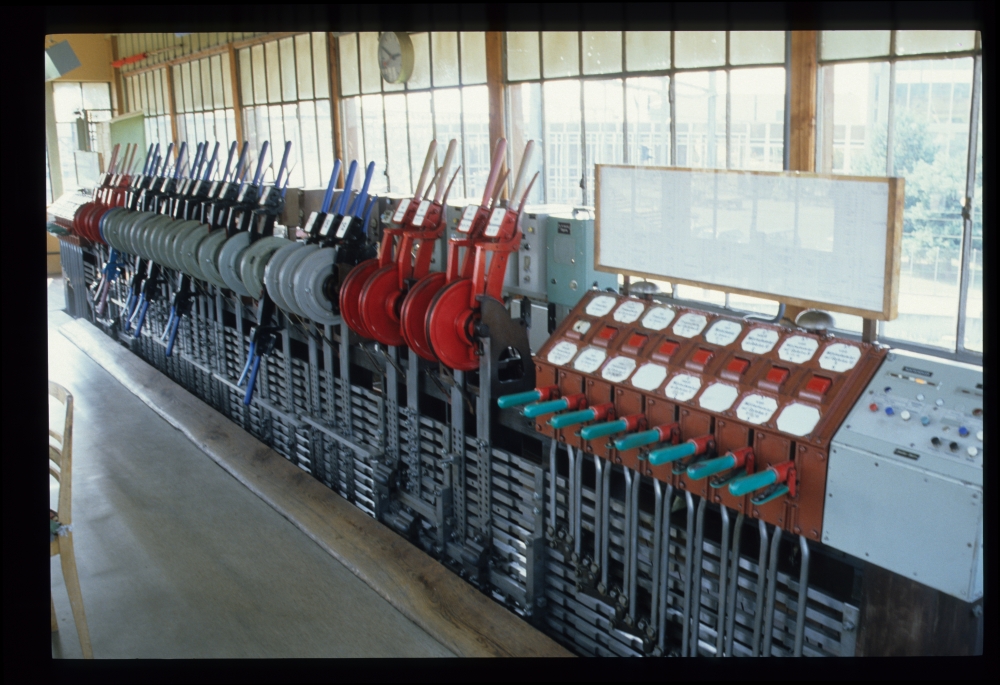
Lever frame, Kerzers, 18.8.1988
The original builder's plate from Bruchsal does not show a year—according to the website of the preservation group, the frame was built in 1896:
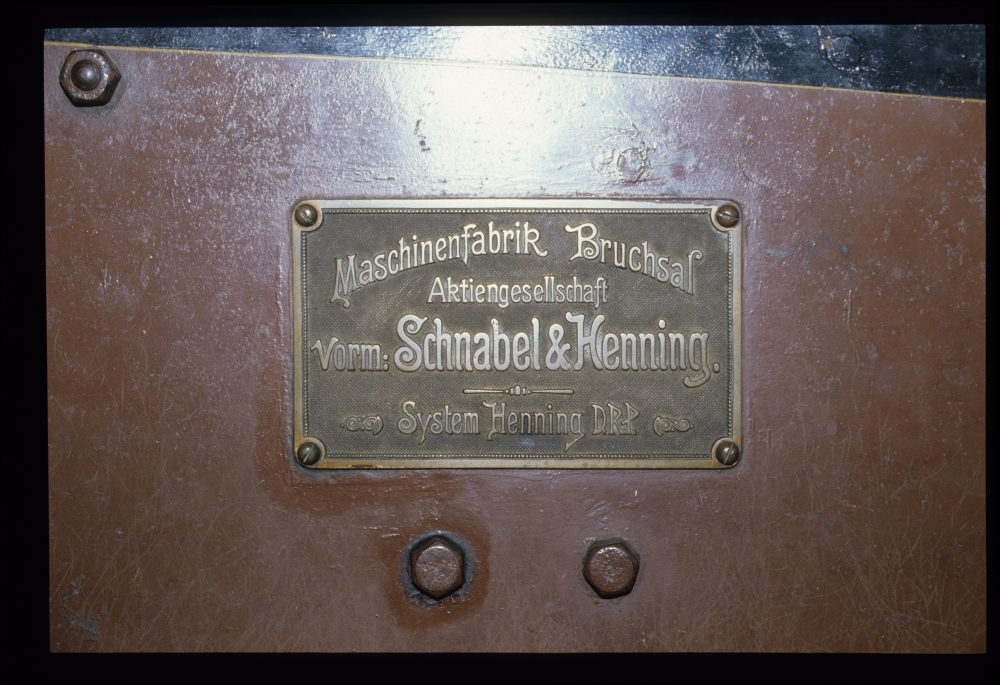
Builder's plate, Kerzers, 18.8.1988
The signal levers are still in place, however, because the station had been resignalled with light signals, their wheels are wound by brake bands, and the signals change their positions via electrical contacts:
Lever frame, Kerzers, 18.8.1988
On the right route release, one can see the turned route wheel for an outgoing route from track 1 towards Fräschels:
Route levers, Kerzers, 18.8.1988
Some points had been converted to electrical points machines—this can be inferred from the brake bands around some points levers. The leftmost, blue lever moves the shunting signal R, which guards the intersection of the two lines:
Points levers and locking bed, Kerzers, 18.8.1988
Here is an image of the lever frame taken from the opposite side:

Lever frame, Kerzers, 18.8.1988
Behind the route levers, one can see the steel wire lines running to the command frame in the traffic bureau:
Route levers, Kerzers, 18.8.1988
Here is a picture of the line block panel for the lines to the south:
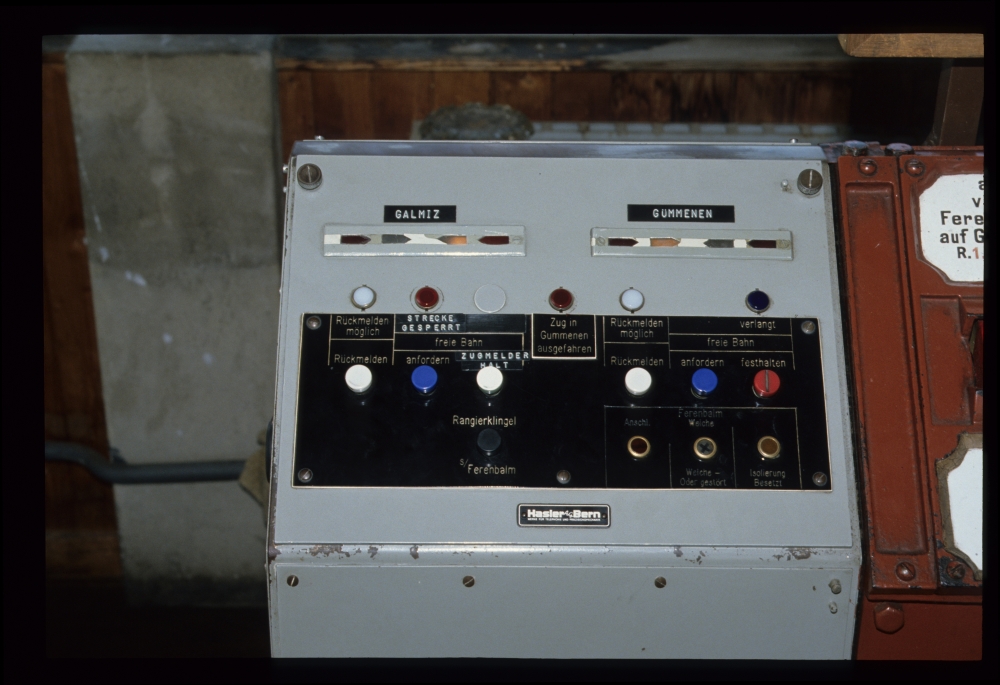
Line block panel for lines towards Galmiz and Gümmenen, Kerzers, 18.8.1988
The front lever is, once more, the shunting signal lever:
Levers and locking bed, Kerzers, 18.8.1988
At last, here is a small panel for monitoring barriers around Kerzers:
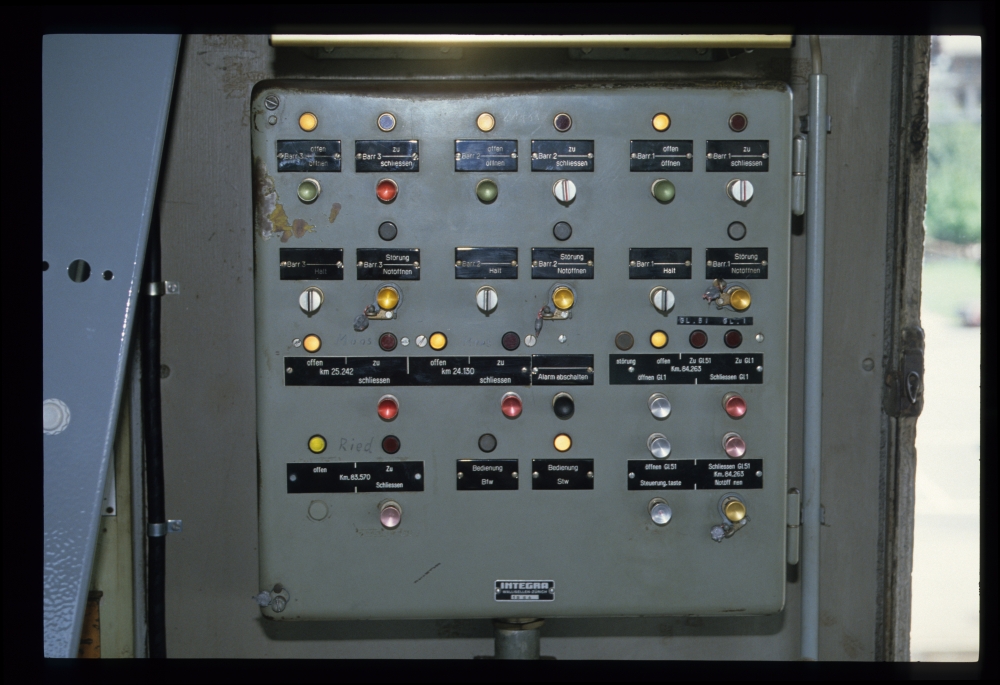
Barrier control panel, Kerzers, 18.8.1988
In this view of the station building, one can see on the right hand the traffic bureau with the large command frame:
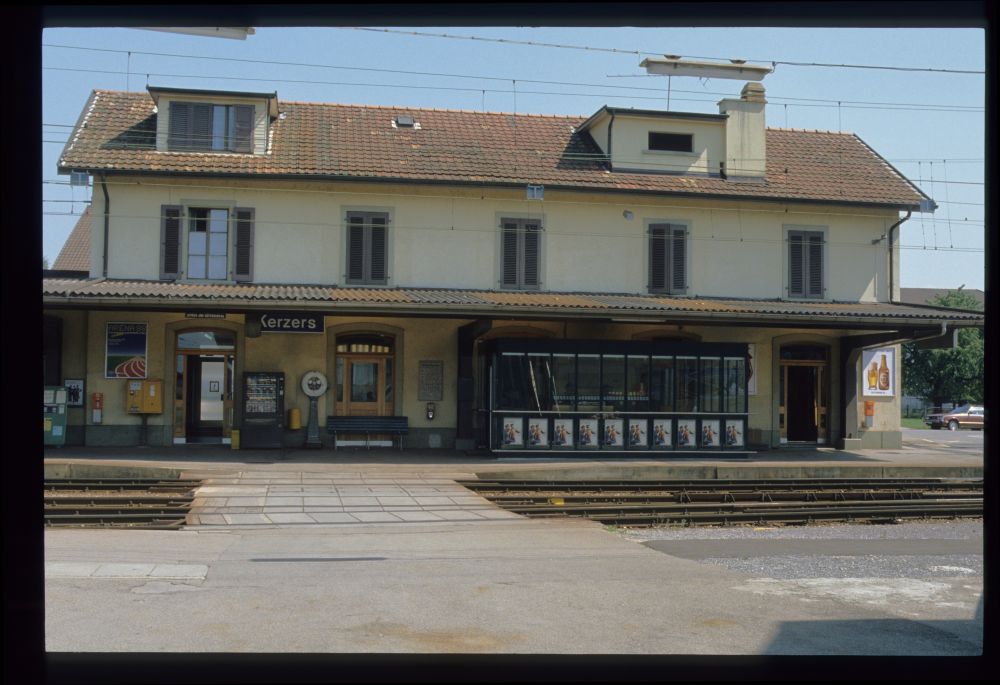
Station building, Kerzers, 18.8.1988
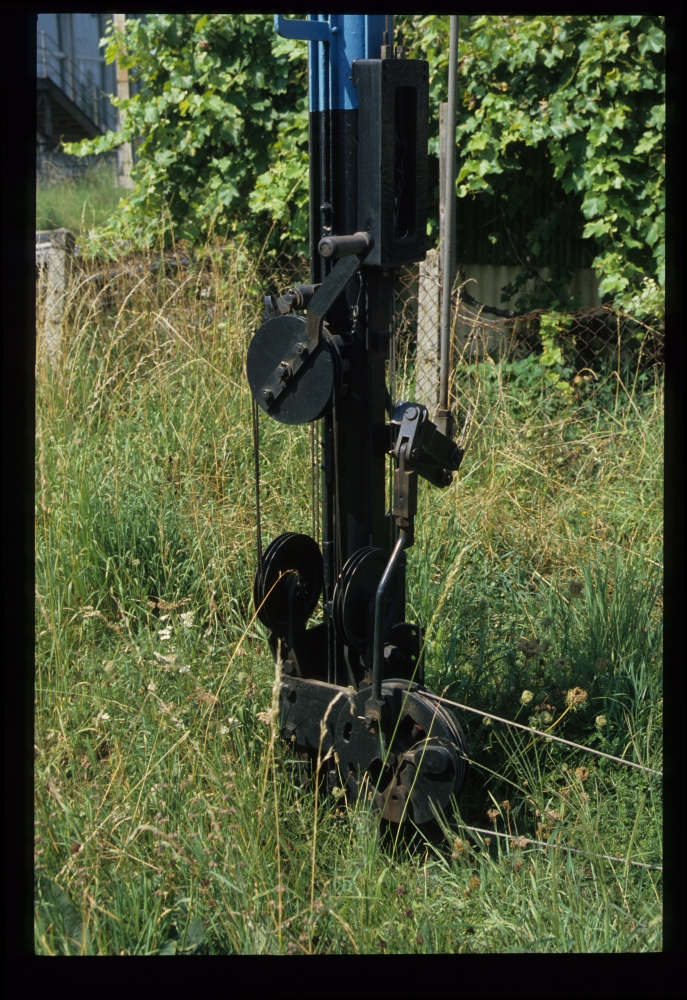
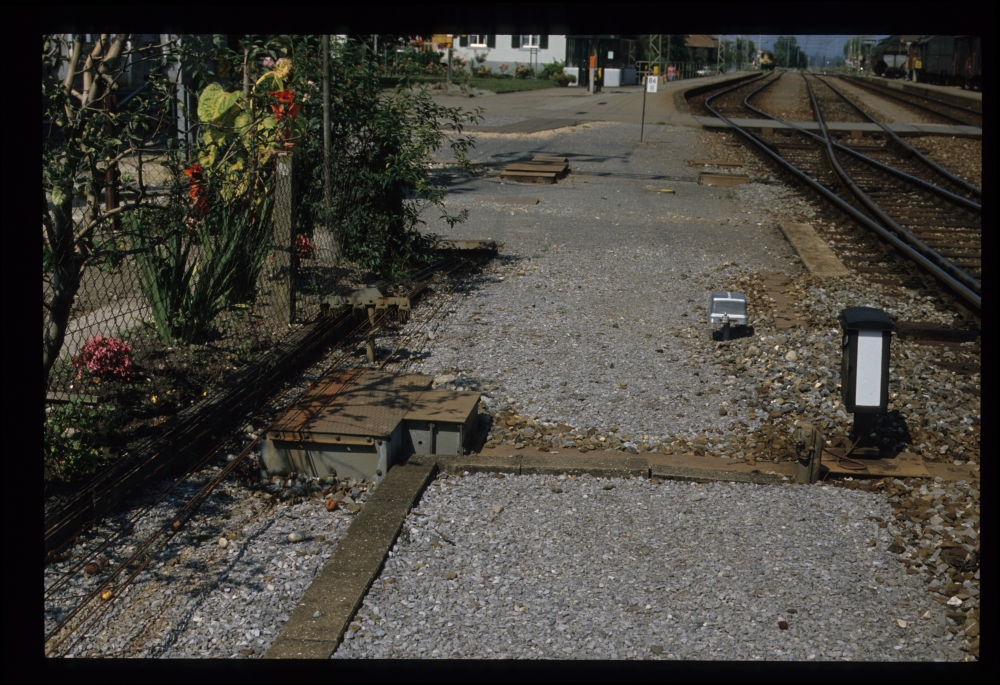
Outside, I took a few pictures of points and signals:
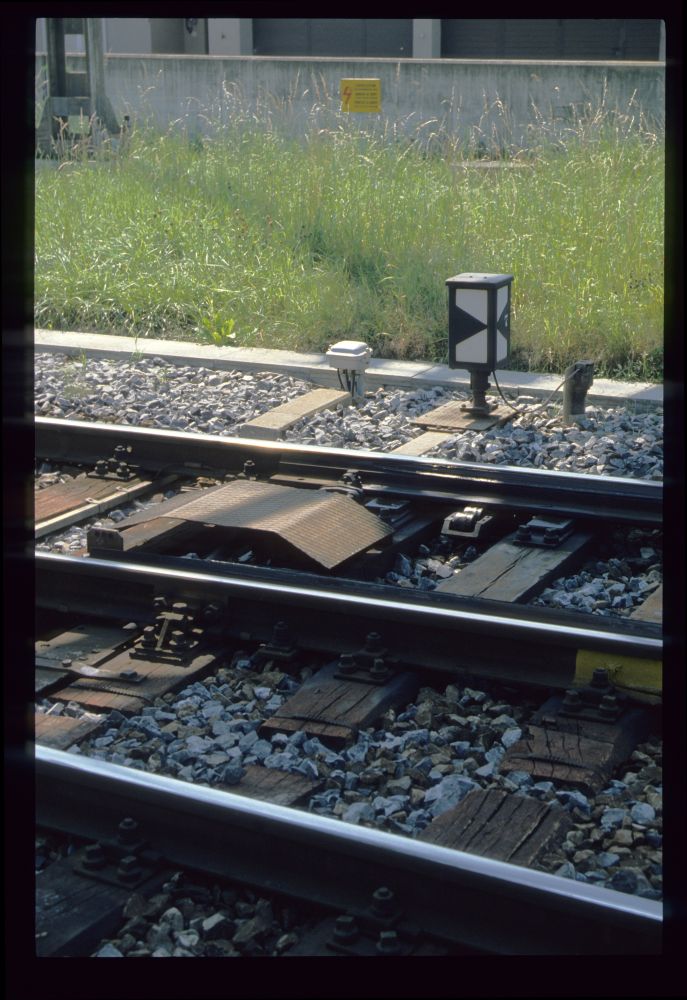
Points no.7, Kerzers, 18.8.1988
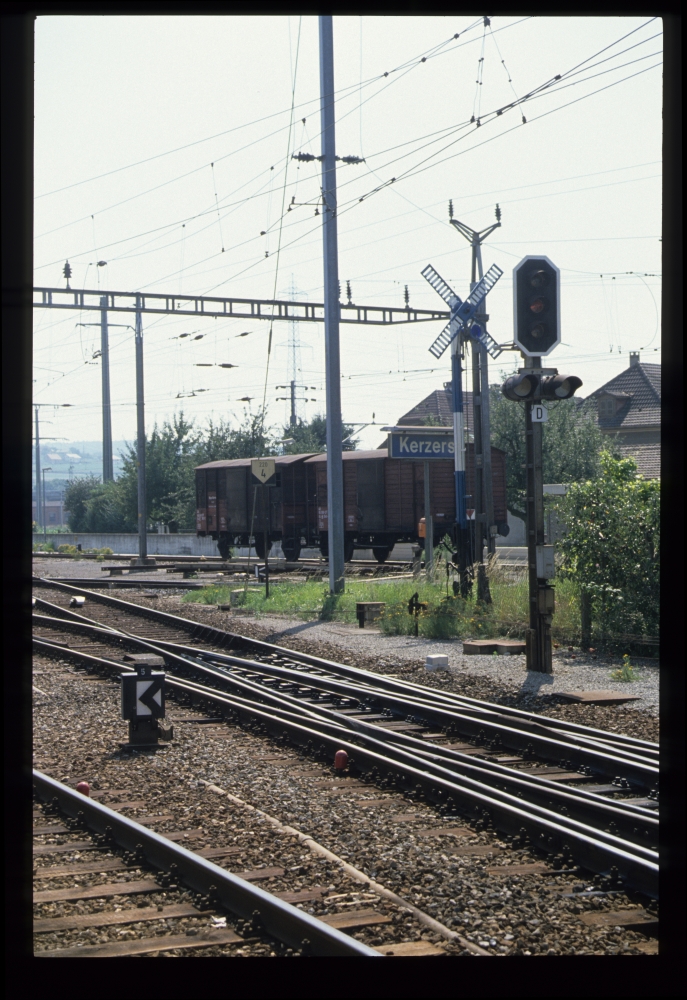
The intersection ("diamond") of the two main tracks:
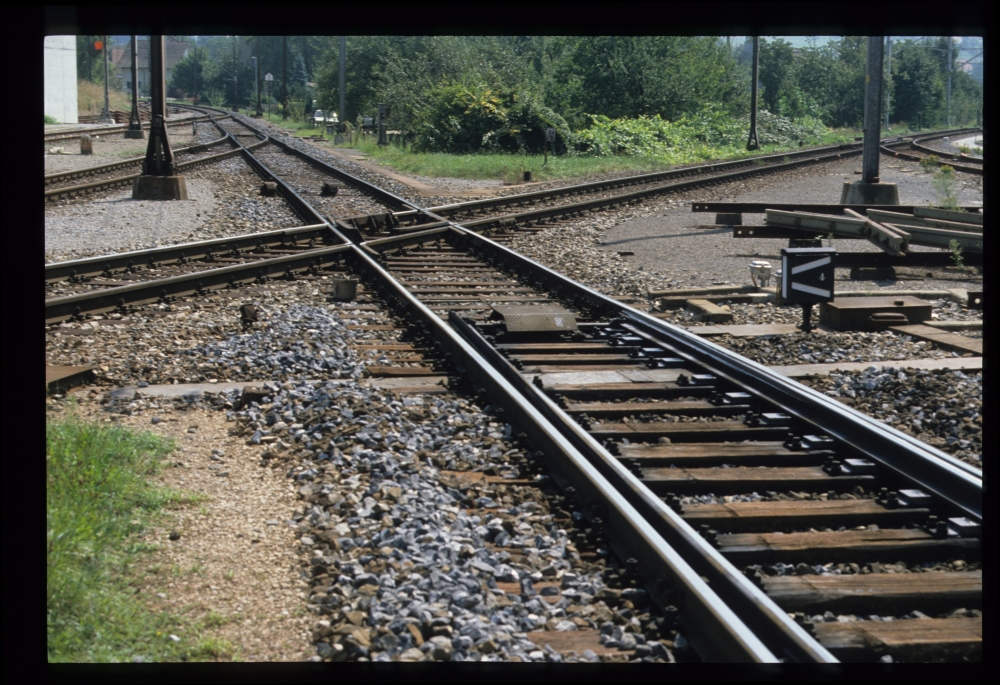
Intersection, Kerzers, 18.8.1988
Shunting signal R, Kerzers, 18.8.1988
Shunting signal R, Kerzers, 18.8.1988
Starting signal D and shunting signal R, Kerzers, 18.8.1988
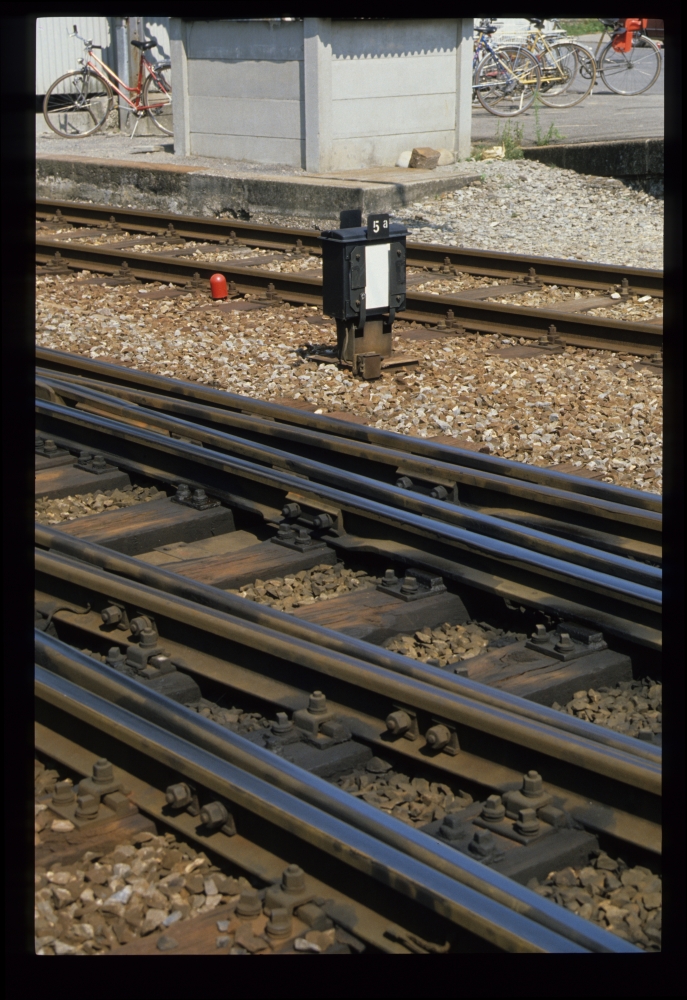
Double slip points no.5, Kerzers, 18.8.1988
Double wire lines, Kerzers, 18.8.1988
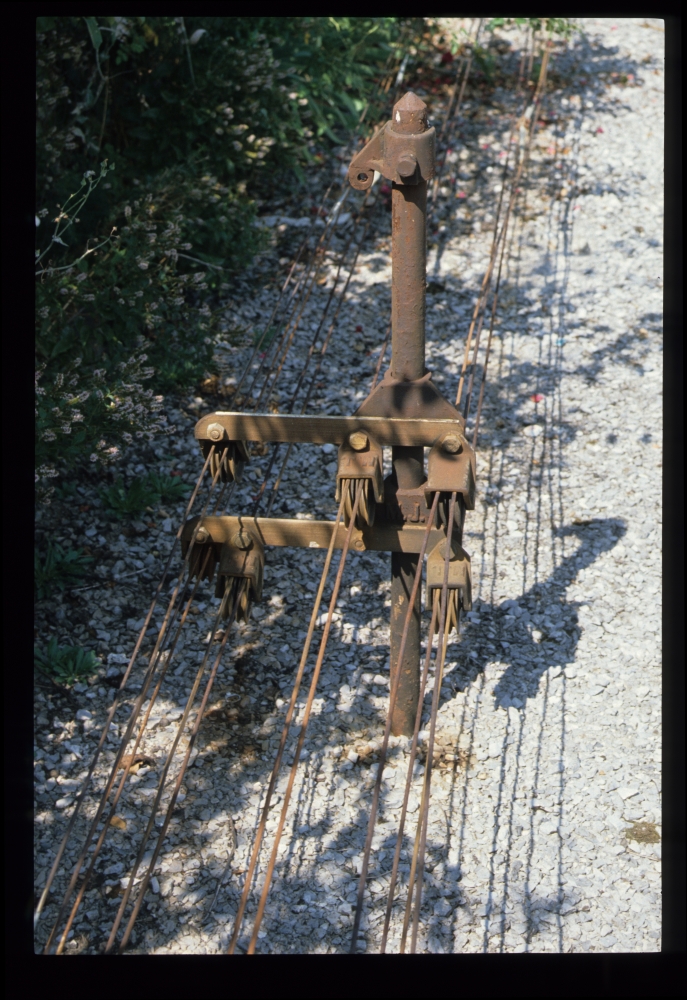
Points linkage, Kerzers, 18.8.1988
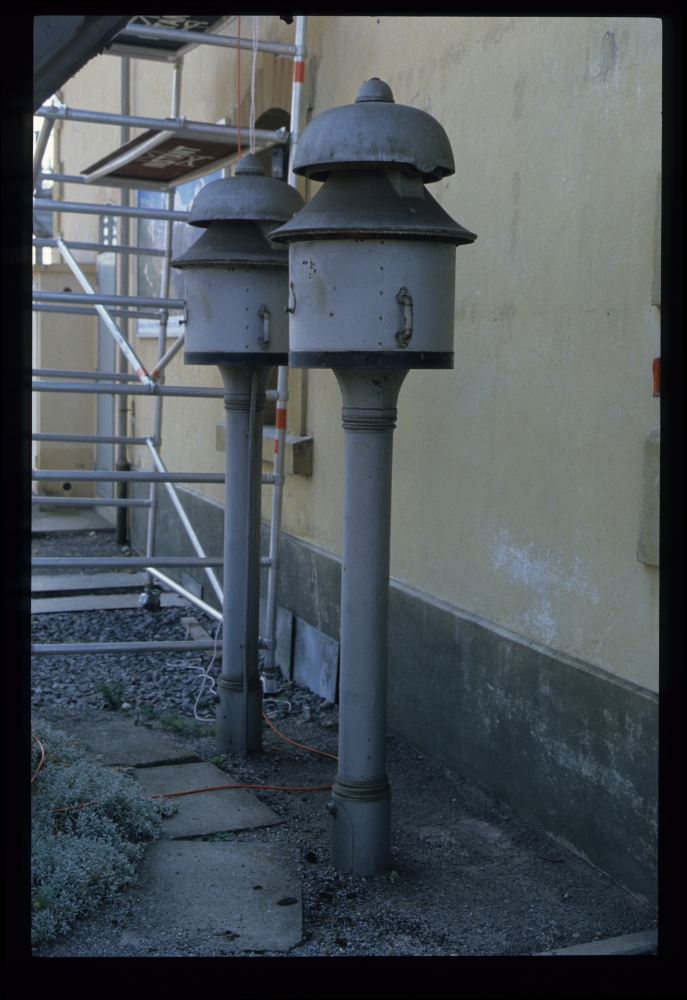
Bells, Kerzers, 18.8.1988
And finally, here is a picture of the two hard-working workmen:
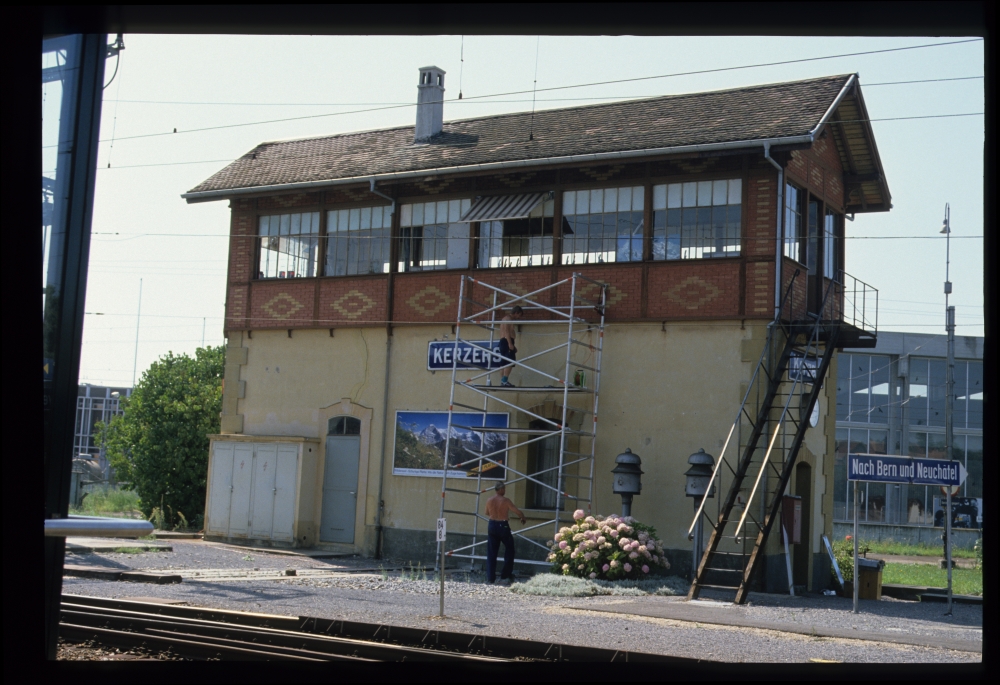
Signal box, Kerzers, 18.8.1988
No comments:
Post a Comment