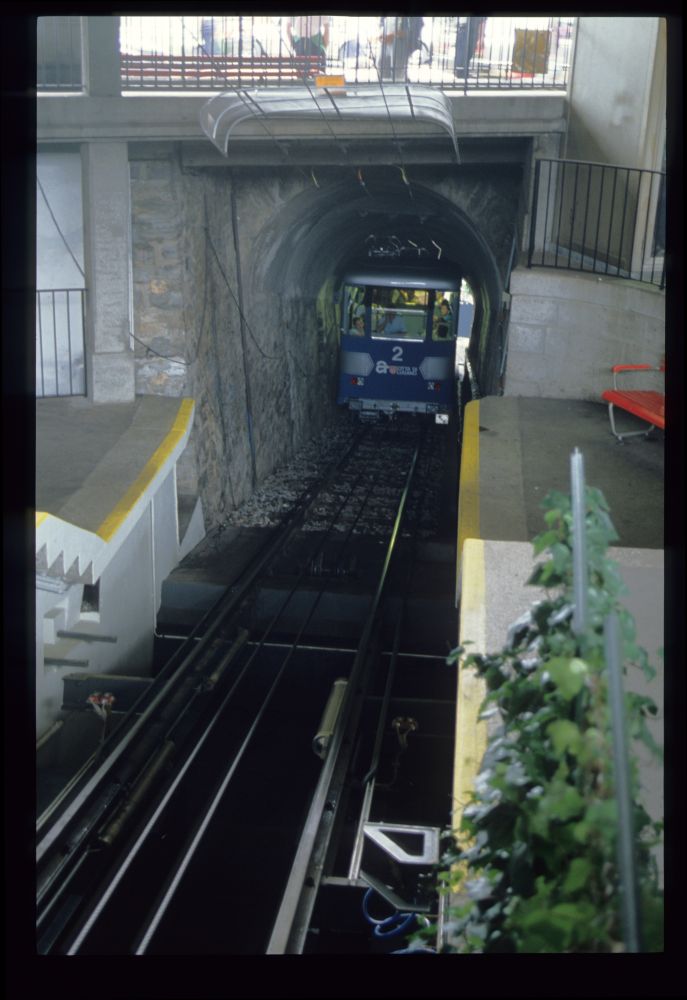
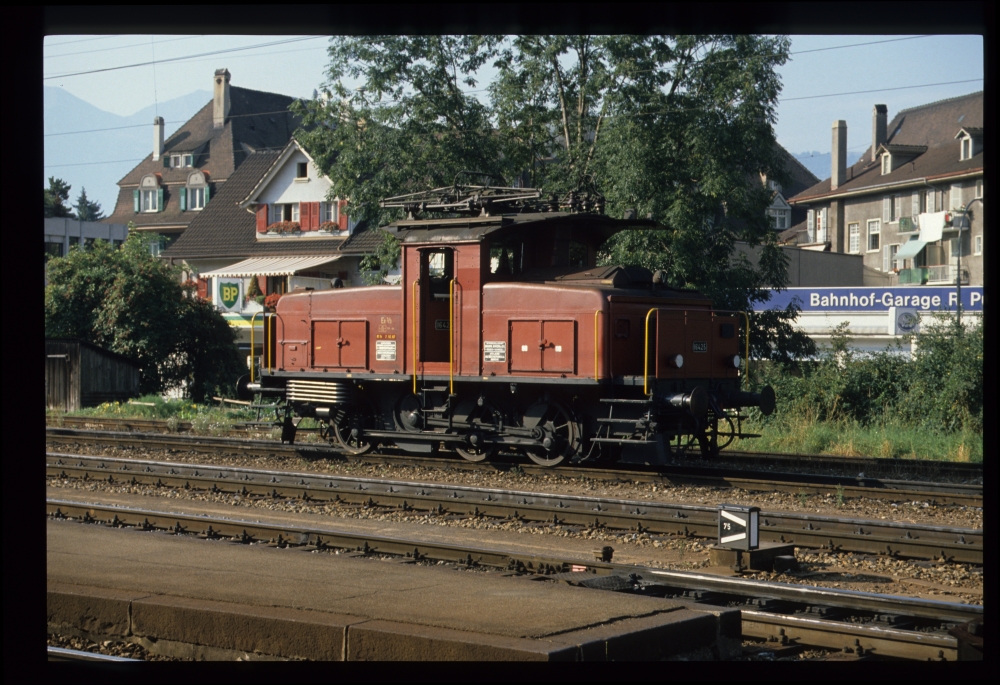
The following picture of a "tractor" (a small switching locomotive) is, unfortunately, too dark:
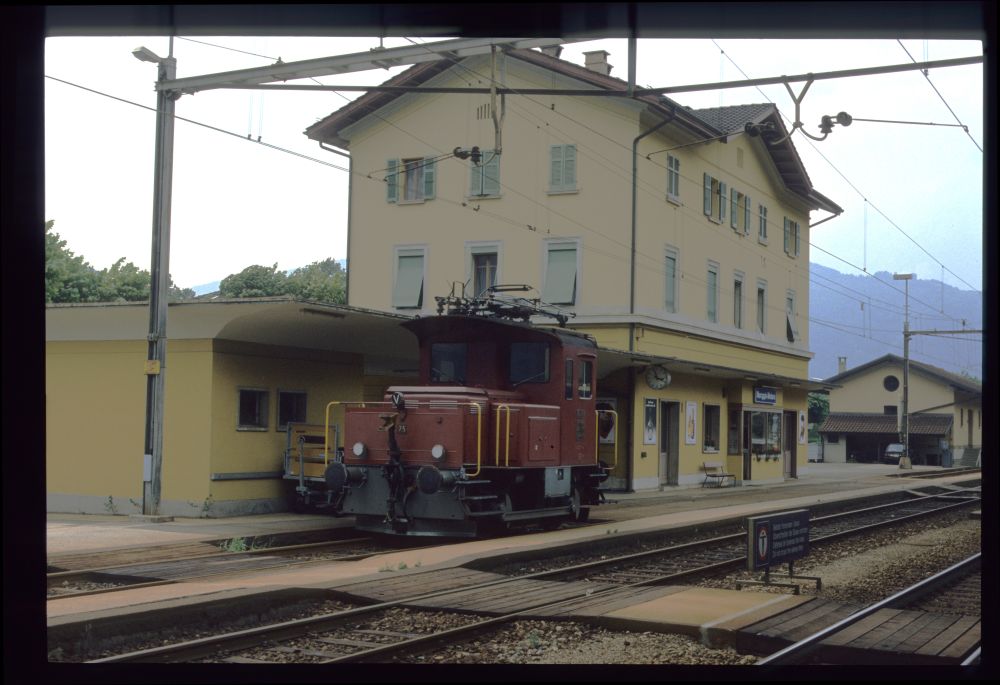
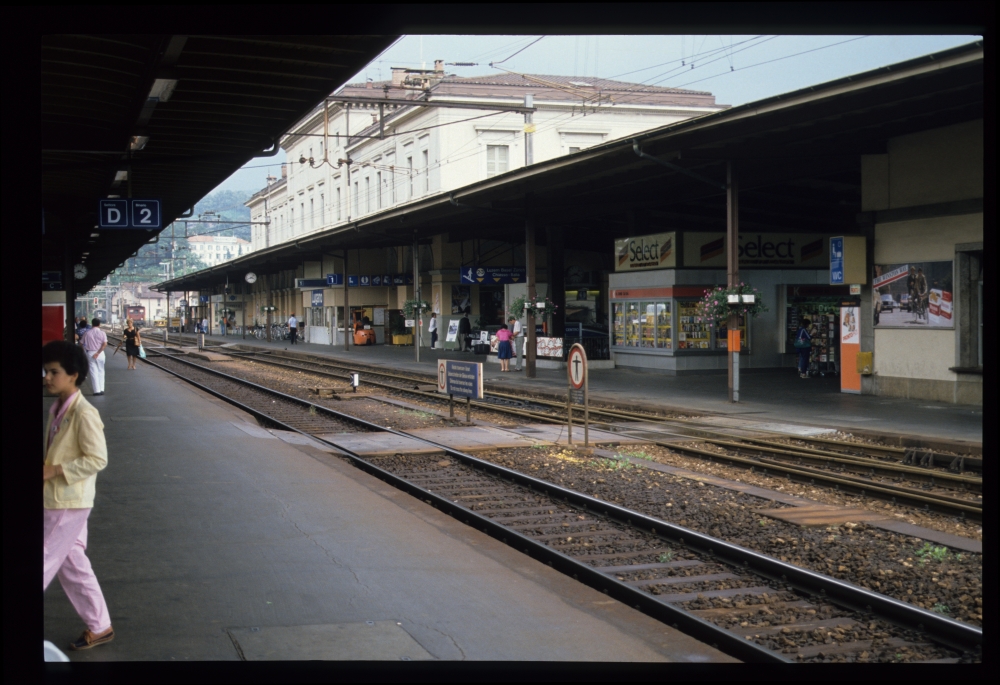
Station, Maroggia-Melano, 20.8.1988
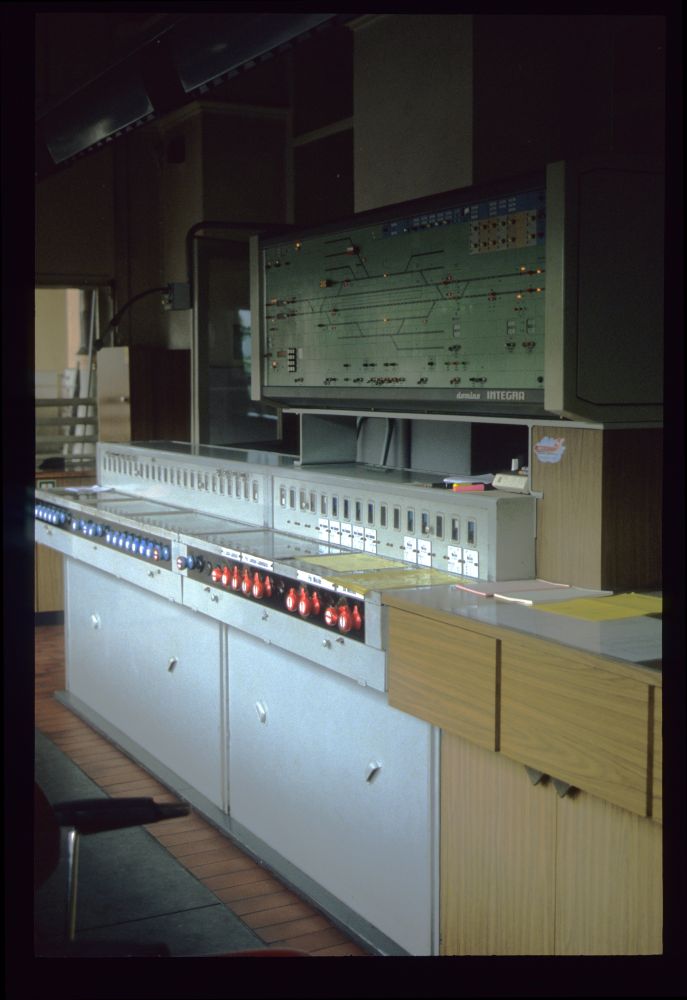
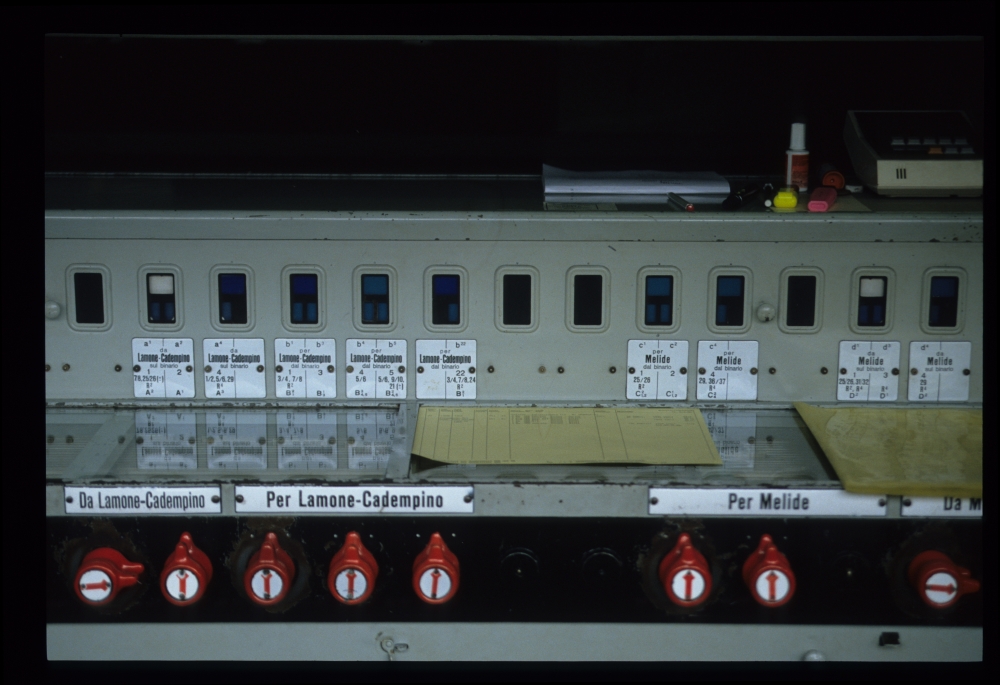
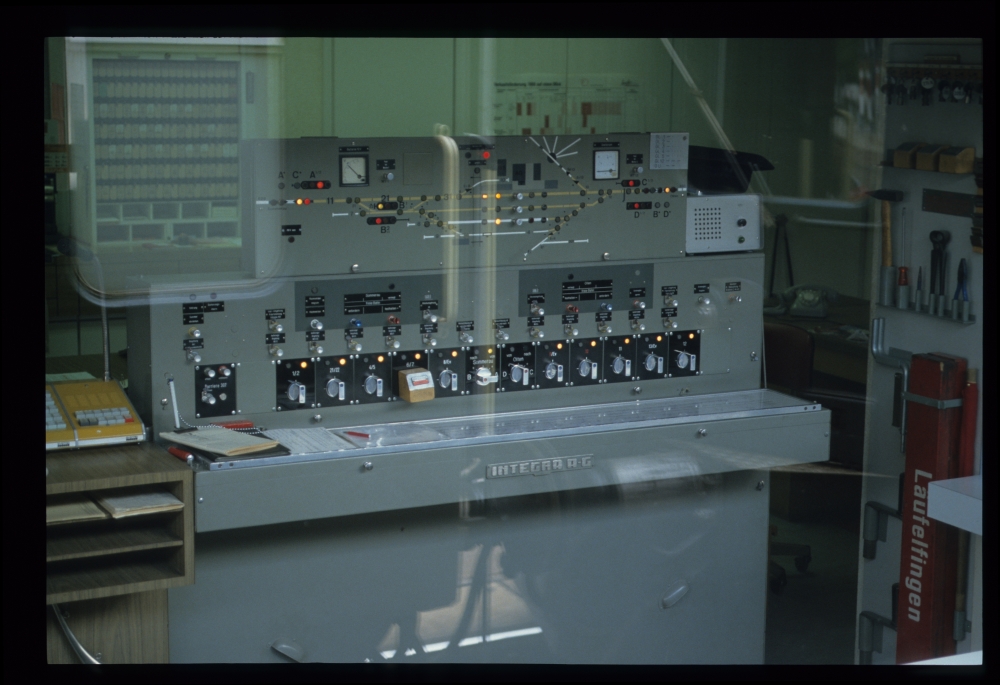
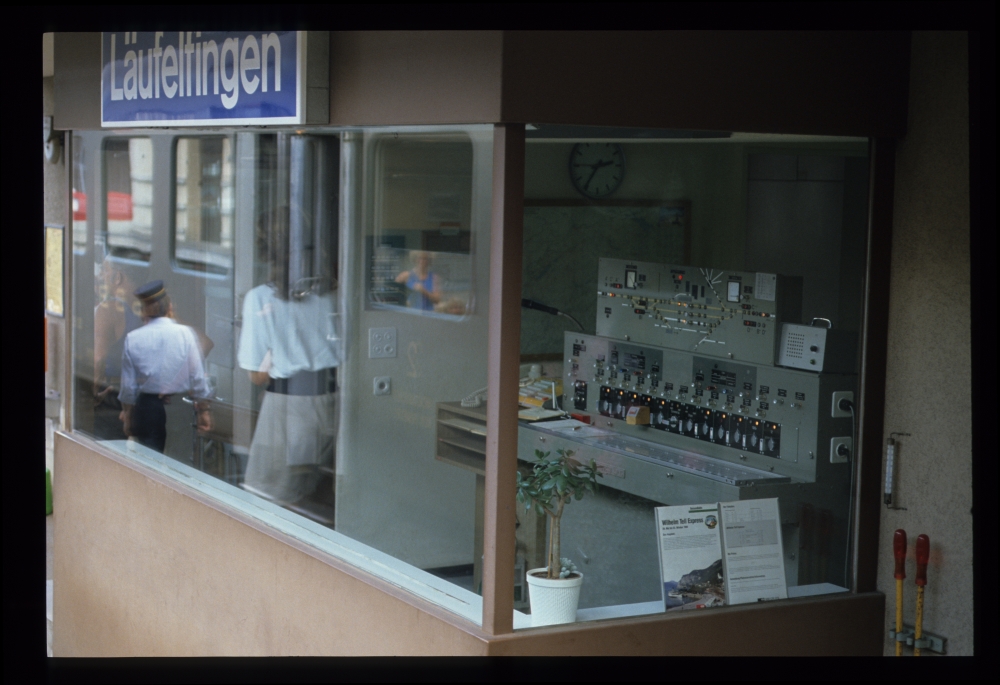
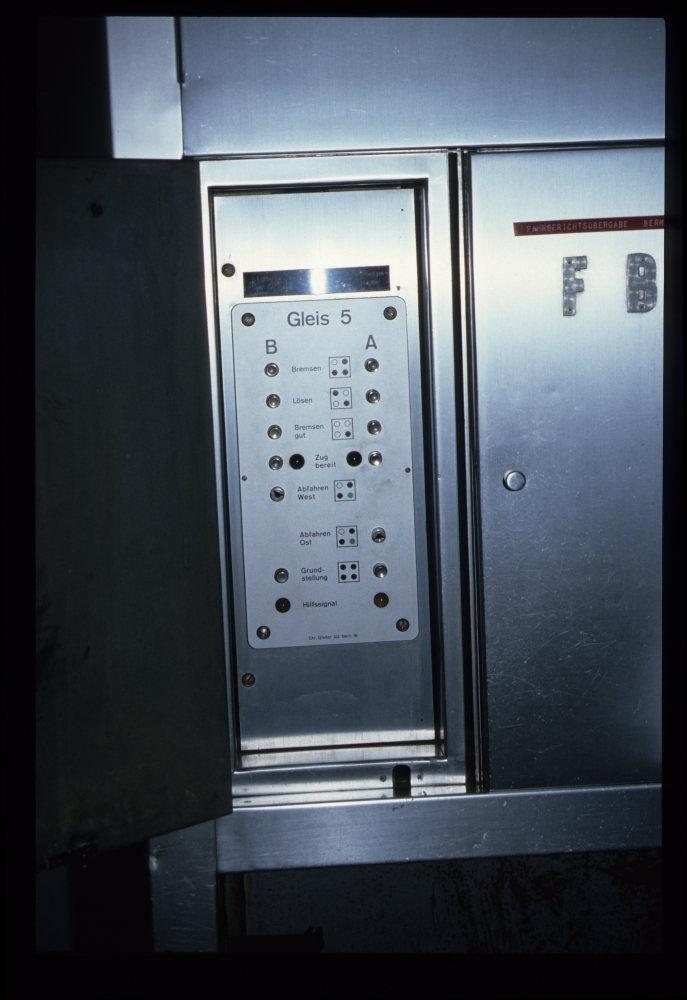
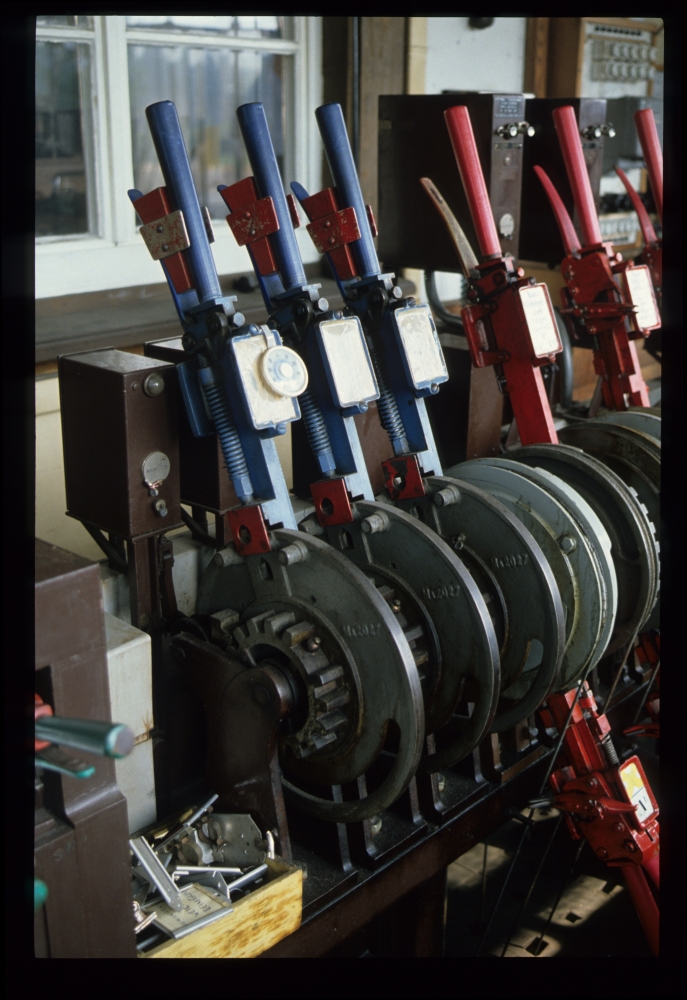
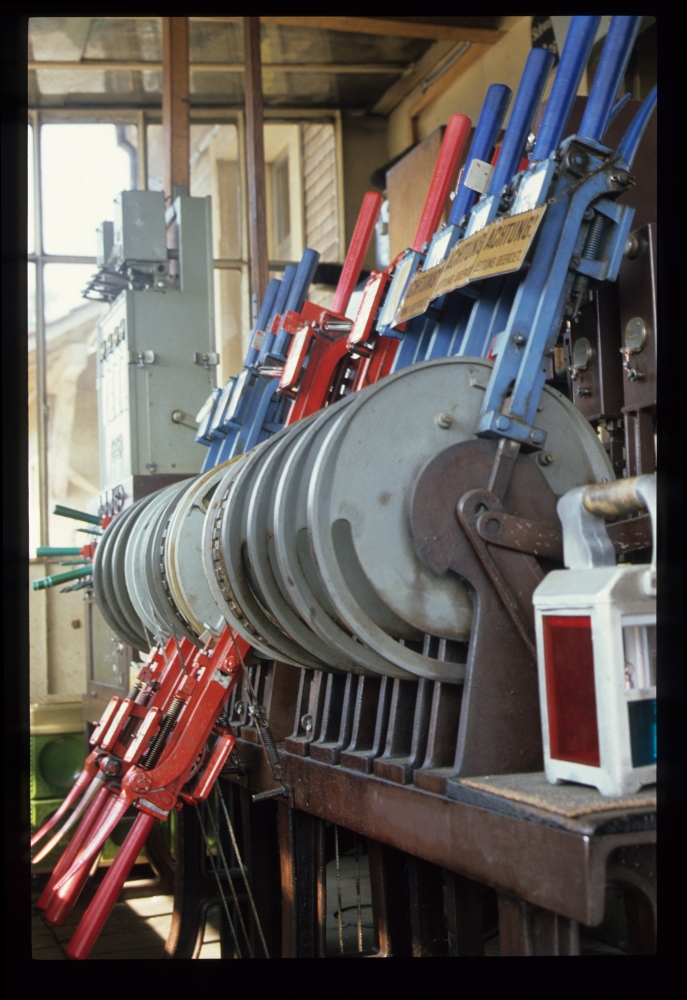
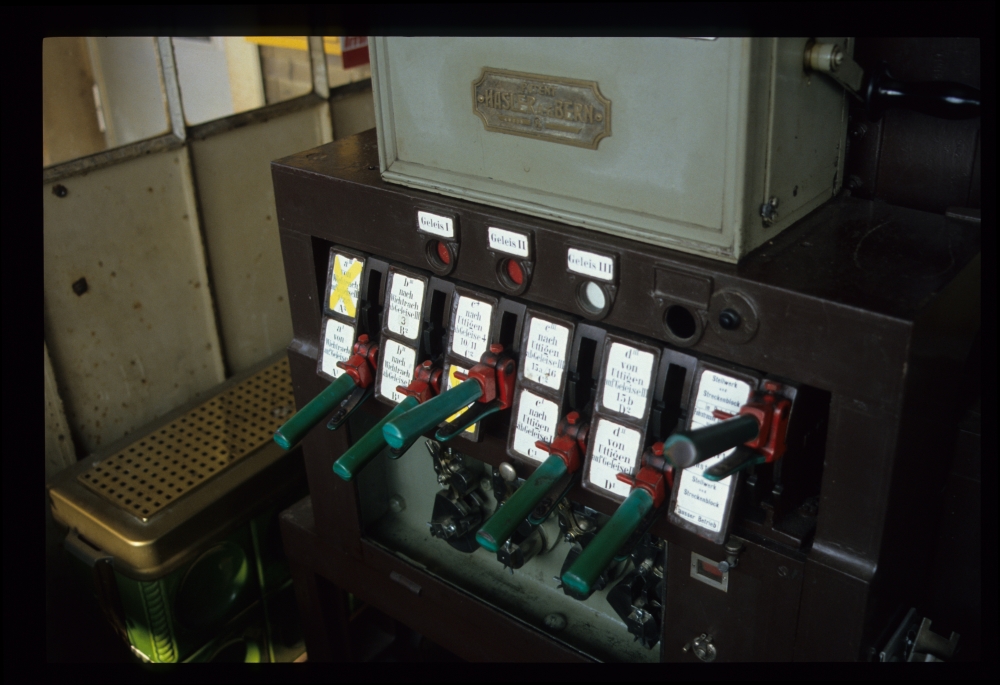
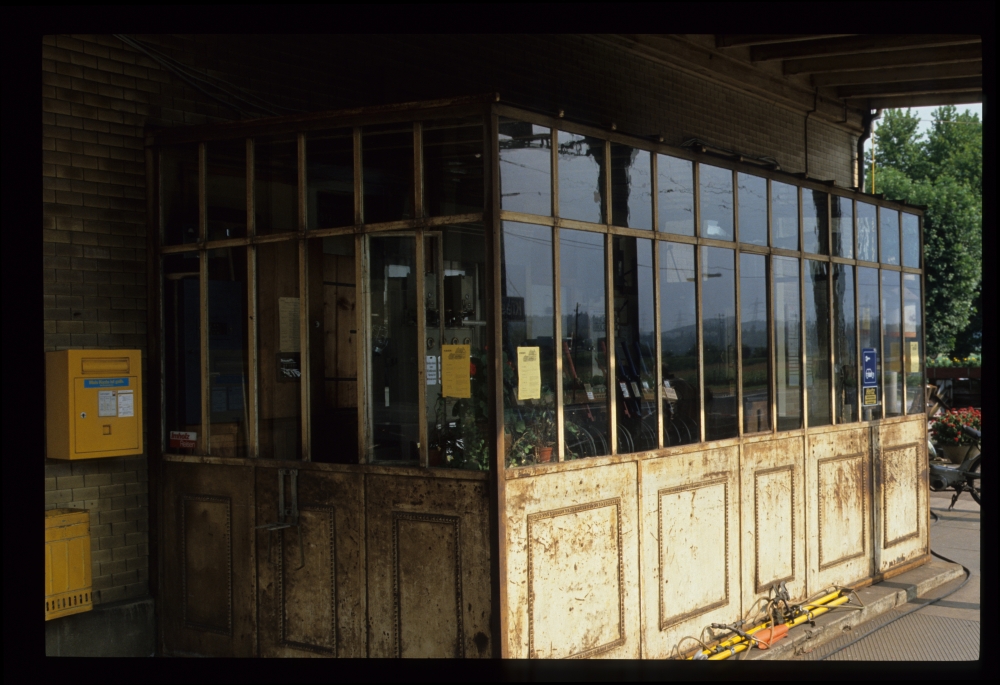
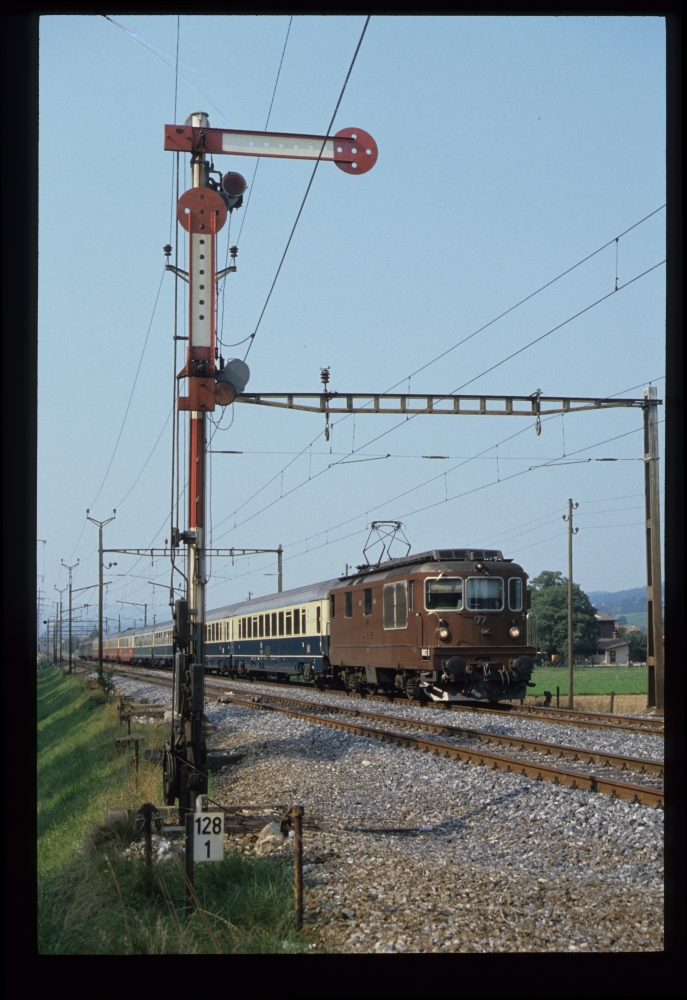
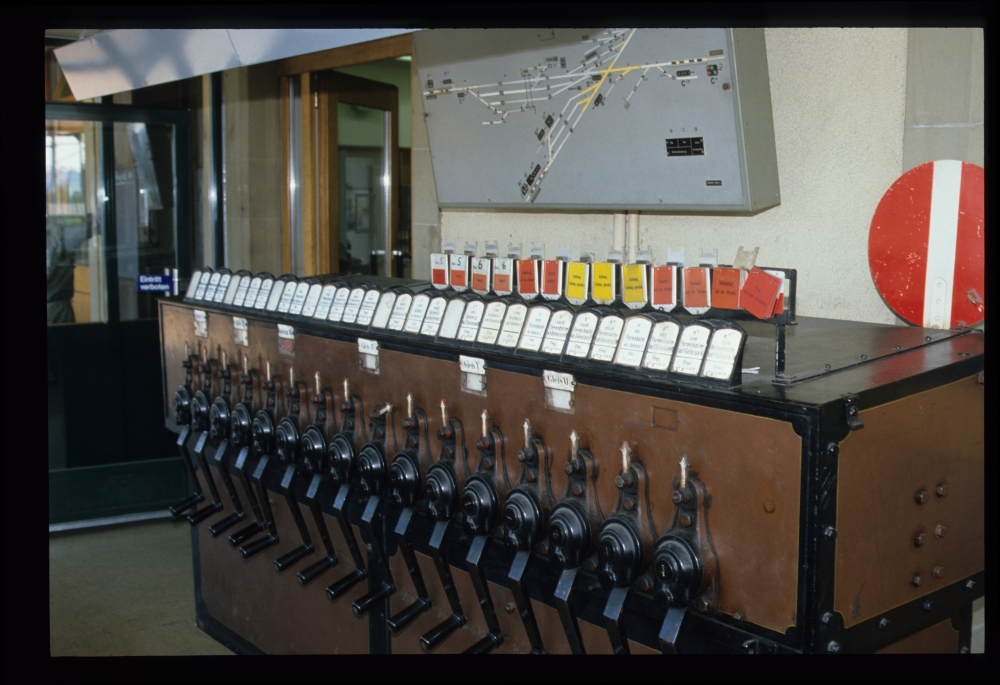
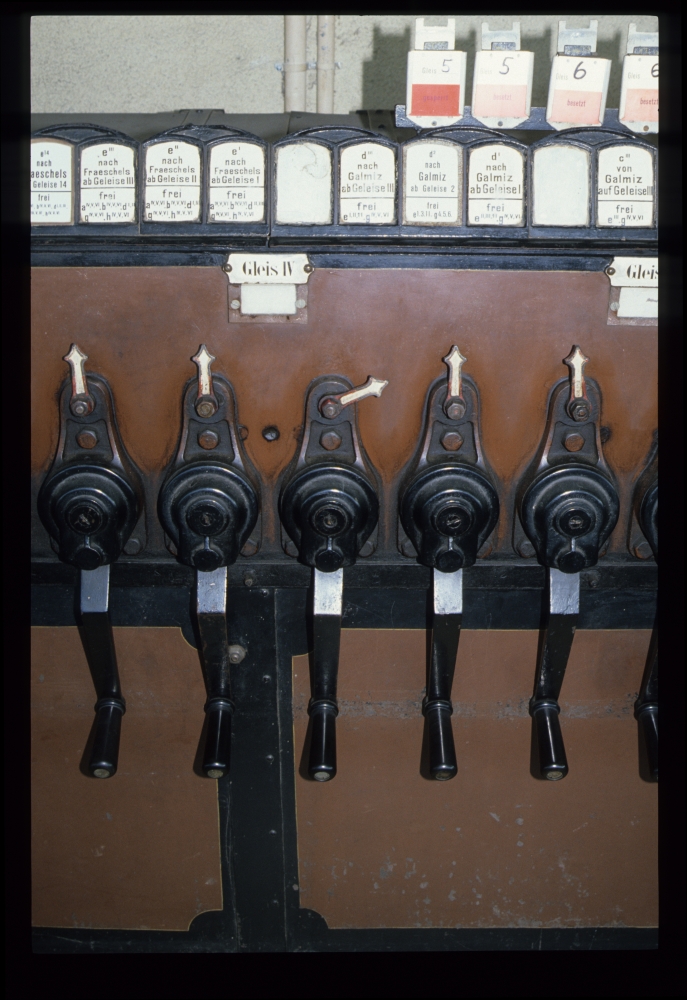
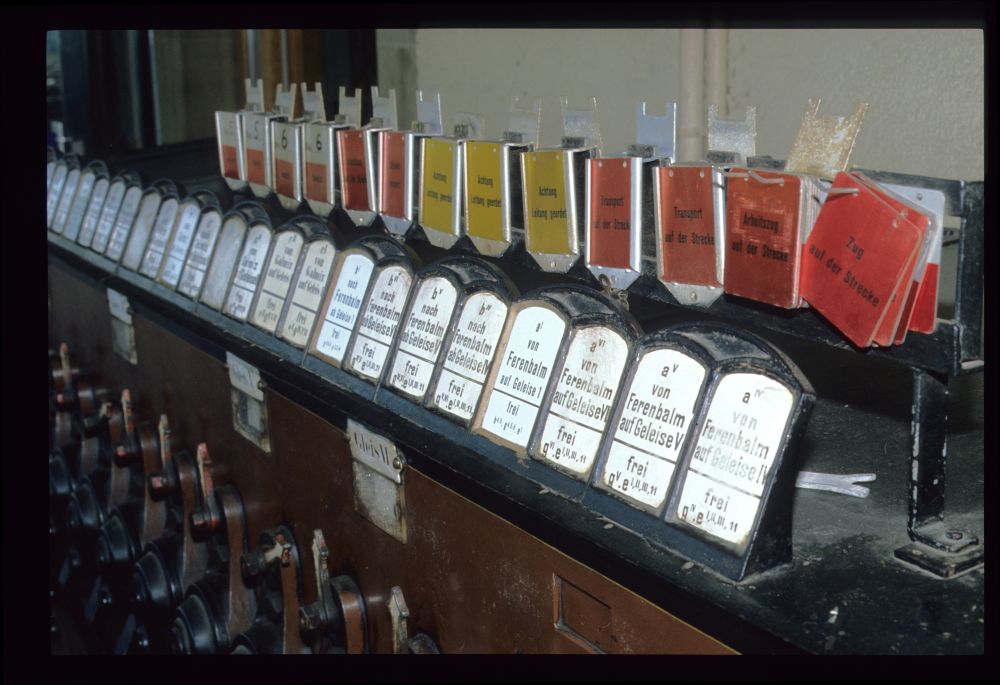
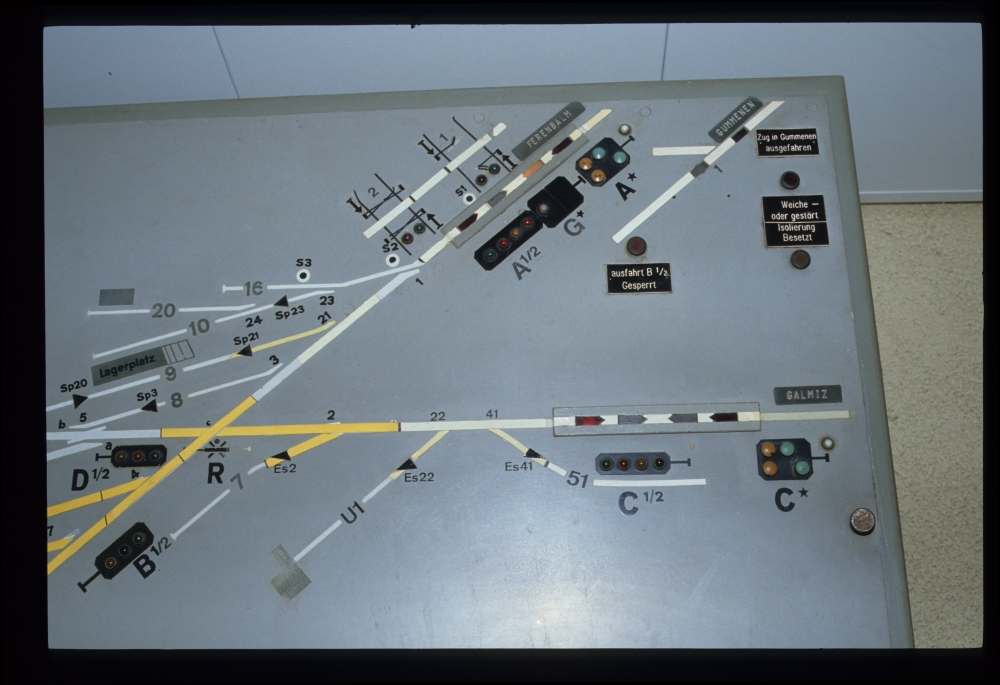
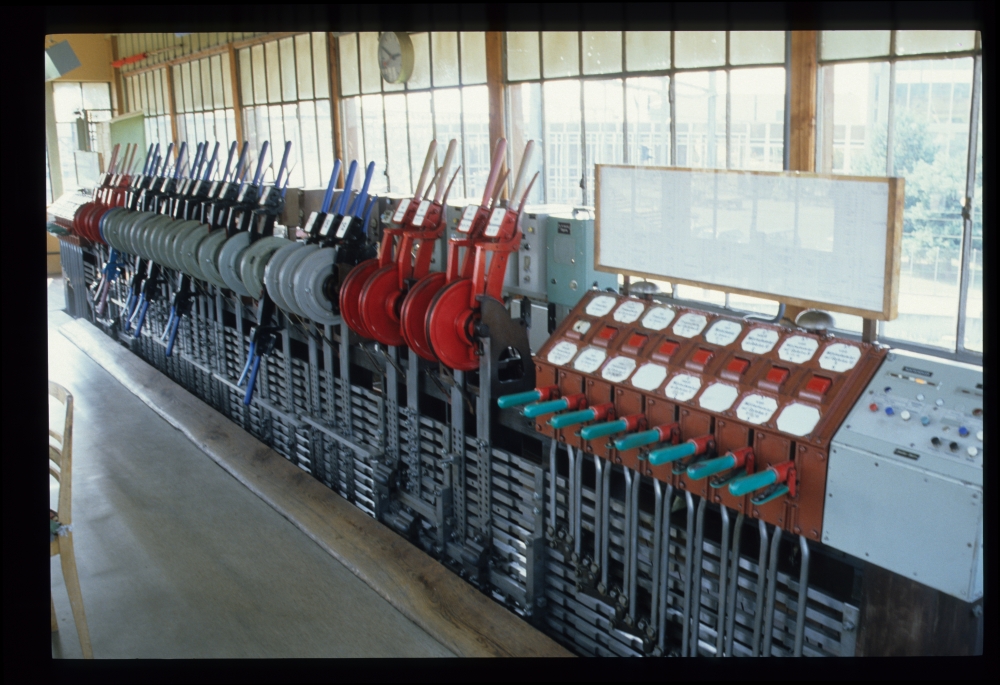
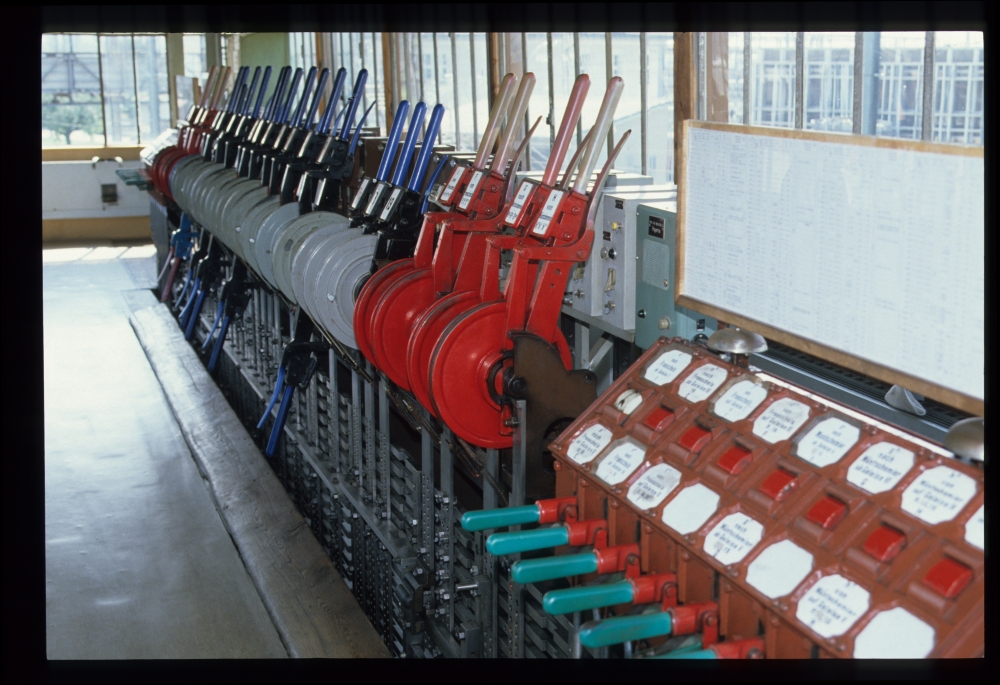
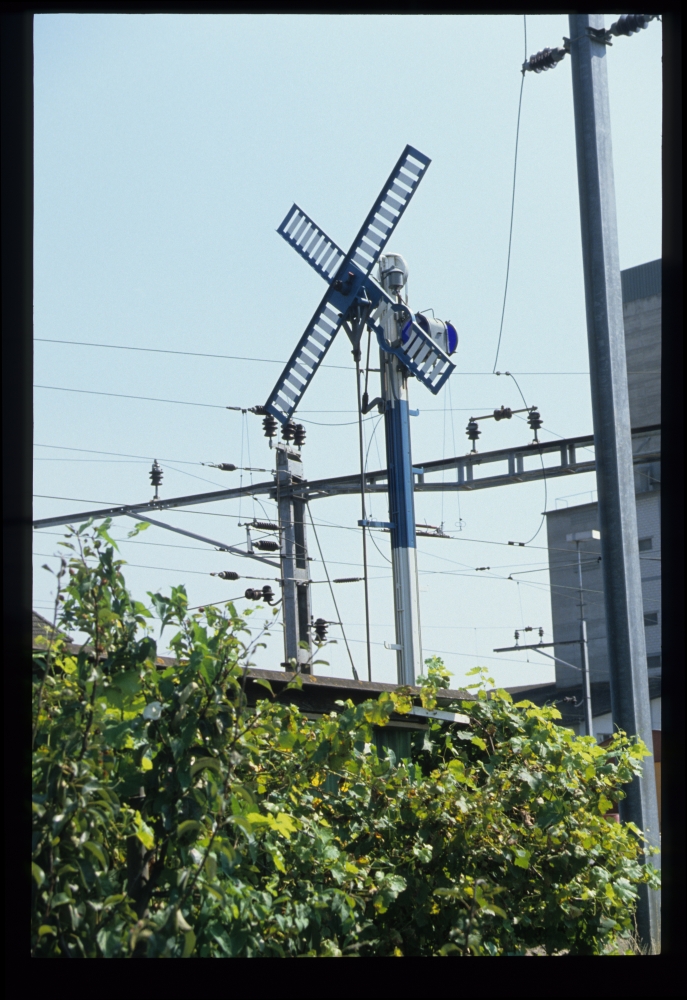
In the same station, I then took a few photos of the Integra relay interlocking frame. The line towards Melide had already been "banalized", i.e., been equipped for two-direction running on both tracks, as can be seen from the two home signals on that side. On the opposite side, from Capolago, there is only one home signal, indicating standard left-hand side running:
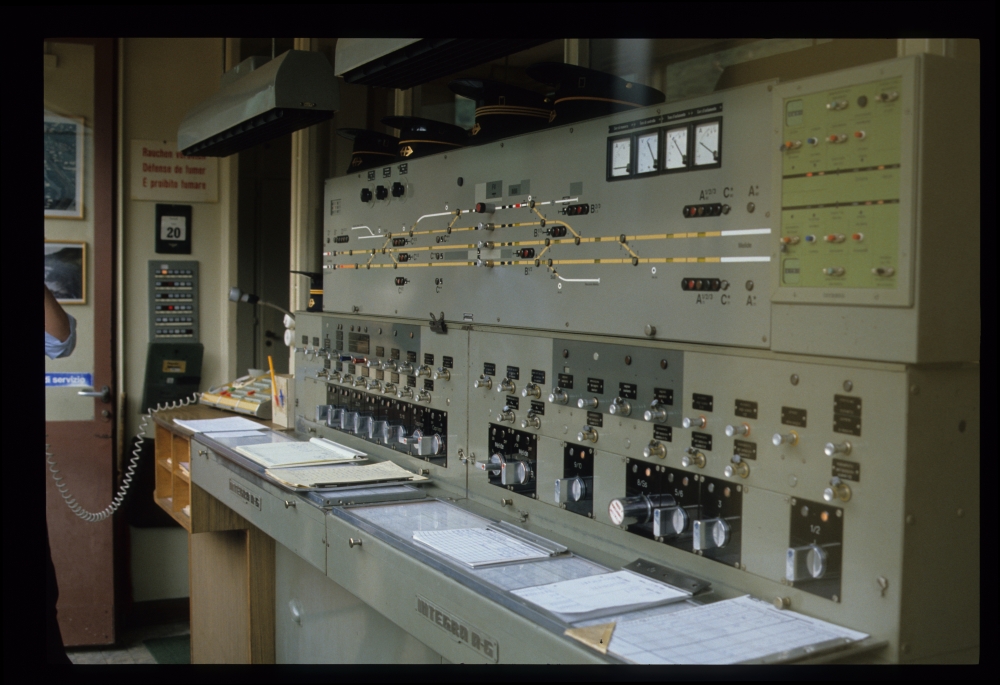
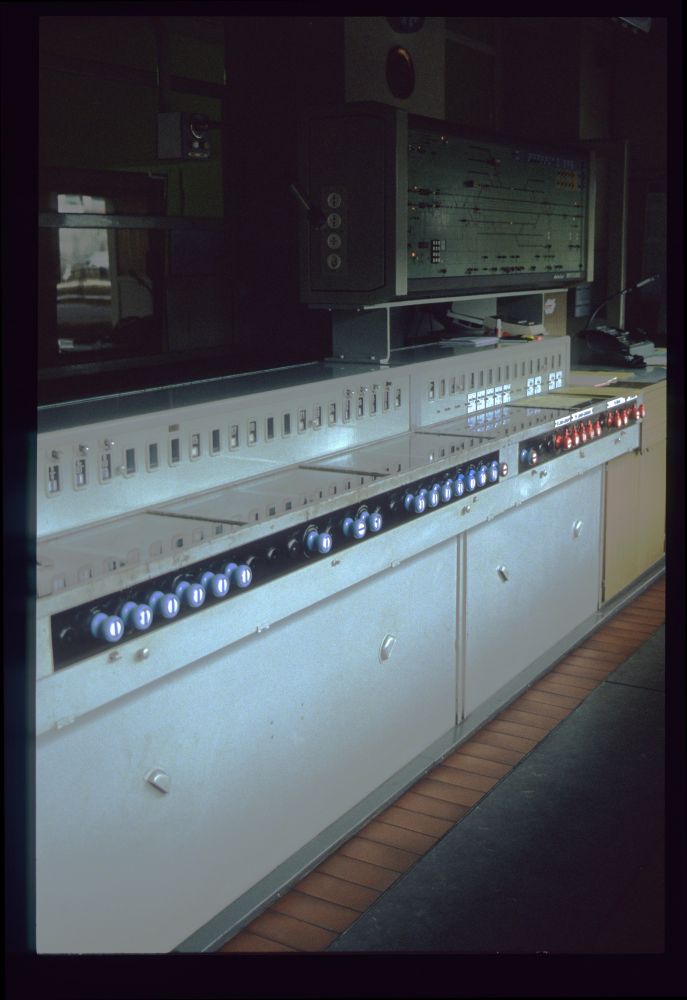
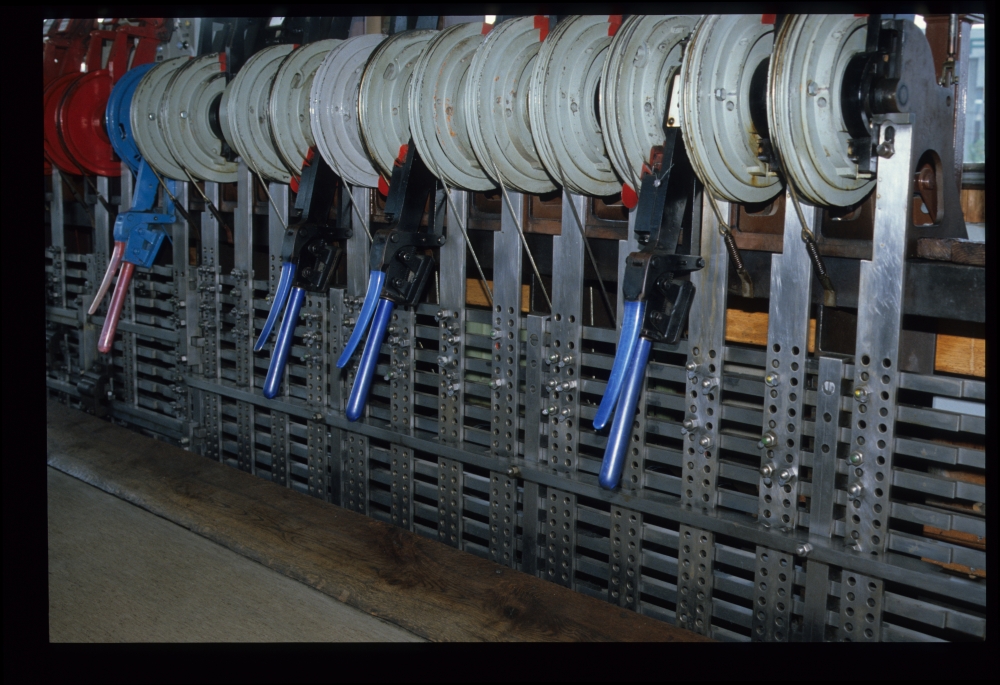
Interlocking frame, Maroggia-Melano, 20.8.1988
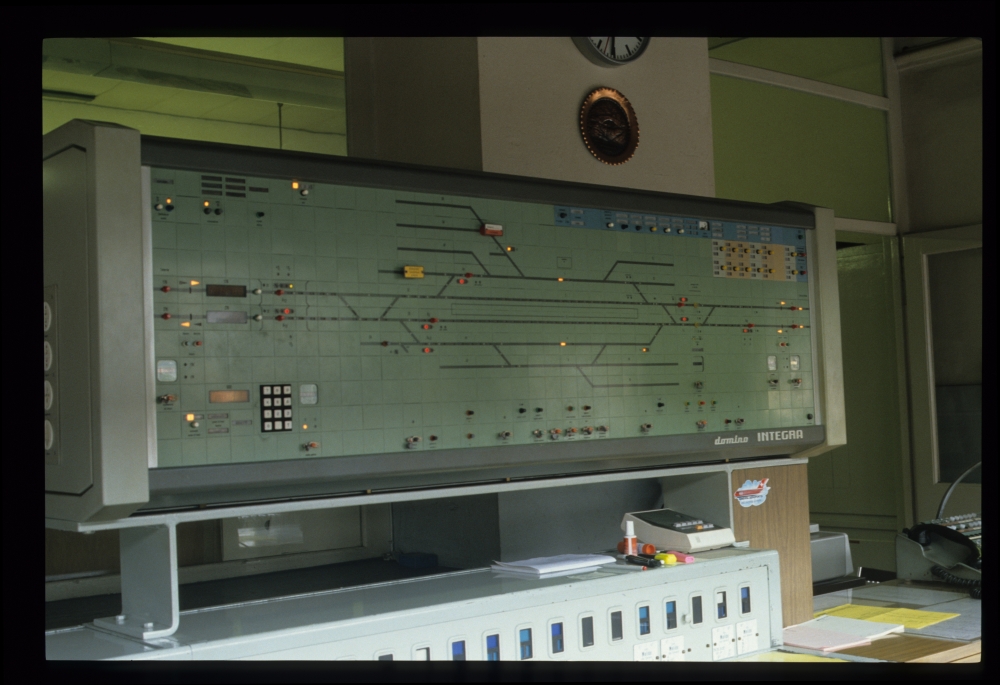
It is interesting to look at the signal designations, which finally show speed indications different from the ubiquitous 1 and 2 indications: The home signals have designations A711/2/3 and A621/2/3, meaning they can signal indication 1 ("Clear"), 2 ("Execute speed restriction 40km/h") and 3 ("Execute speed restriction 60km/h"). The starting signals are called B1,22/3 for the first two platform tracks, B31/3 and B41/2 at the running main tracks.
Hanspeter Thöni adds a number of remarks:
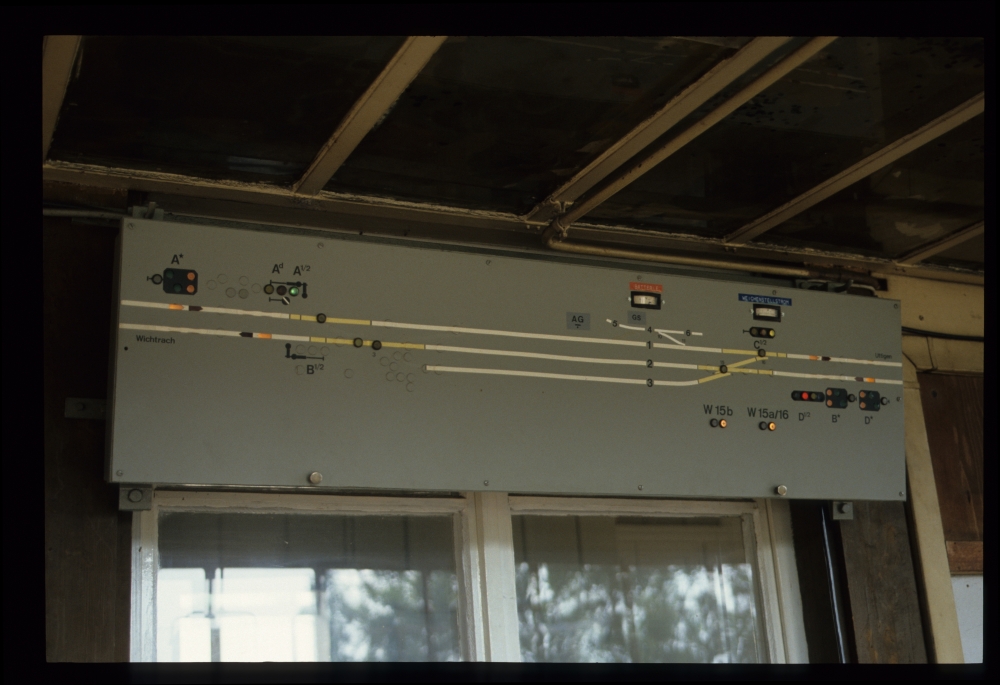
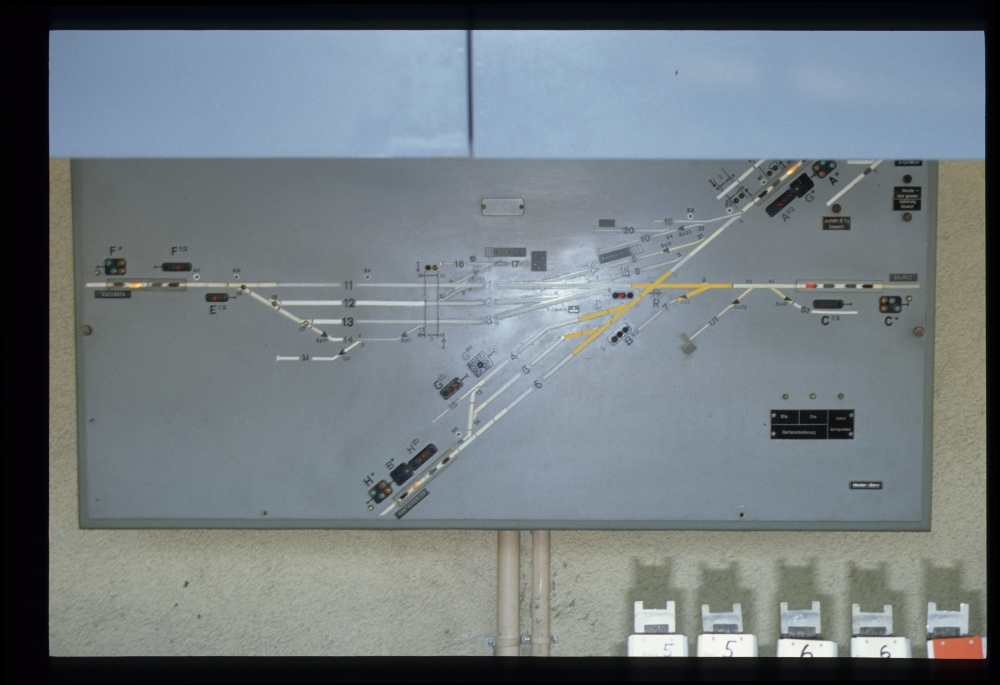
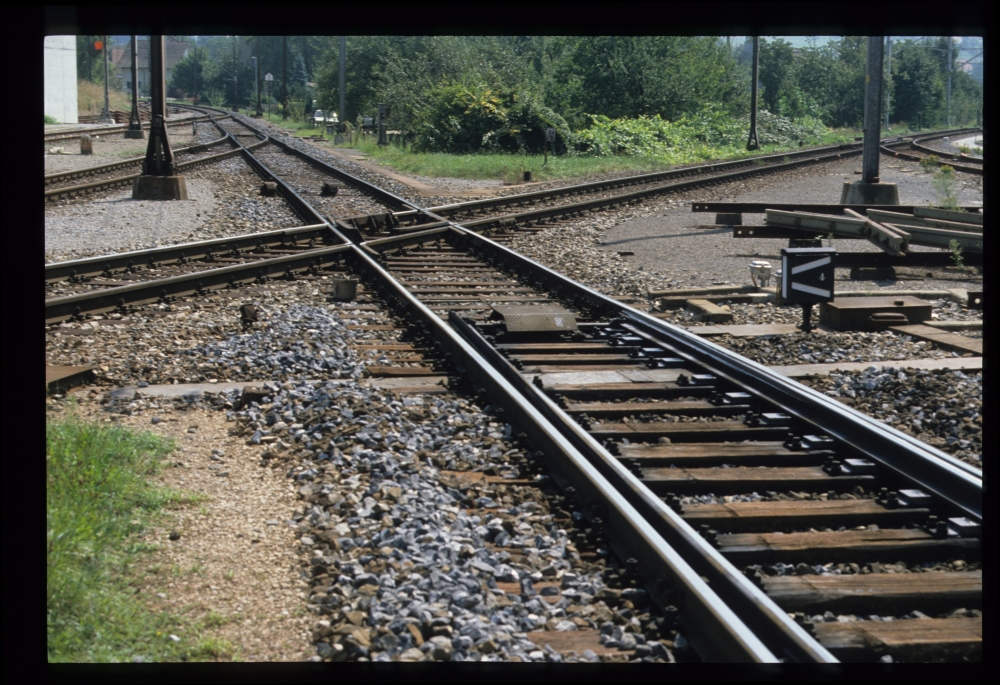
Enlarging the track plan shows that points 1, 2 and 3 are marked with a small 'wedge' between the track lines. This wedge indicates that these are 'points with special properties', where the diverging route can be travelled with 60km/h. This matches the signal designations given above.
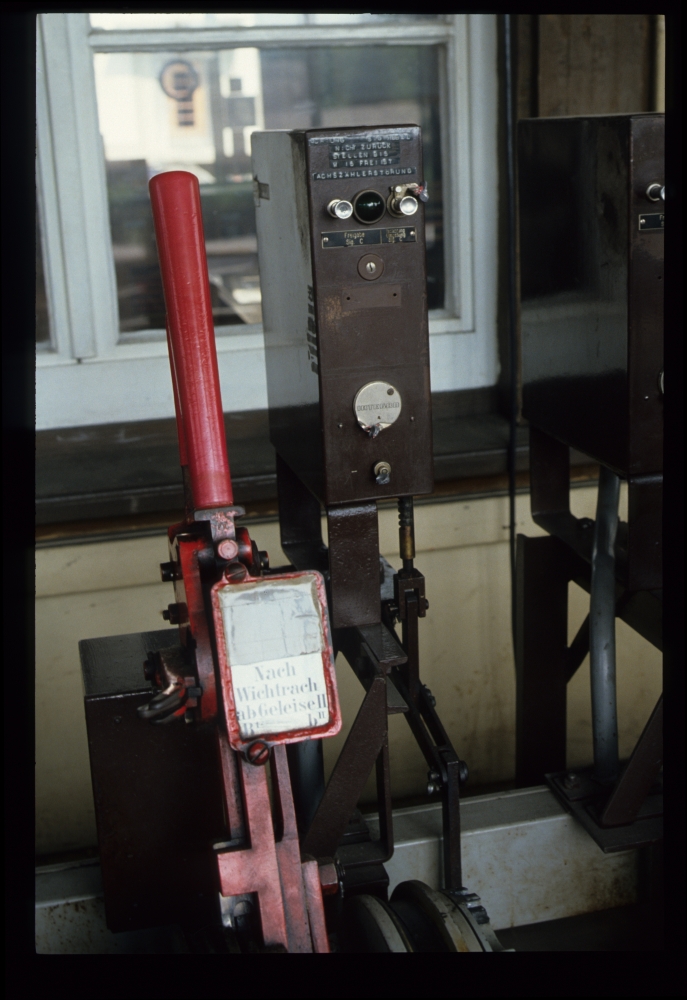
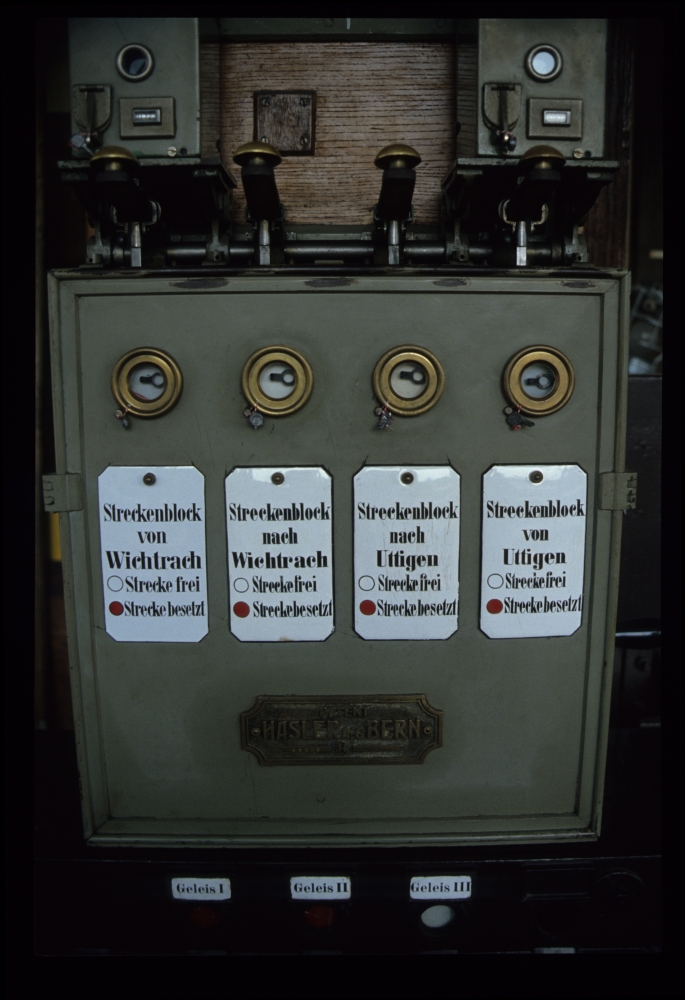
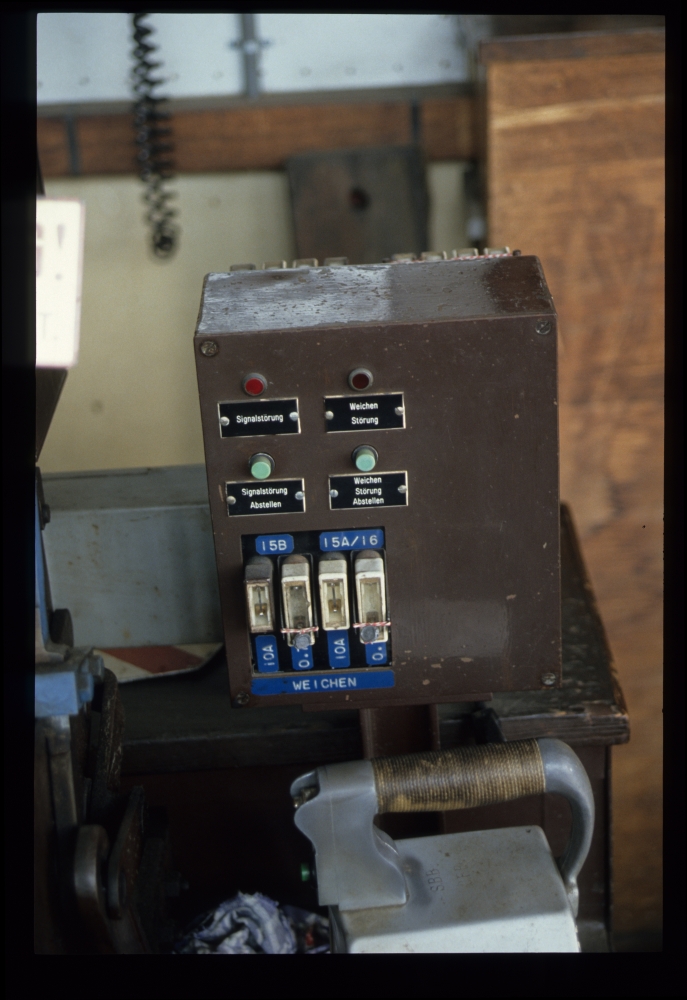
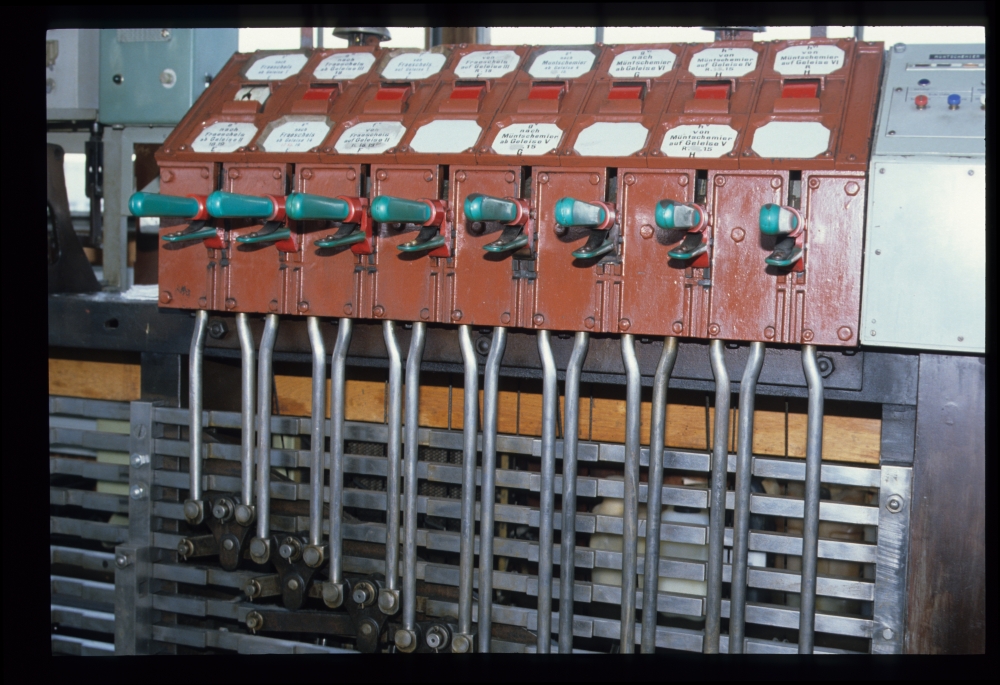
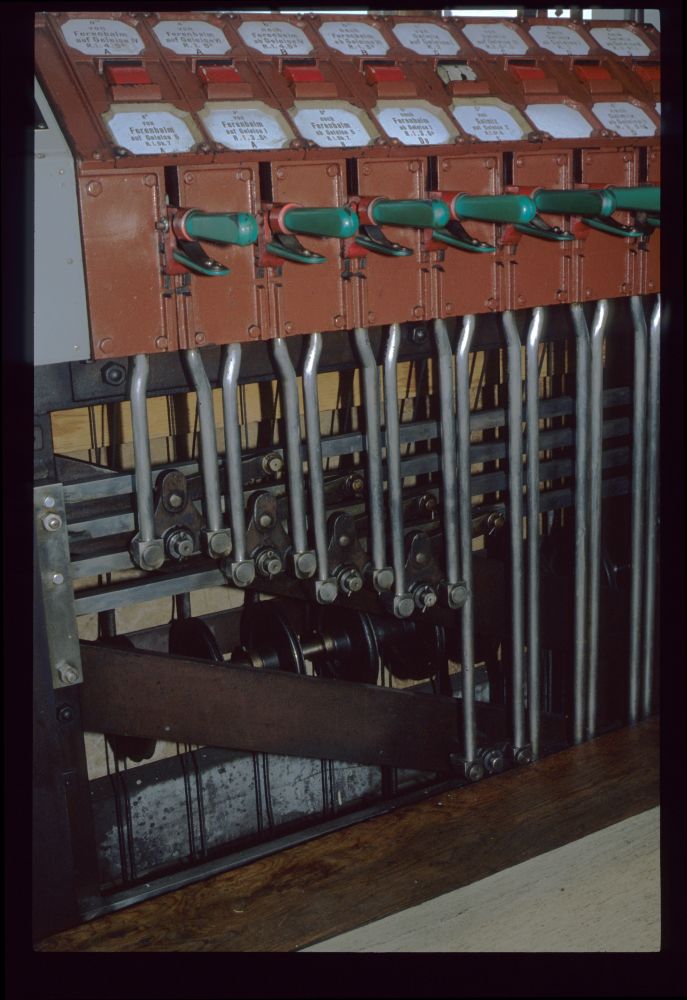
The 'banalisation' on the right side can also be seen at the route switches: There are no red signal indications, because there are no longer routes on the 'wrong' track. As happened frequently, the banalisation required too much space for the switches and lamps for the line block. Therefore, a small Integra-Domino panel had been added on the right side.
Without seeing the details on the left side, it is impossible to find out which line block system was used there: Either the same one as in Grenchen Süd, or a so-called OH-block (also called Chrüzliblock). However, it is certain that it was possible to close one track and run bi-directionally on the remaining track.
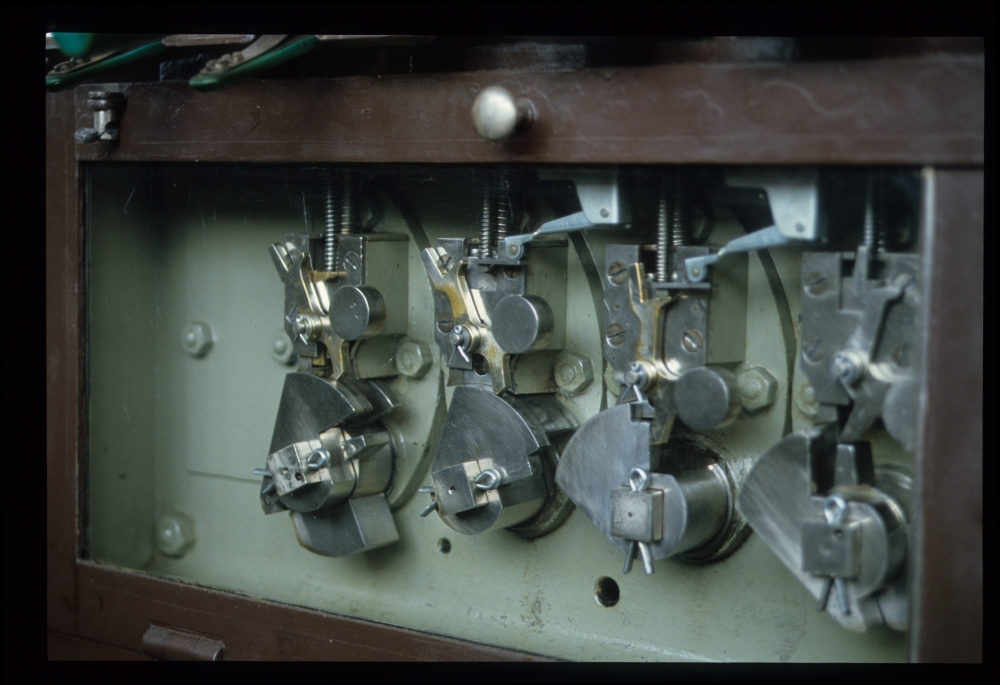
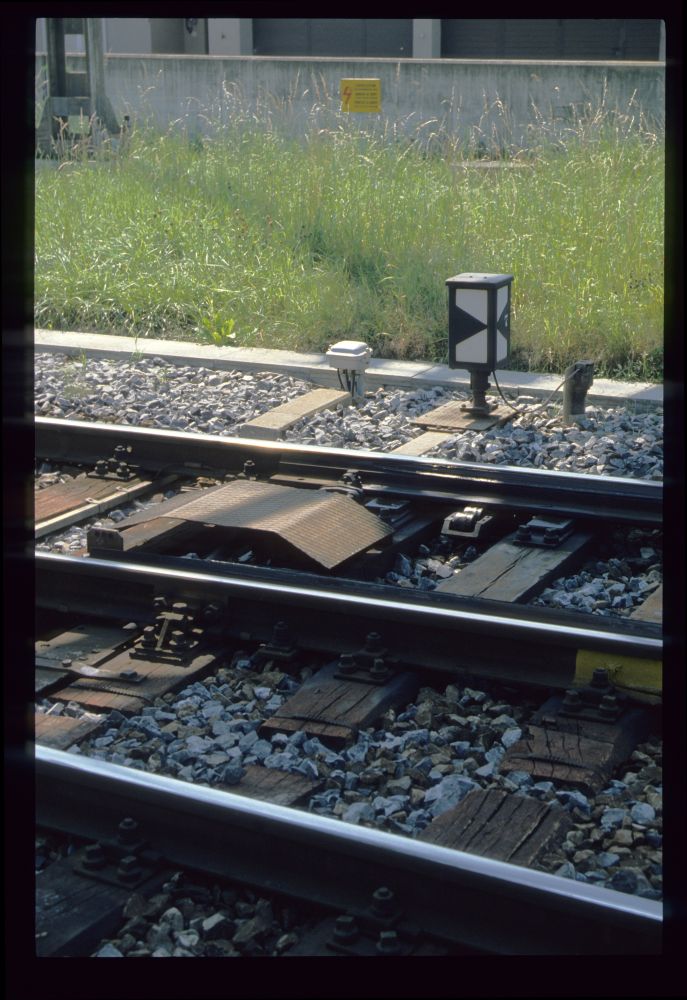
The round item over the switch for points 8/Ss is an auxiliary cover to prevent accidental reversal of the points.
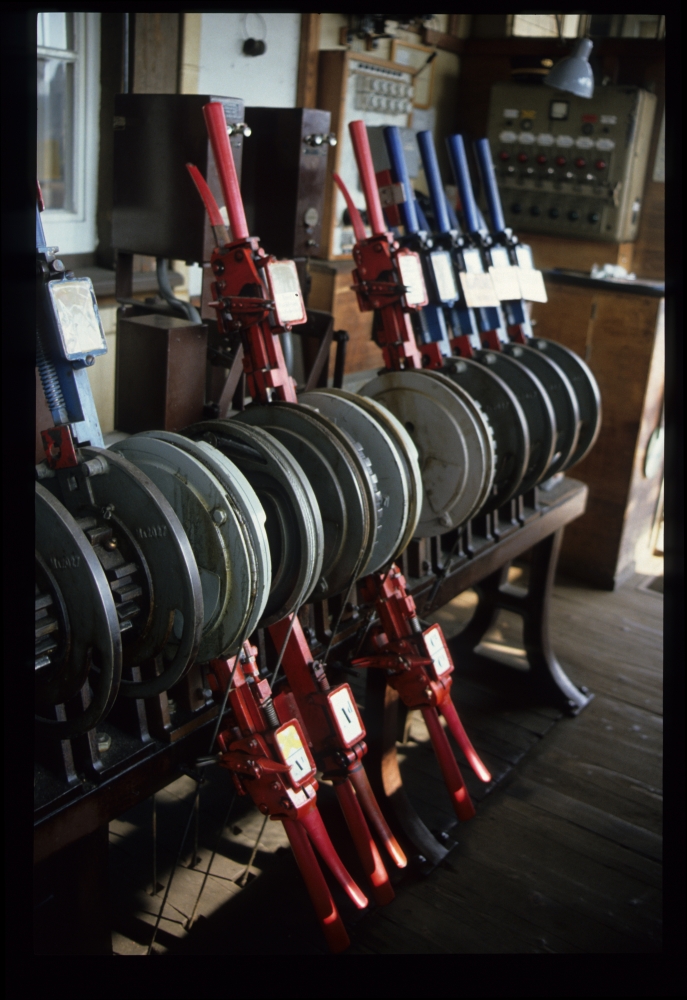
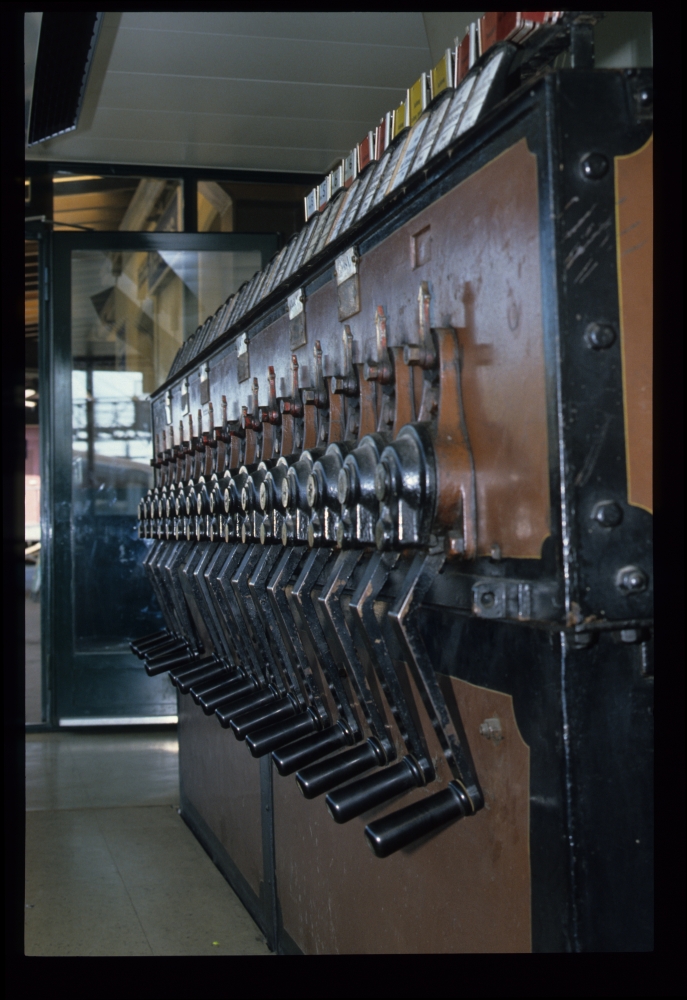
And, finally, the picture above with the complete interlocking frame shows, on the left (below the calendar), a panel for controlling the lamps on the platforms and in the station building. Nowadays, all these lamps are controlled remotely.
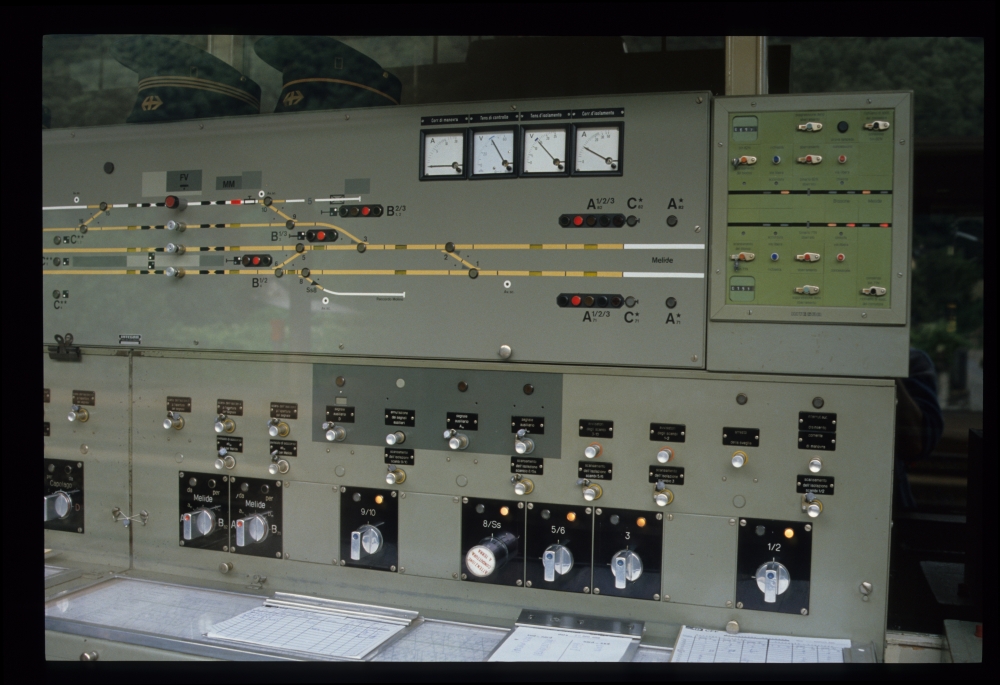
Interlocking frame, Maroggia-Melano, 20.8.1988
When we rode back over the Gotthard, heavy thunderstorms poured tons of water on the landscape. At (I believe) Bodio I took this picture of a huge waterfall behind the station tracks:
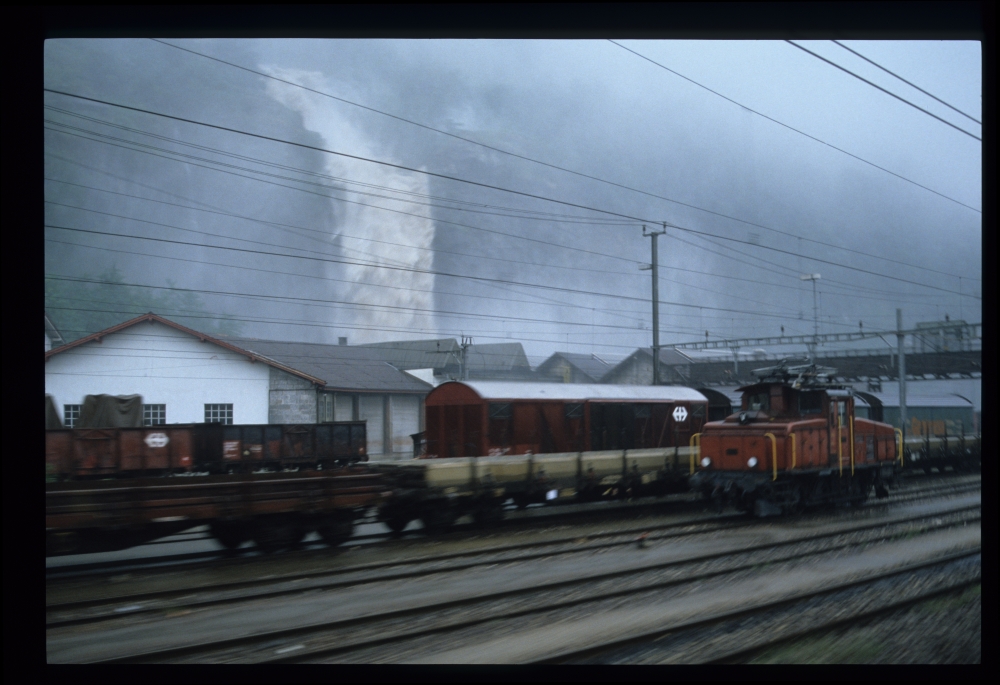
Falling water, Bodio?, 20.8.1988