Friday, May 31, 2013

Some Italian points, 2012

In 2012, we spent our holidays in Tuscany, near Lucca. Here are two postings with a few railway photos from that August. The first is about points (or switches, as the Americans call them) and a few other "things at tracks."

Here is the layout of the small station Fornaci di Barga in northern Tuscany, at the remote-controlled line from Lucca to Aulla through the valley of the Serchio river. The pink tracks have not been used for a long a time. The numbers of the points are my guesses from various letters on point machines or the like—they might actually be different:


There are only two tracks, a main track and a loop:

Fornaci di Barga, August 2012

The northern (Aulla) side is somewhat overgrown in summer. The points in the foreground are number 5:

Fornaci di Barga, August 2012

Fornaci is the place of numerous meets, therefore the points are kept shiny—but only on one side:

Points no.5, Fornaci di Barga, August 2012

A lock, which probably will never again be unlocked, guarantees that the points remain in the correct position for running movements. The blades of double slip number 8 most probably are dependent on points number 5, so that they provide flank protection for trains. Therefore, in addition to the empty lock (which locks the blades), there is another key which can only be removed when the points are lined up for the industrial tracks; and which is then used to unlock number 8:

Points no.5, Fornaci di Barga, August 2012

The hook near the lock is part of a simple blade lock. Here is the hook for the other blade. For simplicity, the counterpart of the hook is the rail base. At the top, there is the locking bar to the locks shown above:

Points no.5, Fornaci di Barga, August 2012

Points no.5, Fornaci di Barga, August 2012

Here are, once more, the points including the weight on which the number "5" is barely readable:

Points no.5, Fornaci di Barga, August 2012

Finally, here is a nameplate, probably from an overhaul some 25 years ago:

Points no.5, Fornaci di Barga, August 2012

The next points are the ones leading into the loop, numbered D1:

Points D1, Fornaci di Barga, August 2012

In contrast to the old external blade locks at points no.5, Italian electric point machines use internal blade locks. However, this sort of blade locks requires that the point machine is fastened very securely to the tracks. Here, one can see the necessary steel T bars:

Points D1, Fornaci di Barga, August 2012

As each blade is locked separately inside the point machine, there is a separate bar leading from the drive to each blade. Near these bars, there are separate locking bars which are used to check the position of the blades inside the drive:

Points D1, Fornaci di Barga, August 2012

This picture shows, in the background, the fouling point indicator of points no.5—a simple white beam between the rails meeting at the frog:

Points D1, Fornaci di Barga, August 2012

Finally, here are the double slip points (double slip switch) that have fallen into disuse long ago:

Double slip points, Fornaci di Barga, August 2012

The following picture shows, in the foreground, the lock mentioned above, which is necessary because of flank protection. Also these blades have blade locks using hooks below the rail base. One can also see some terminal box in the background and some cables, but I don't know their purpose (I didn't want to disconnect them and wait for some effect ...):

Double slip points, Fornaci di Barga, August 2012

Double slip points, Fornaci di Barga, August 2012

The opposite blades of the double slip points do not have blade locks:

Double slip points, Fornaci di Barga, August 2012

Double slip points, Fornaci di Barga, August 2012

Here are remaining parts of the double slip points, which had all us railway freaks puzzled when we were young:

Double slip points, Fornaci di Barga, August 2012

Double slip points, Fornaci di Barga, August 2012

The ensemble at Fornaci also contains somewhat desolate (but maybe still functional) track scales:

Track scales, Fornaci di Barga, August 2012

Track scales, Fornaci di Barga, August 2012

Here is another point machine, this time at the Lucca station. Also this picture shows that the blade locks are inside the drive, which is therefore connected to the rails with heavy steel sections:

Points D28, Lucca, August 2012

Points D28, Lucca, August 2012

Finally, here is a double insulated joint, also at Lucca:

Insulated rail joints, Lucca, August 2012

For what, however, one needs two double insulated joints side by side, I do not know:

Insulated rail joints, Lucca, August 2012

Insulated rail joints, Lucca, August 2012

Sunday, May 26, 2013

My Austrian type 12SA lever frame: Locking the distant signal

Here is the last lock type of the 12SA interlocking: The simple lock between a home signal and its distant signal.

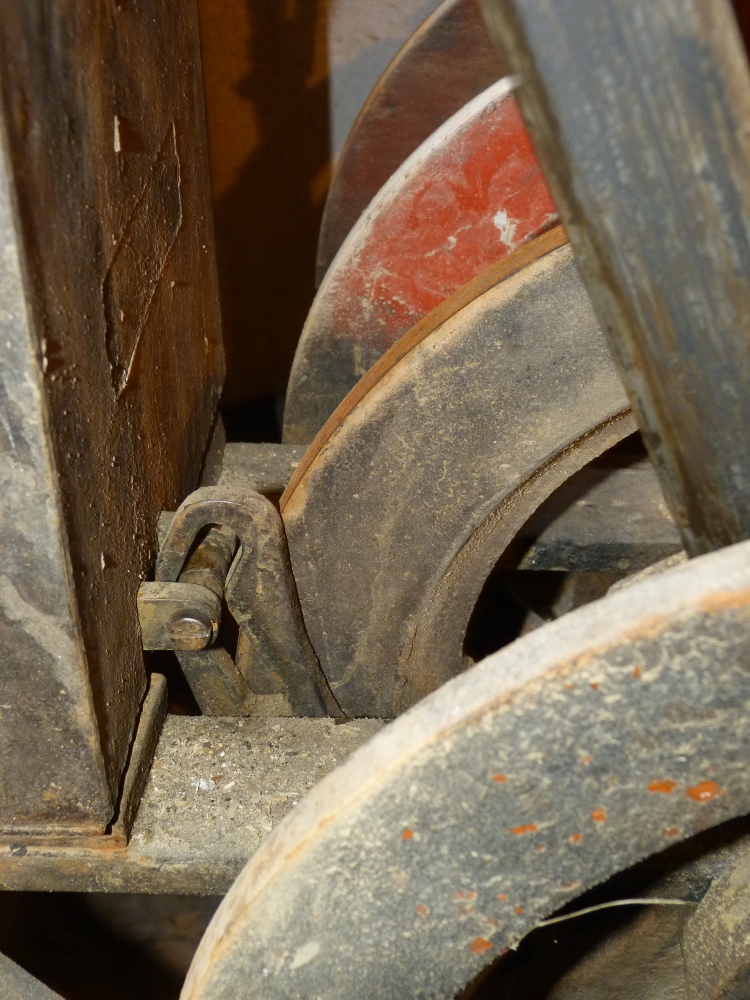
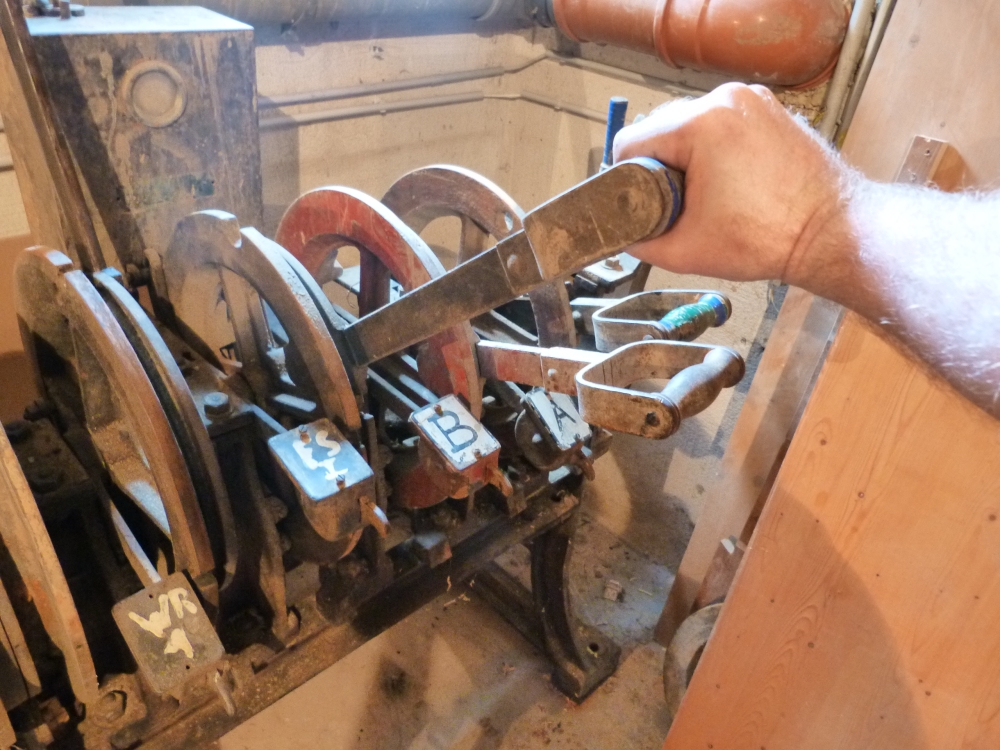
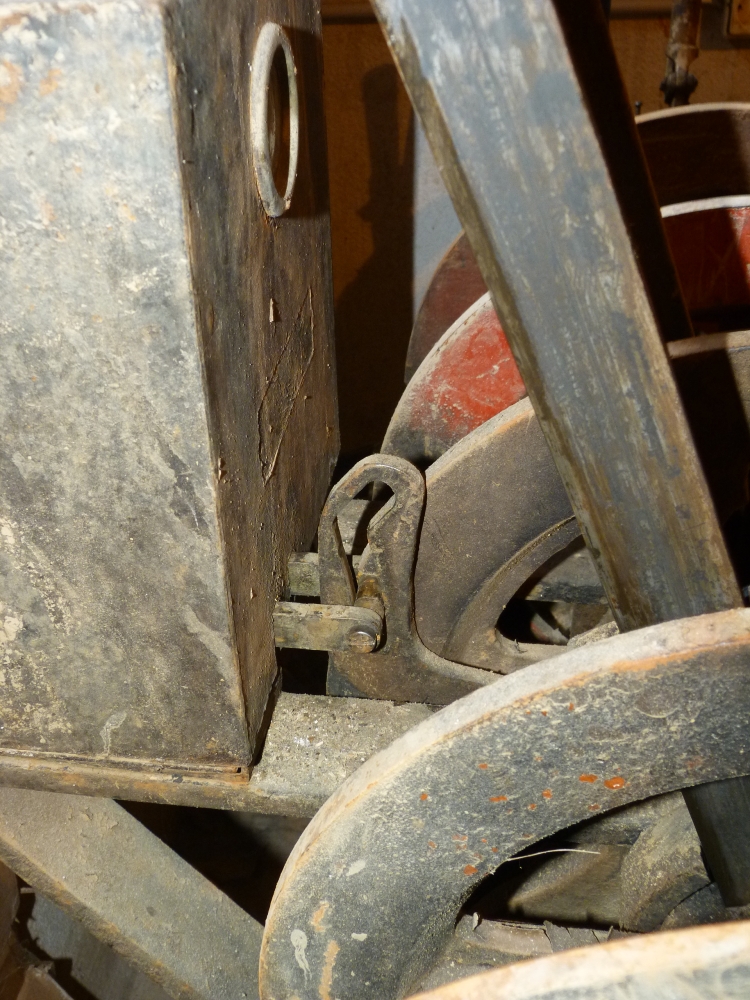
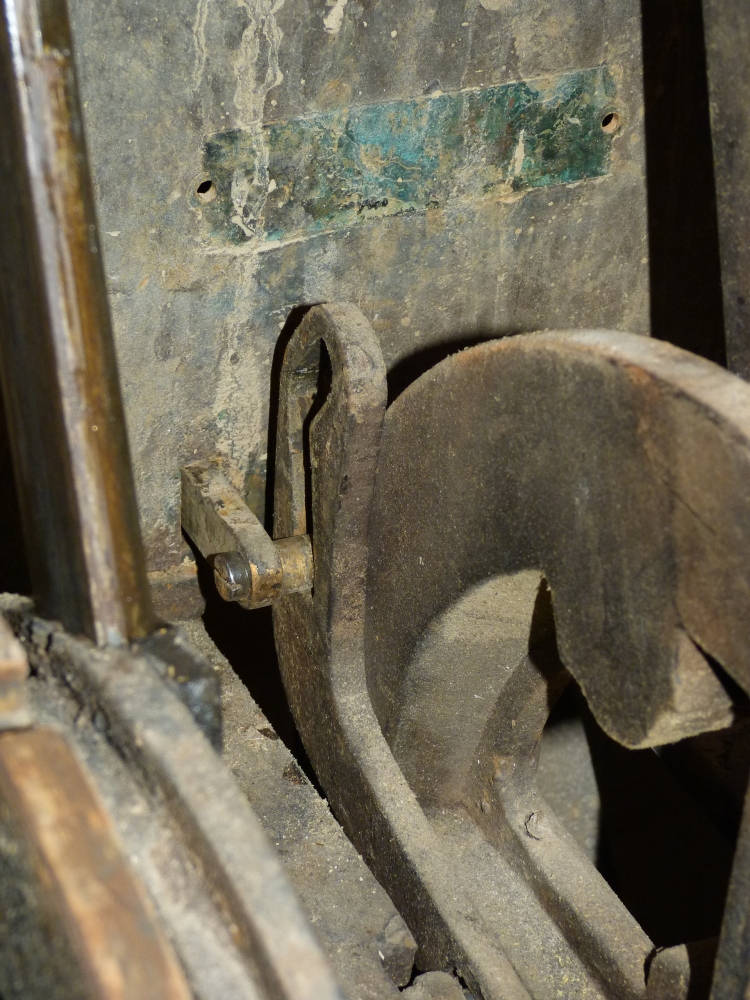
Of course, the distant signal had to remain in the "stop" position as long as the home signal was also not "clear." This rule was enforced by a simple bolt that moved into a hole either in the chain wheel of the home signal lever or of the distant signal lever. Here is a short video that shows how the home signal and then the distant signal is moved to "clear:"
  • First, the home signal lever is reversed.
  • Then, the small bolt is moved to the right with a small lever. Now, the home signal lever is locked, and the distant signal lever is free to move.
  • Finally, the lever of the distant signal is reversed.

Clearing home and distant signal

Here is a sequence of images showing the same operation:

Normal position

Clearing the home signal

Clearing the home signal

Clearing the home signal

Reversing lock lever

Clearing the distant signal

Clearing the distant signal

When the signals are returned to their normal "stop" and "stop expected" positions, the levers are moved the other way round:

Returning distant and home signal

On my 12SA, similar locks were also used between the fouling bar levers and the home signal levers. This was necessary so that the electric lock (described in the previous posting) would have to be engaged before the corresponding home signal could be cleared.

On small signal lever installations, this sort of lock was also used to prevent that the opposing home signals could be cleared at the same time. Here is an example from the small town of Horn in Lower Austria, where home signal A is "clear," while the lever of home signal Z is locked in the downward "stop" position:

Home signal levers, Horn, 20.9.1986

Saturday, May 18, 2013

My Austrian type 12SA lever frame: Electric locking of routes

After quite some time, here is a description of another part of my old Austrian 12SA lever frame.

12SA frames were mainly used on secondary lines, for example on the Murtalbahn, the Ybbstalbahn, but also around Ried im Innkreis. However, older installation were installed on main lines, like my 12SA, which stood in Steyrling on the Pyhrnbahn, south of Linz. For such cases, they were equipped with additional features not ordinarily used on secondary lines. One such feature, which I described in a previous posting, is the use of levers that survived running through points. In addition to that, my lever frame has the following two features:
  • Fouling bars ensured that no vehicle was going over points to be reversed. Due to frequent failures (especially in winter) and expensive maintenance, all such bars had been removed decades ago. However, the corresponding levers had survived on my frame because of ...
  • ... the second feature: Routes over facing points were electrically locked so that the points could not be reversed too quickly after a train had passed the home signals. The green boxes on the left and right of my frame contain mechanical devices for this purpose. And because these devices locked the fouling bar levers, which in turn locked the route bars (see this posting with the locking chart), the levers had not been removed—but now only served as an intermediate locking device on the frame.

Let us take a look at these electric locks.

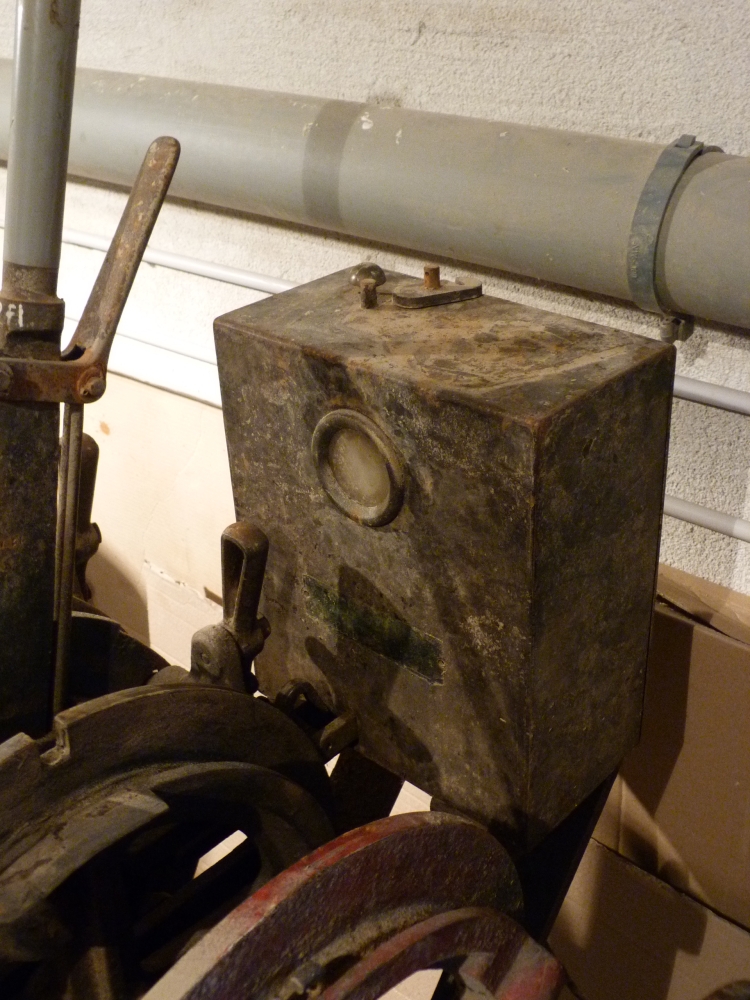
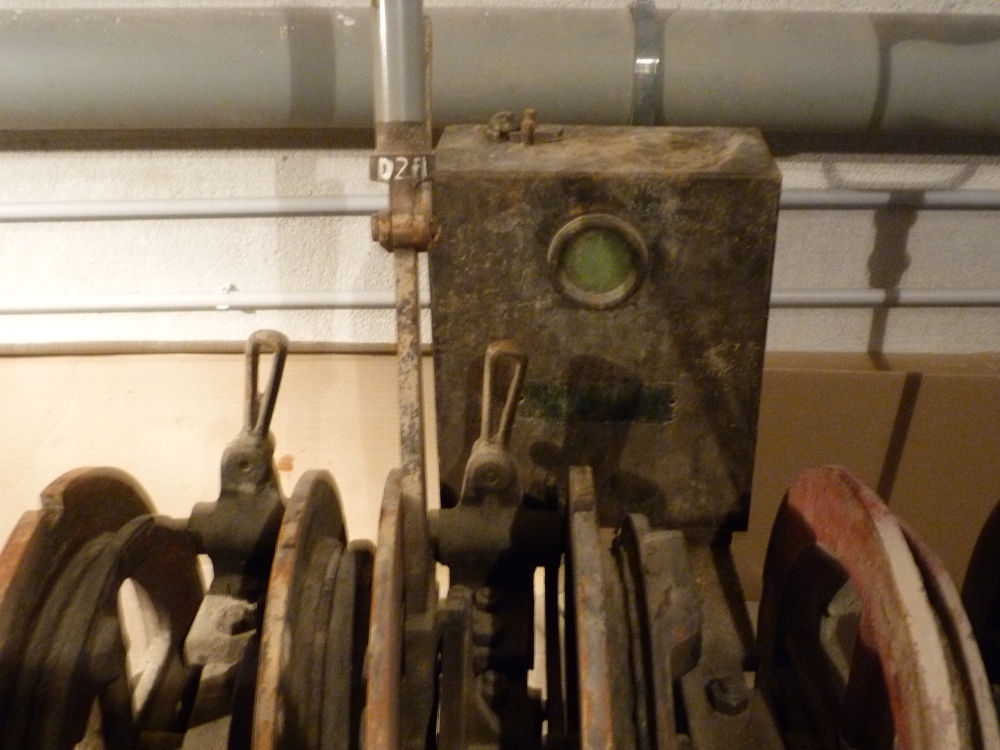
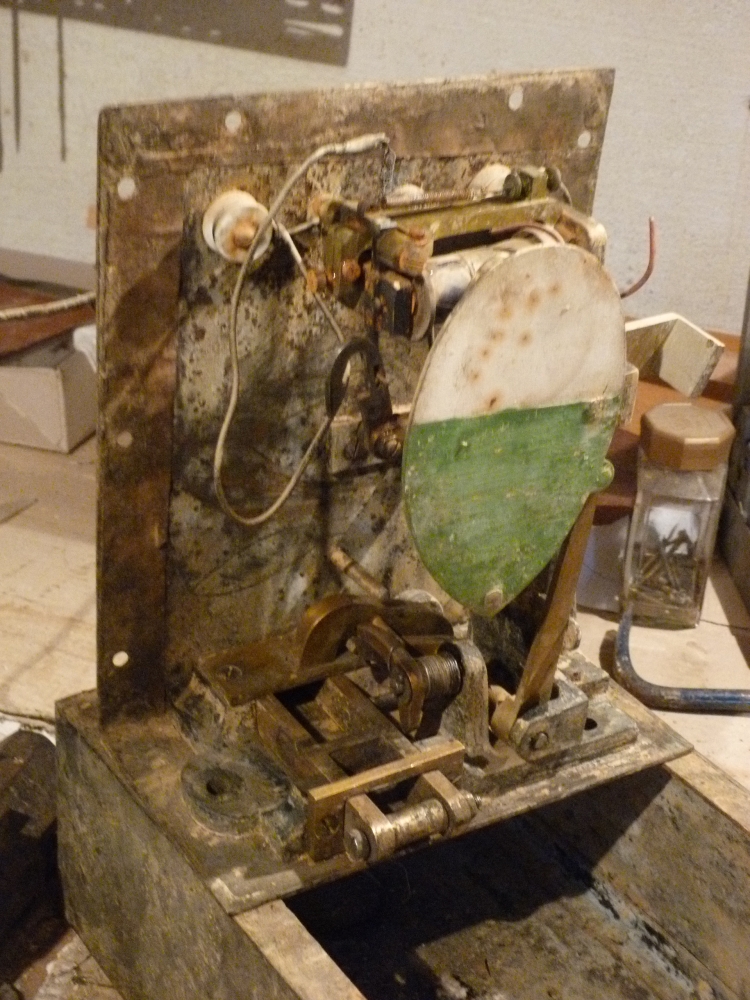
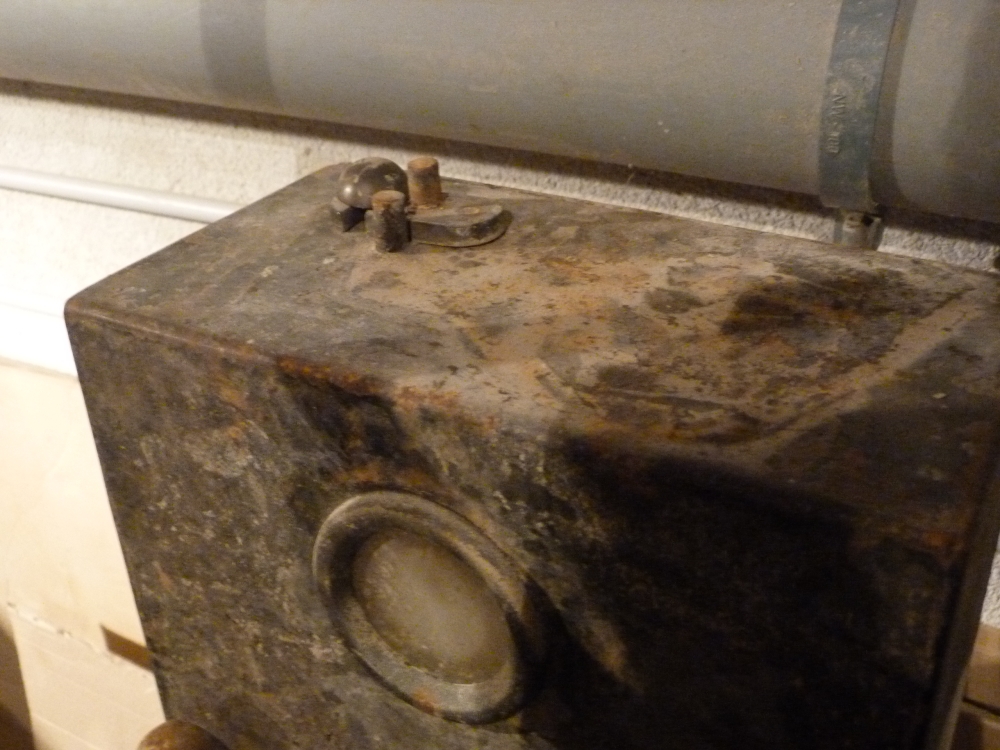
Here is the left box (still dirty from when it was submerged about ten years ago in the Danube and Kamp floods). Behind the glass pane, one can see a white sector which indicates that the fouling point lever is in normal position, and hence the route is not locked:

Electric lock in released position

The following picture shows the green sector behind the pane indicating a reversed fouling bar lever, which in turn locks the route bar in reversed position (however, unfortunately, I had removed the connection between the fouling bar lever and the electric lock before taking this picture, which is therefore somewhat misleading. When I find time, I'll replace this picture with a correct and focused one ...):

Electric lock in locking position

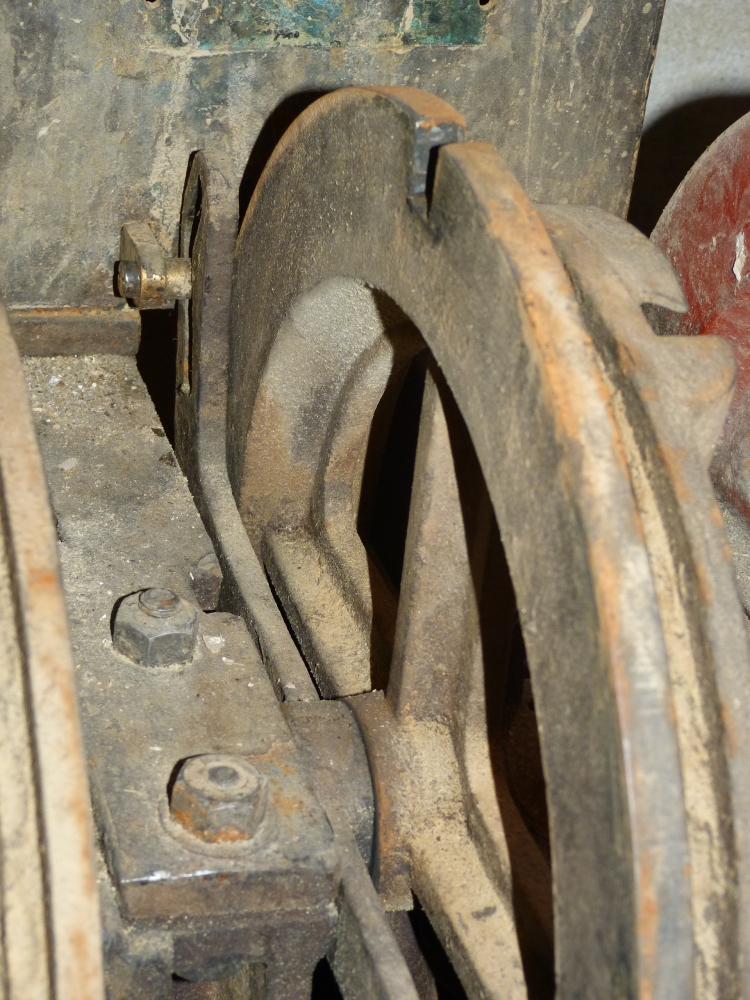
But now, let us look how the electric lock works. This picture shows the fouling bar lever in the middle. One can see that the locking weight lever is extended and ends with an upward part::

Locking weight of fouling bar lever

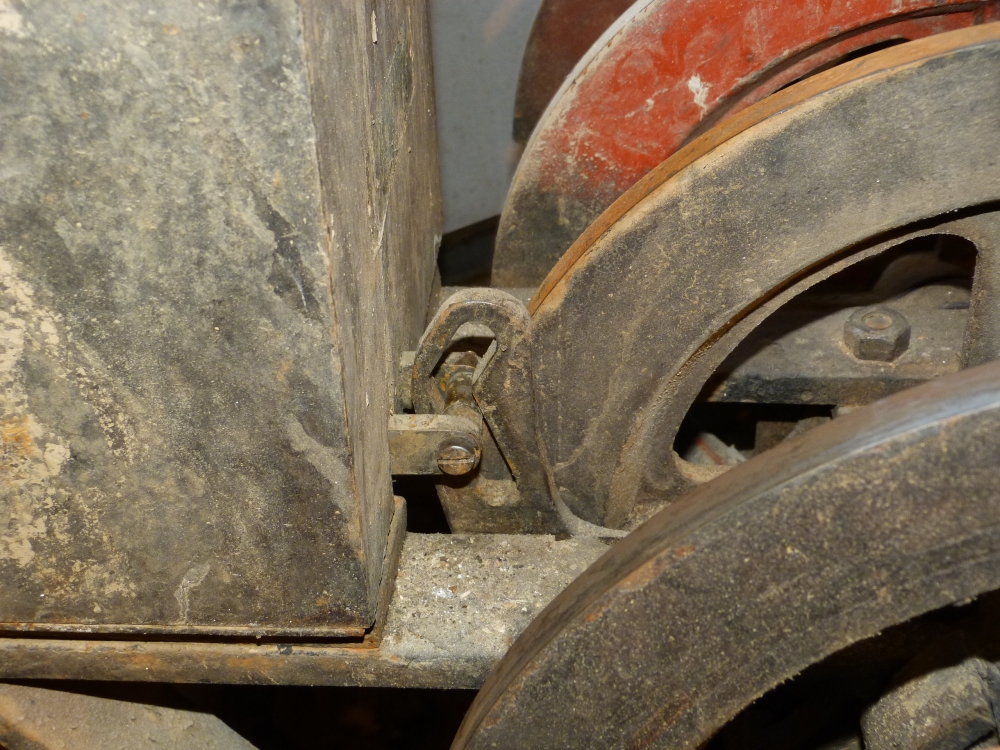
Here is the upward part again, which is crossed by a bolt on a bar vanishing in the electric lock:

Locking weight lever of fouling bar lever

Again the upward part, and one can see that two bars go into the electric lock. Both the fouling bar lever and its locking weight lever are in normal position here:

Locking weight lever of fouling bar lever

Now, I lift the locking weight lever (of the fouling bar lever), which is only possible if the route bar for an entry route has been reversed. Lifting the locking weight lever pushes the bolt a little bit towards the electric lock:

Locking weight lever is lifted

I can now reverse the fouling bar lever (actually, my left hand should be on the locking weight—but I needed it to trigger my camera):

Reversing the fouling bar lever

Finally, the locking weight can be dropped. The diagonal slot pulls the bolt out of the electric lock, which is now locked in this position (we'll see in a moment how this is accomplished):

Locking weight lever dropped (bolt pulled forward)

Locking weight lever dropped (bolt pulled forward)

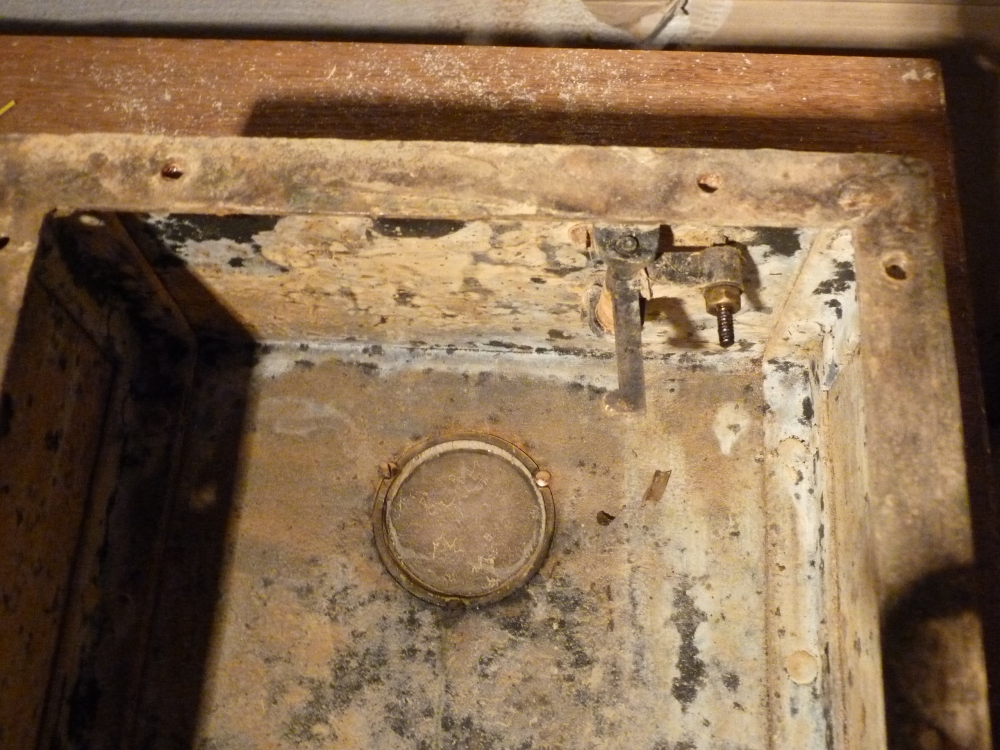
Because of the locked bolt, it is now impossible to lift the locking weight, as this would push the bolt into the electric lock. But what prevents the bolt's movement? To see this, I removed and opened the electric lock. This picture shows the bolt at the lower left:

Opened electric lock

Two videos show the lock's workings. The first one shows the interaction of three levers in the lower part of the electric lock:
  • The first one, which I move by hand, will push ...
  • ... the second, which in turn will lift the locking disc.
  • The third lever, in the back, causes the actual lock by falling behind a link between the two long bars which carry the bolt we saw above.

Internal levers of electric lock

The following video shows the actions inside the electric lock during locking and unlocking:

  • Locking starts—as explained above—by pulling the bolt out of the lock. The first and second inside levers lift the locking disc. A bolt at the acute green end of the disc gets hooked into a U hook which holds the disc in its raised position. At the same time, the third inside lever falls behind the link bar, so that the bars to the bolt are now locked in their forward position.
  • Either the train (via a treadle) or the station master (via a button on the platform) can activate a solenoid behind the locking disc. The solenoid picks up an armature (which I simulate with my finger) and releases the disc. It falls down and, via the second internal lever, lifts the third lever, which opens the way back for the link bar and hence the bars with the bolt. The locking weight lever therefore can be lifted to release the fouling bar lever, whose reversal in turn releases the route bar.

Locking and releasing

On the top of the electric lock, there is an additional, sealed key. Like the solenoid, this key moves the armature and hence allows a route to be unlocked in case of a malfunction or when a train is cancelled after the route has been locked:

Auxiliary key

Auxiliary key lever

Finally, here is a link to a picture of a similar lever frame preserved at Windischgarsten (the neighbor station of Steyrling):

http://www.wandern.com/land/at/oberoesterreich/urlaubsregion-pyhrn-priel/ausflugsziele/kultur/eisenbahnmuseum.html

Also the museums at Ljubljana (Slovenia) and Hradec Králové (Czechia) have 12SA frames—however, none of the photos I have seen at at stellwerke.pechstein.net seems to show an electric lock like mine and the one from Windischgarsten.

Sunday, May 12, 2013

The Einheit frame at Thann-Matzbach, Bavaria (2011)

When I visited the Krauss frames on the Munich–Mühldorf line at Hörlkofen, Schwindegg and Weidenbach, I also dropped by at Thann-Matzbach. This station has a mechanical "Einheit" frame, i.e., of the standard type that was solely built from about 1910 onwards. Here are a few photographs of this not-so-interesting frame (there are still many "Einheit" frames in Germany):


Here are the starting signals of this station—each one is combined with a shunting signal:


Finally, here is a picture of the station building; the lever frame is in the annex: