Wednesday, May 11, 2016

Switzerland, 1988: Mechanical frame rebuilt for electric points at Grenchen Süd

Deutsche Version dieses Postings

Update 15.5.2016: Also this posting now contains comments and corrections by Hanspeter Thöni. His text contributions are shown in italic.

From Brig, we took a train to Lausanne and then on to Biel, more or less just looking out of the window. A few snapshots were taken, but nothing memorable:
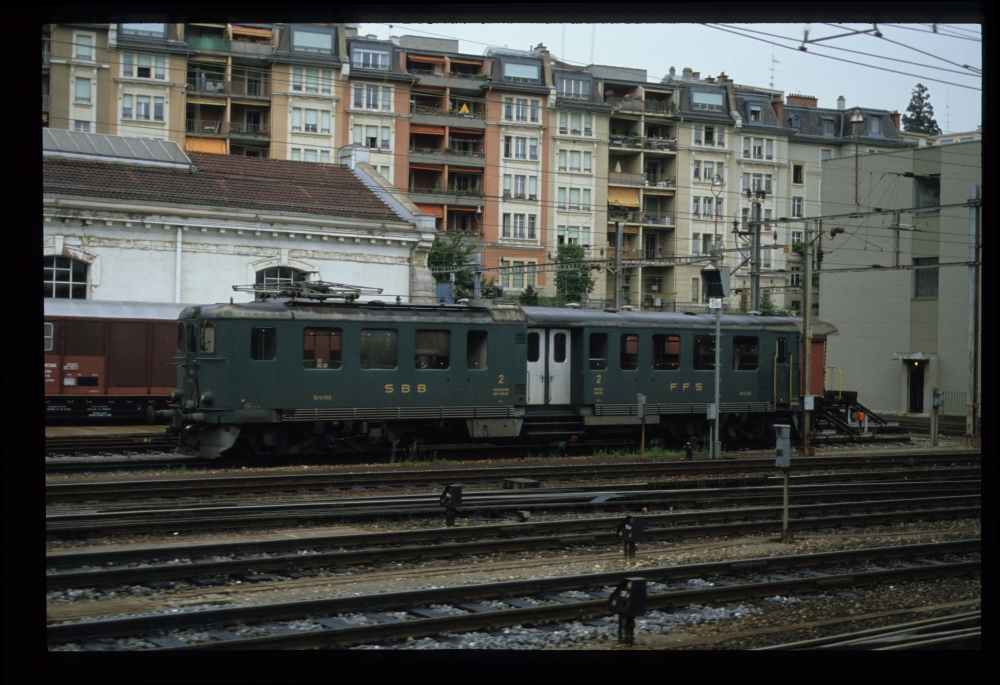
SBB Be4/4? 1615, where?, 16.8.1988
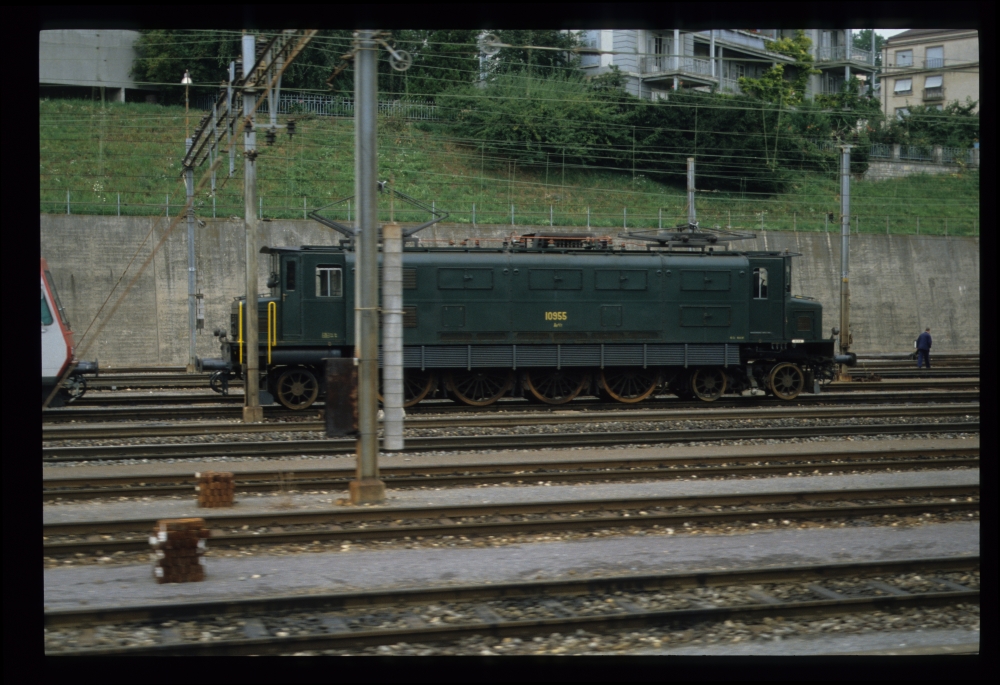
SBB Ae4/7 10955, where?, 16.8.1988

The next picture shows the minimalist "single lever ground frames" the Swiss use for many ground-operated points. Whether they did this for reasons of efficiency or safety, I do not know—probably a bit of each.

Hanspeter Thöni comments: These 'single ground frames' have another advantage: It is possible to see whether points were run through, as a seal would be broken in that case:
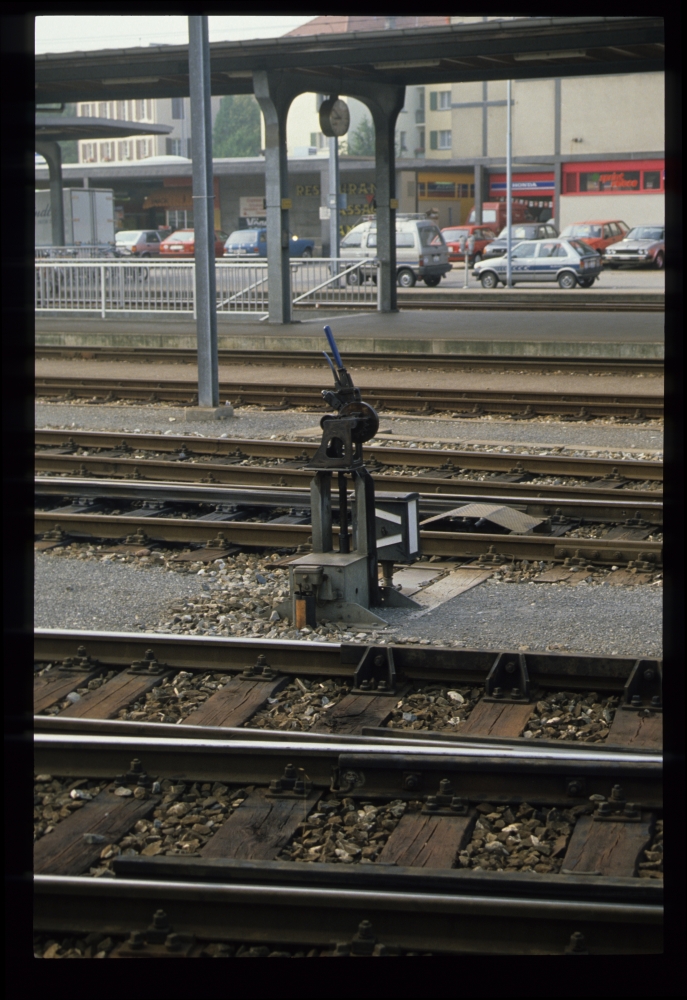
Points lever, Biel/Bienne, 16.8.1988
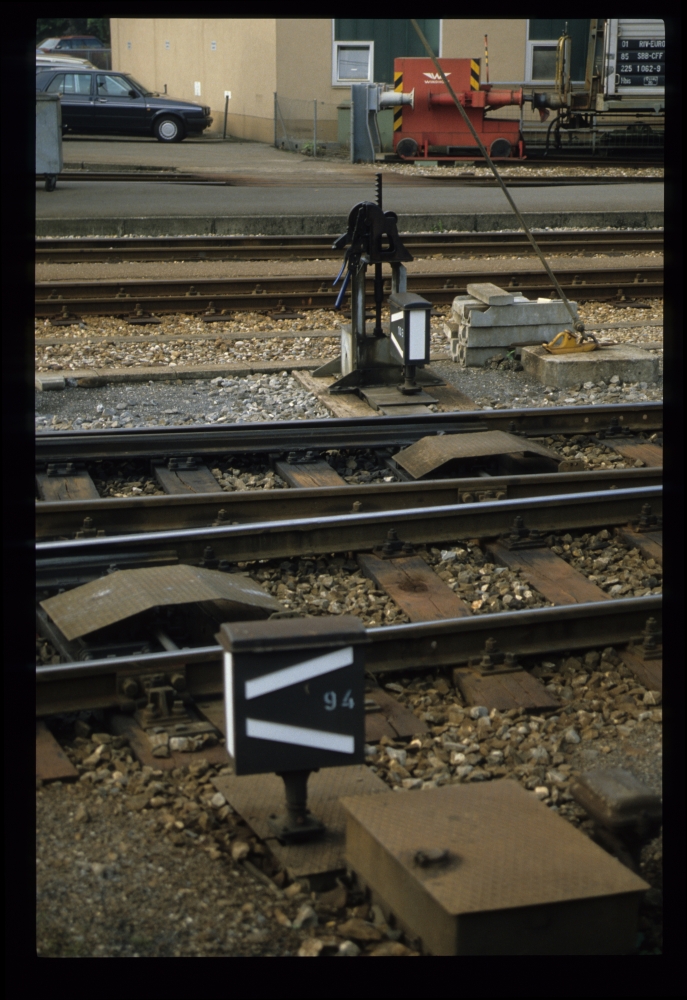
Points, Biel/Bienne, 16.8.1988
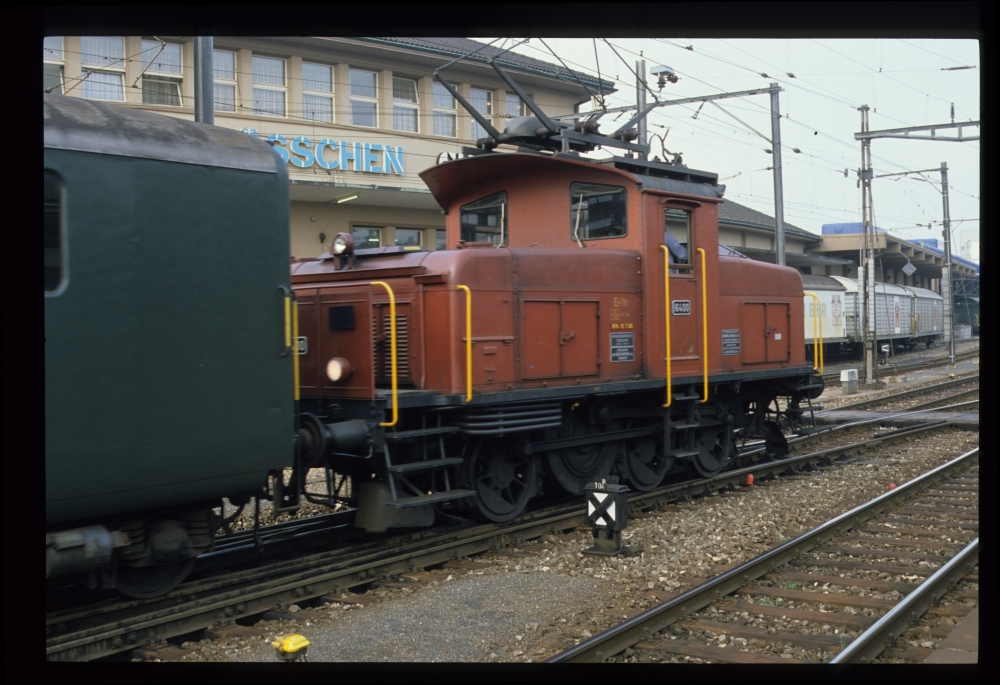
SBB Ee 3/3 16400, Biel/Bienne, 16.8.1988

At Grenchen Süd, I took photos of the lever frame. It was an electromechanical frame, but built from parts of a purely mechanical one. Points and signals were controlled by levers originally designed as route levers, painted in blue and red. Additionally, traditional green route levers were also provided.

Using levers formerly used for route locking as points levers was done on various lines, e.g. throughout the line Luzern-Olten. The levers moved the locking bars as well as contacts in the lever lock above the lever:
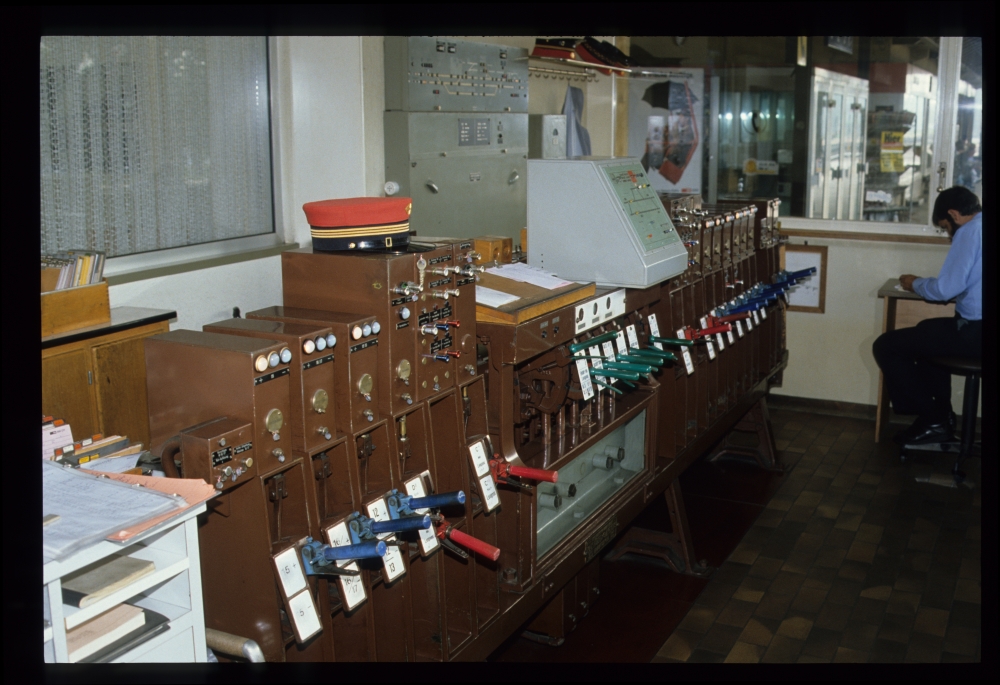
Lever frame, Grenchen Süd, 16.8.1988

Here is a picture showing only the route levers—I will study them more below to show some Swiss specialties. Above the levers, there are three windows showing red or white for each main or loop track. I believe they only provide a mechanical feedback whether a route is set for one of these tracks, but I do not know their operation in detail.

The red and white discs are part of the 'virtual track occupation indicator' ('fiktive Gleisbelegung'). This is a mechanism from the times when not all tracks were provided with track circuits. A route into could only be locked when a white disc was shown in the window. When the route lever was reversed, a red disc was shown. This disc remained visible until the route lever for a route exiting the track was returned to normal. The mechanism also enforces the following sequence of route locking: First, a route leading into the track must be locked, and only afterwards is it possible to lock an exiting route. In Switzerland, so-called 'simplified route order' ('vereinfachte Fahrstrassenreihenfolge') was used: An exiting route can be locked at any time, even if no entry route has 'virtually occupied' the track. In order to virtually occupy or clear a track—e.g. for a shunting move—, it was necessary to lock a 'blind route,' i.e., reverse and then return the route lever without clearing a signal.

On top of the frame, there is a small Integra panel for a level crossing in a neighbouring station, most probably Bettlach: For Grenchen Süd, neither the track numbers nor the layout nor the signal names do match, and Lengnau is larger. But why was the level crossing not controlled by Bettlach's train director—there must have been one there, because block working to Bettlach was still manual, as we will see below. Something is at odds here ...

Bettlach was provided with 'through-routing' (see the next posting from St.Blaise for a more detailed explanation). Thus, that station was at times not manned. It was customary for such stations that a Domino panel with a few functions (like barriers, emergency stop) was located in a neighbouring station. At Bauma in the Töss valley, such a situation has survived until 2014. For all other operations, the station had to be manned for local operation. The "line clear" indication that allowed trains to run towards a neighbouring station was only provided for single-track operations [e.g., in case of works]. When both tracks are available, no "line clear" request and indication are possible and needed.

The picture of Pieterlen in the next posting shows that the block was not automatic. There were no track circuits or axle counters to check track occupation (which should have been clear, because there is clearly a button for acknowledging the arrival of a train). Therefore, the interlocking at Bettlach was certainly not provided with 'automatic through-running' (including automatic clearing of signals), but only with 'cut out' of that station from the line block, as no one could have signalled back "line clear" when the station was not manned.


In the bottom right corner, the panel contained a few more buttons for dimming the signal lights during night operation and for switching on and off the lighting in the points indicators here in Grenchen Süd:
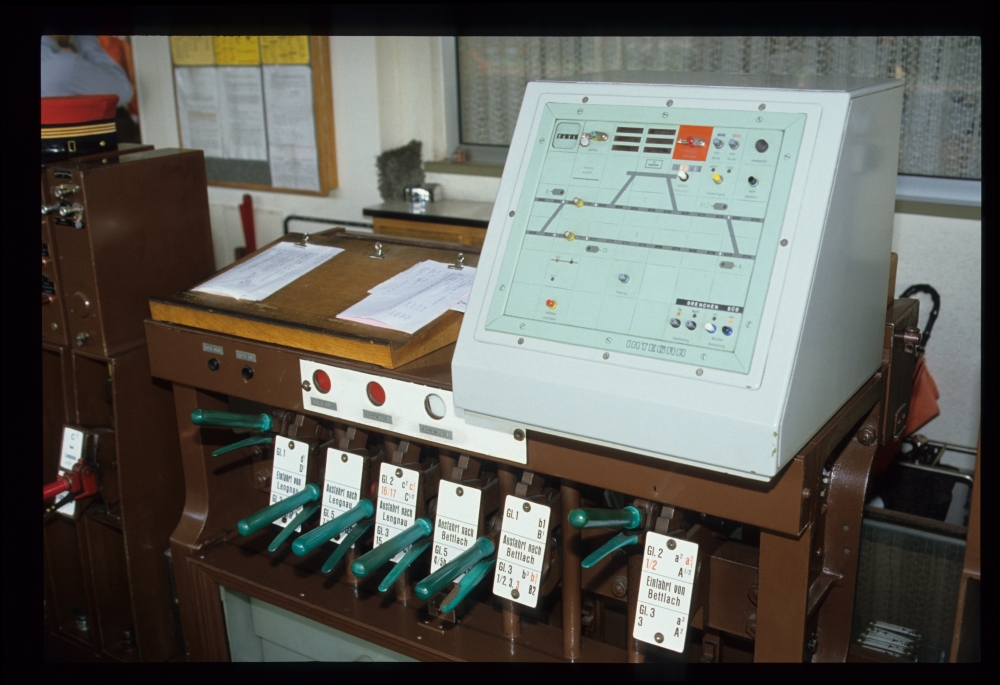
Route levers and Integra panel, Grenchen Süd, 16.8.1988

Here is a picture of the signal panel—unfortunately, my flash left a white spot in the center. Both home signals are cleared, but not the starting signals: This is somewhat puzzling, as for through trains (even when stopping at Grenchen Süd), the starting signals would typically have been cleared together with the home signals:
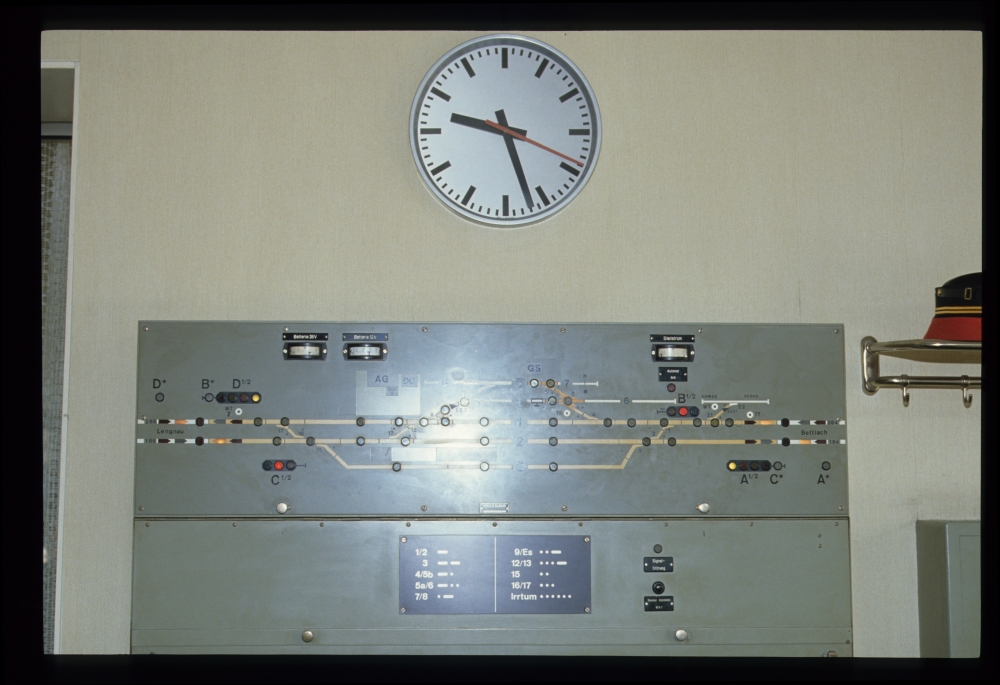
Track and signal panel, Grenchen Süd, 16.8.1988

Here is my reconstruction of the track layout (click opens a readable PDF file):


The following detail shows the route levers and their tags, which I'll use to construct a locking table:
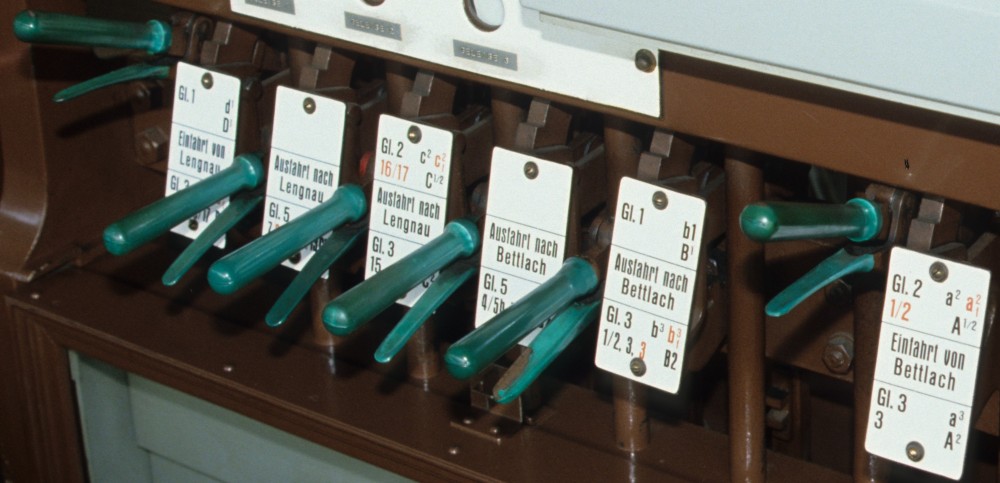
Lever frame, Grenchen Süd, 16.8.1988

And here is a short table of the possible routes, which shows two special Swiss features. The routes going into and out of the main tracks 1 and 2 are obvious. Also the routes for track 3 are to be expected: This loop track can be used in both directions of travel. However, the routes out of track 5 would not be found in other Central European countries: After all, track 5 is the track at the goods shed, a typical shunting track. Yet, in Switzerland, it was customary that trains could directly leave such tracks towards the main line. Another Swiss feature is that one of this routes includes a derail.

This derail was necessary as there was no other flank protection from track 4 to track 1:
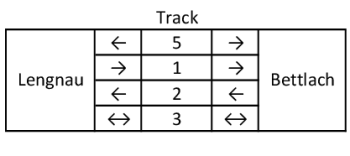
Here is my attempt to reconstruct the route table of this frame from the tags near the route levers. The italic plus signs have been added by me, as the route tags only show the points that have to be reversed.

In addition to the black marks, there are also routes and point numbers written in red. Looking at the track layout and the block apparatus, I am quite certain that they indicate routes going to the right main track, instead of the standard left one. The reason for these additional routes was that on both sides of Grenchen Süd, bi-directional single-track operation in case of works etc. had been provided. The red numbers are those of points that must be reversed for these opposing routes. For some routes (e.g. b3f), these might be fewer than for the corresponding standard route, for others (e.g. c2f), there might be more.

The line is not "banalised," i.e. provided for bi-directional operations. This would have required home signals on both tracks on each side.

When the interlocking frame was built, only routes from the left track into the station were provided. Running against signals on the wrong track was not possible. With standard two-track operations, it is also not possible with the enhanced frame shown here. However, when direct-current block working was introduced, the interlocking was provided with the possibility to take one track out of operation and use the remaining track as a single-track line. But this created a problem: It was now necessary to provide routes to and from this track when it was not the standard track in two-track operation. One possibility chosen quite often was to equip the frame with additional route levers. However, here, another method was used: Some route levers could lock two different routes in the same position, e.g. a2 and a2f. a2 is the route from signal A to track 2, whereas a2f is the route from signal A to track 2 from the wrong (German: falsch) track. A similar case can be seen with exiting routes b3 and b3f. The red colour indicates the route as well as the points needed for such routes.

However, I do not know the meaning of the red colour for points number 8, which can be seen on the route tags as well as near the corresponding points lever.

Florian Listl has suggested, and Hanspeter confirmed, that this means that the normal position of points no. 8 are into the diverging track.

Last, it is interesting to note the signal names: The small indices do not correspond to track numbers, but rather to the numbers of "arms cleared," even though the signals are of the colour light type. If two routes (a "black" one and a "red" one) shared the same route lever position—e.g. c2 and c2f—, both indices were shown, e.g. C1/2. The selection of the correct signal indication was obviously done by some circuits testing which points were reversed (click opens a readable PDF file):


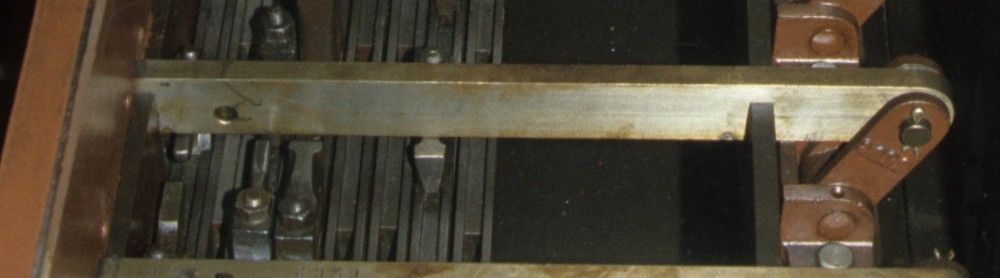
In addition to electric circuits, the points were actually also mechanically locked for the "wrong track routes": Special locking pieces, at times together with holes in the locking bars, provided the additional locking possibilities. In such cases, the correct position of the track could only be checked via electric contacts, but the lever could be mechanically locked in either position.

Such a hole can actually be seen in the picture of the locking bars below:

Here are the levers for starting and home signals on the Bettlach side and two points levers. The home signal A is cleared. The left points lever is for points 9 and derail Es (German for "Entgleisungsschuh", literally "derailing shoe"), the right one is for points 7 and 8:
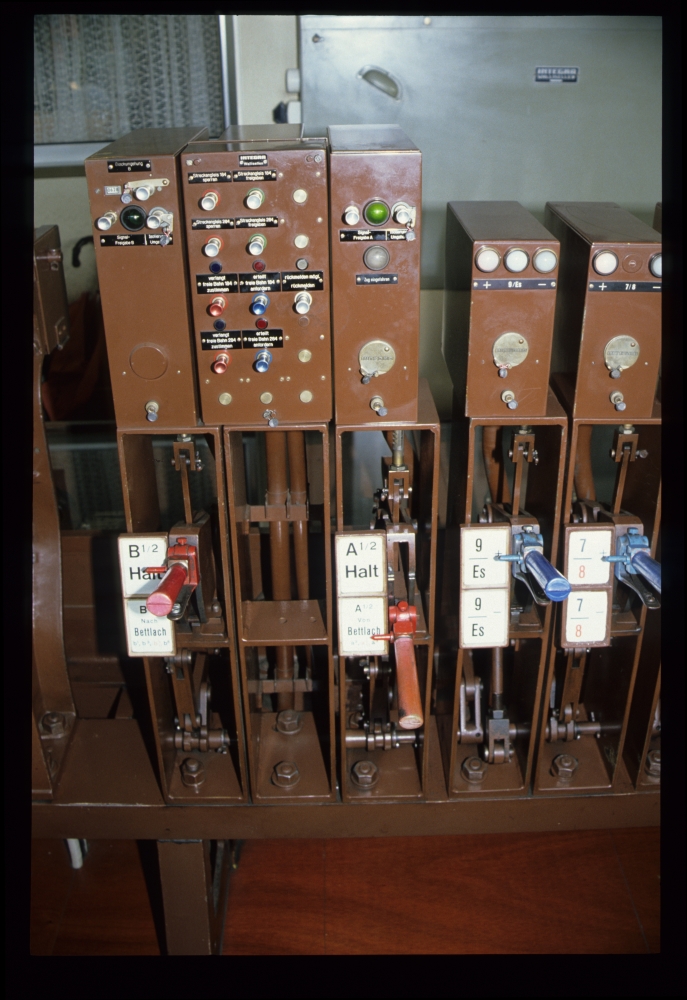
Lever frame, Grenchen Süd, 16.8.1988

The presence of bi-directional operation can also be seen on this enlargement of the block apparatus: For both line tracks 184 and 284, it is possible to separately request "line free" ("freie Bahn") as well as signal "train permitted" ("Zustimmung") to Bettlach. A similar apparatus is provided for the tracks 186 and 286 to Lengnau.

Actually, request and permit was not given per train in this installation, but a general permit was given for one direction to run an arbitrary number of trains. Requests and permits per train were only given in the so-called OH block, colloquially called "Chrüzliblock":
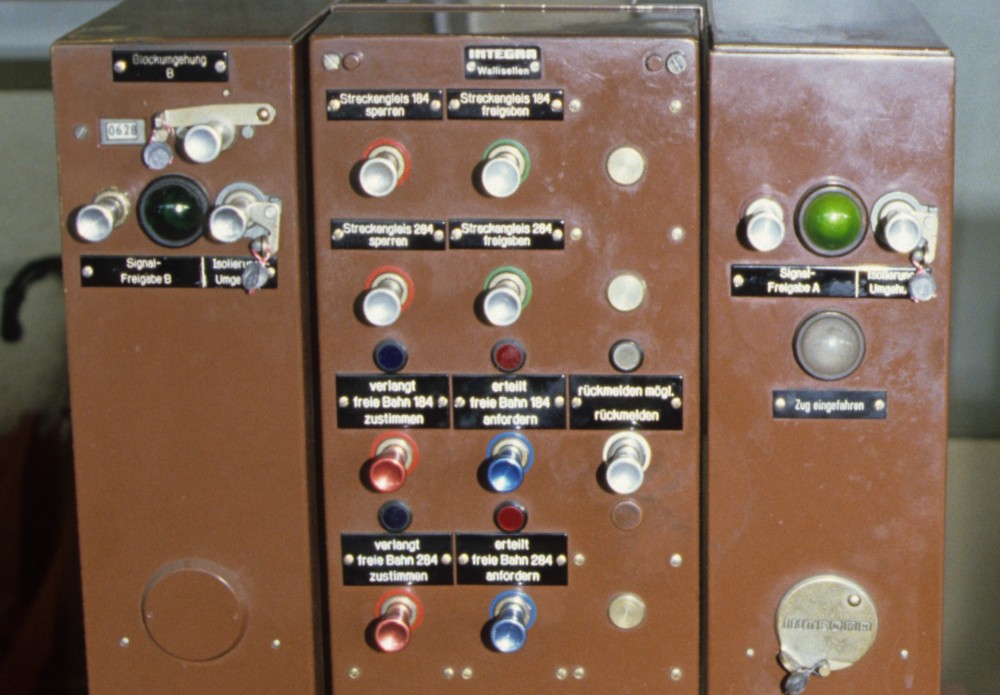
Block apparatus, Grenchen Süd, 16.8.1988

The following pictures shows that this type of frame, designed by the German company Jüdel, was the direct predecessor of the German lever frame type "Einheit": All the main parts, from the locking and route bars to the route levers to the overall layout, everything is very similar to that German frame type:
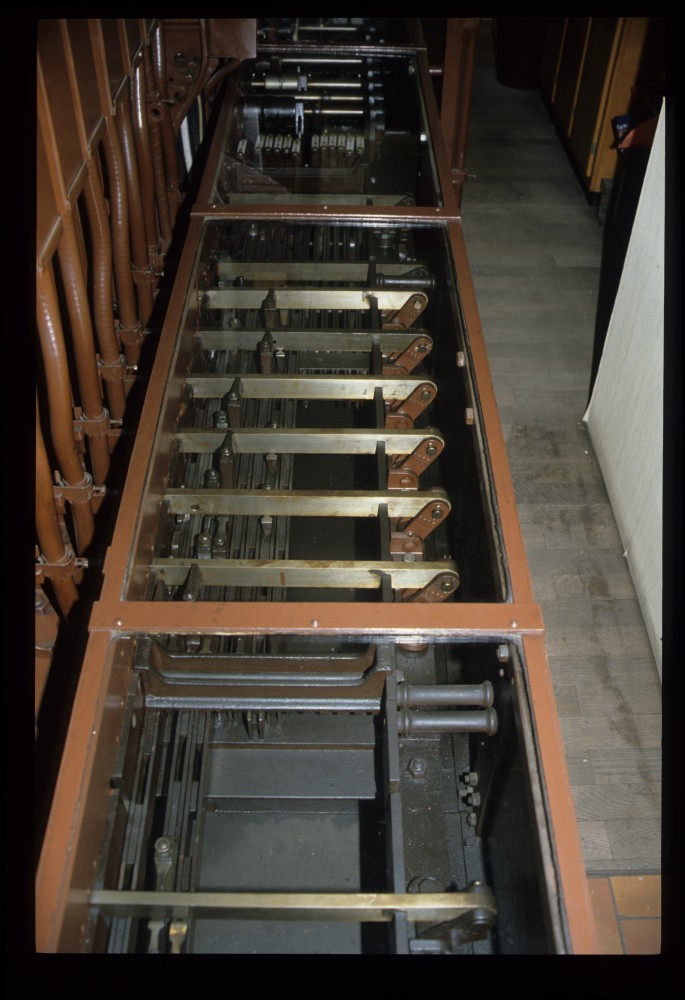
Locking bed, lever frame, Grenchen Süd, 16.8.1988

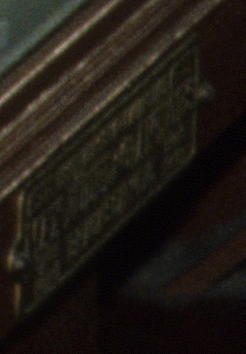
But I do not know who built this frame initially—it could have been Jüdel, but also a Swiss company like Hasler that had licensed the type. Here is an attempt to enlarge the builder's plate from the first image above—one could be tempted to decipher the name Jüdel in the middle.

The interlocking has definitely been built by Jüdel. If the old levers would have been present, that would be even clearer:

Last, here is a picture of the station building, with points 13 and 12 in the foreground:
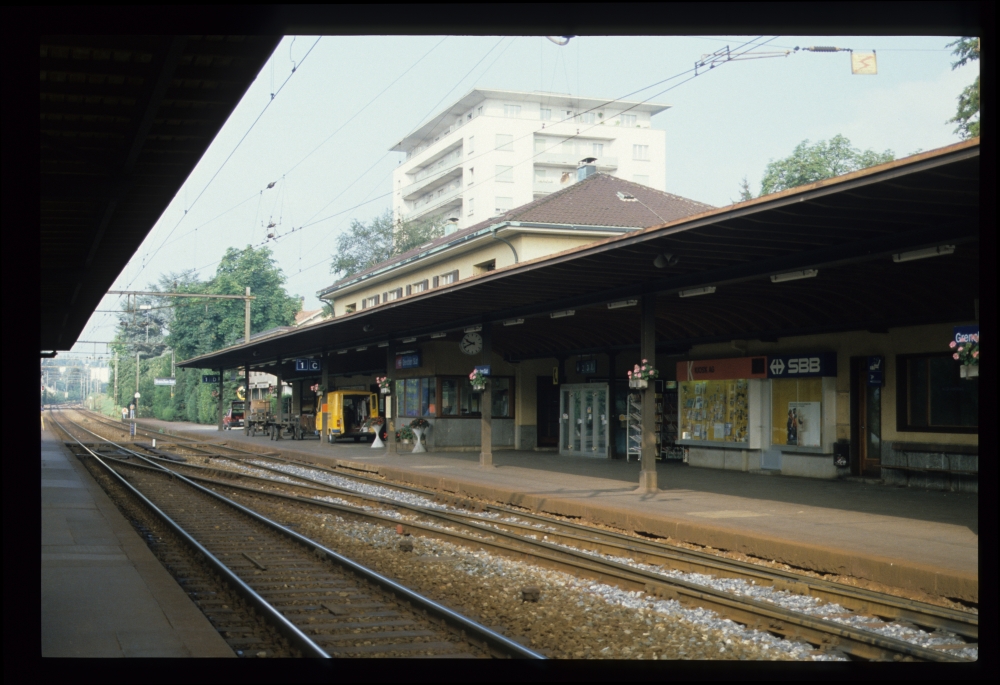
Station building, Grenchen Süd, 16.8.1988

Sunday, May 1, 2016

Switzerland 1988: From Disentis to the Matterhorn

Deutsche Version dieses Postings

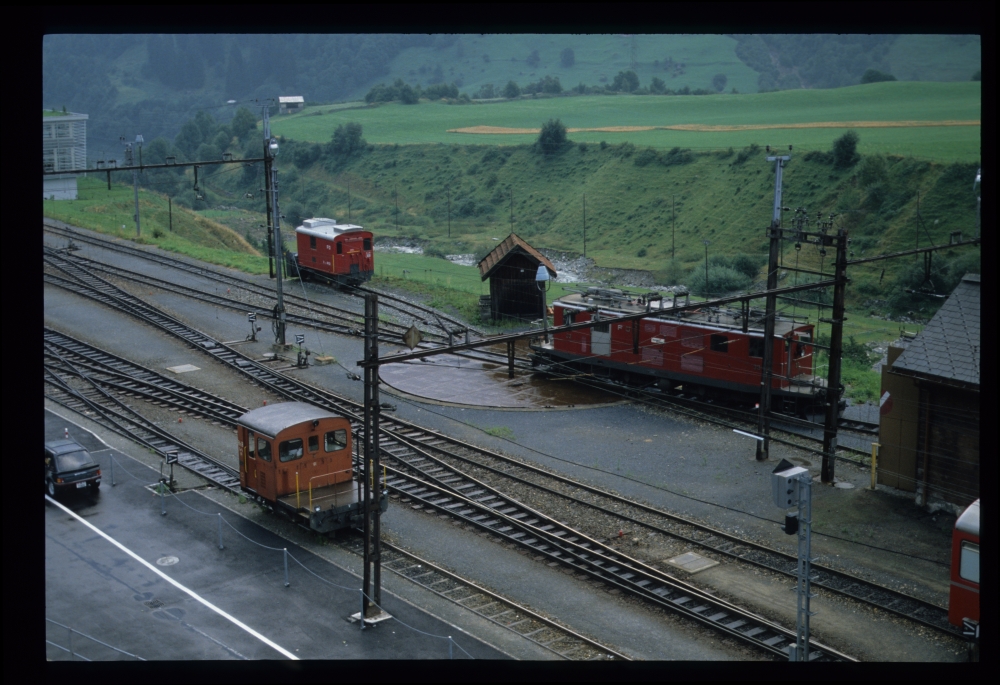
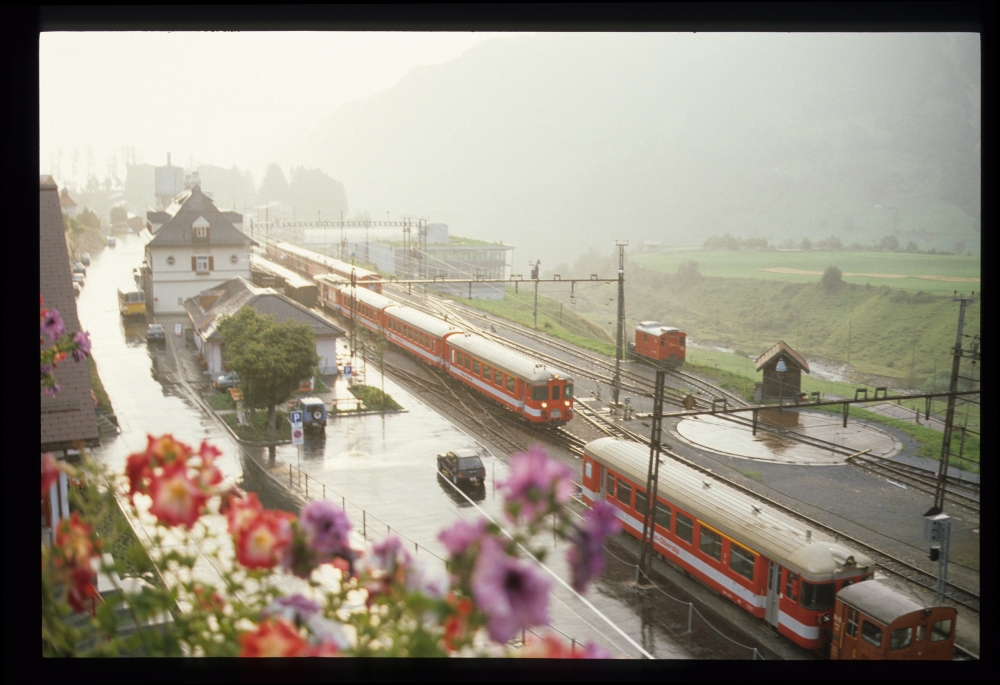
On the day after our Bernina tour, I could take this picture of the Disentis-Muster station:

Disentis-Muster station, 15.8.1988

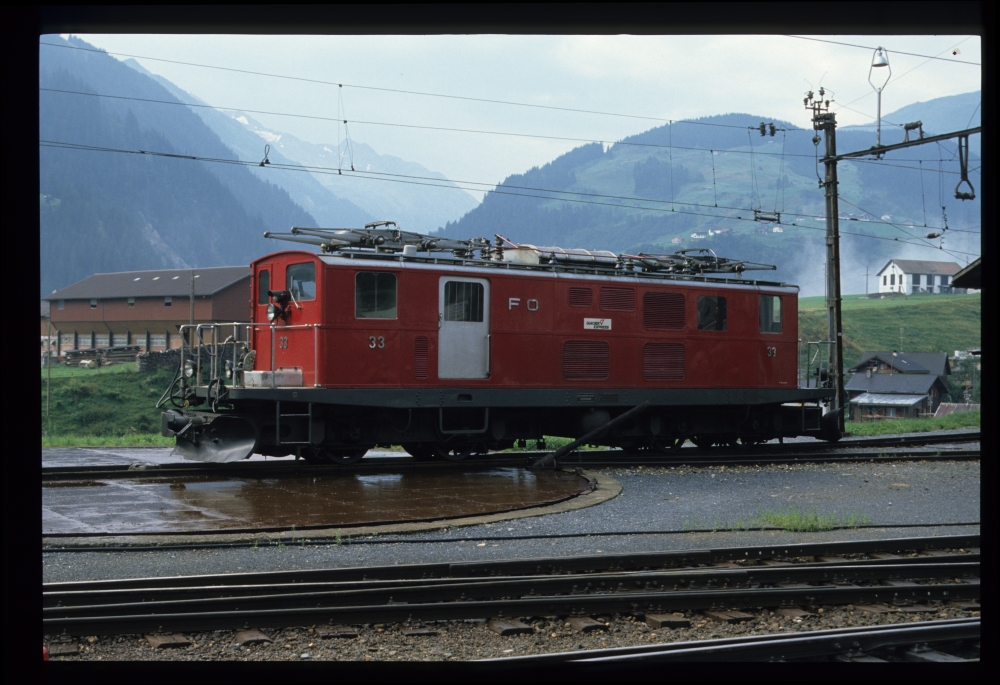
A short time later, an older Furka rack locomotive emerged from a shed and rumbled on the turntable:

FO 33, Disentis-Muster, 15.8.1988

We took a short breakfast and went to the tracks—but the FO locomotive had not moved:

FO 33, Disentis-Muster, 15.8.1988

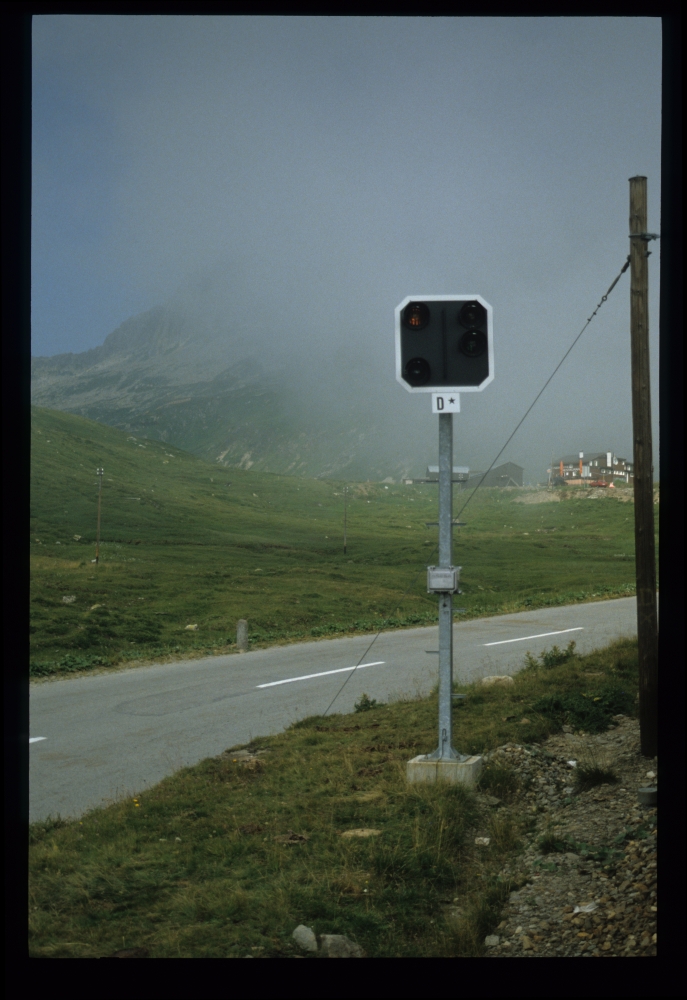
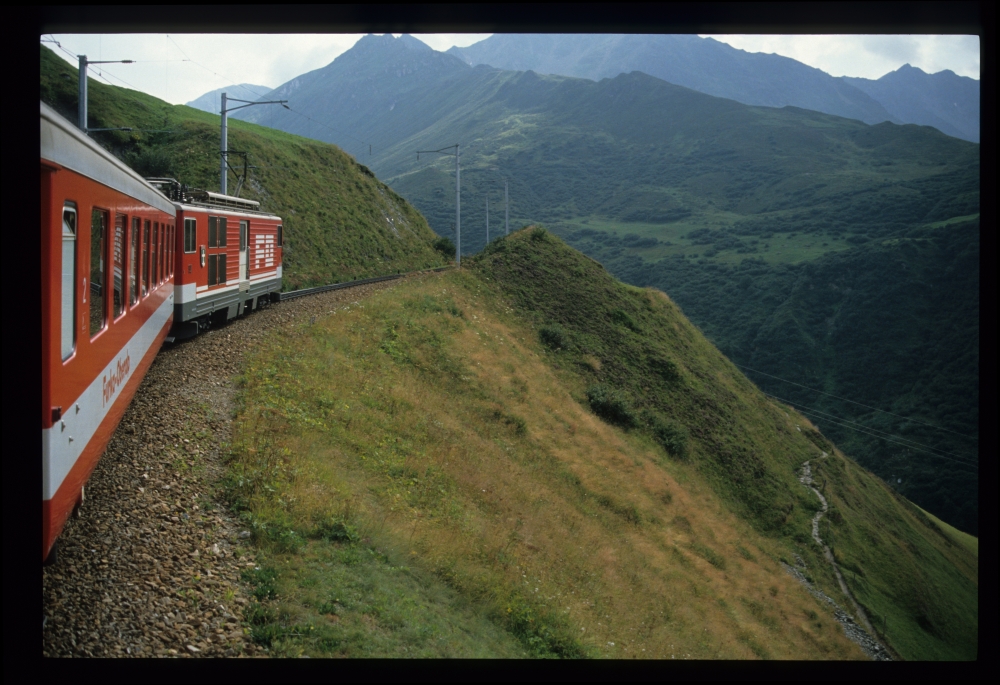
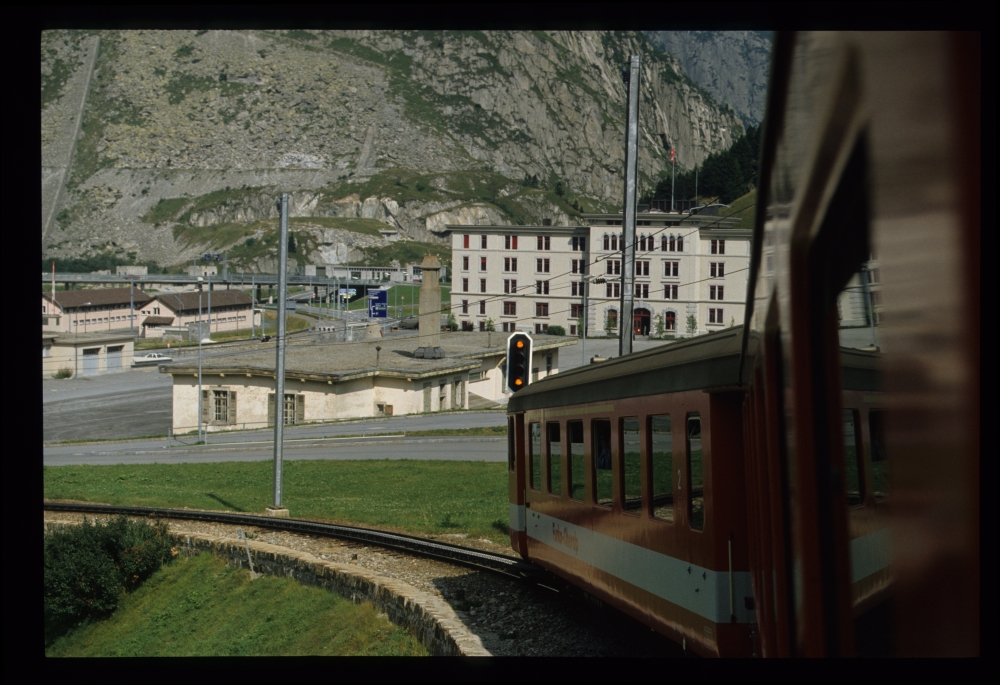
Our train, however, was pushed over the Oberalp pass by a newer Deh 4/4 II.

Distant signal D* of ?, 15.8.1988

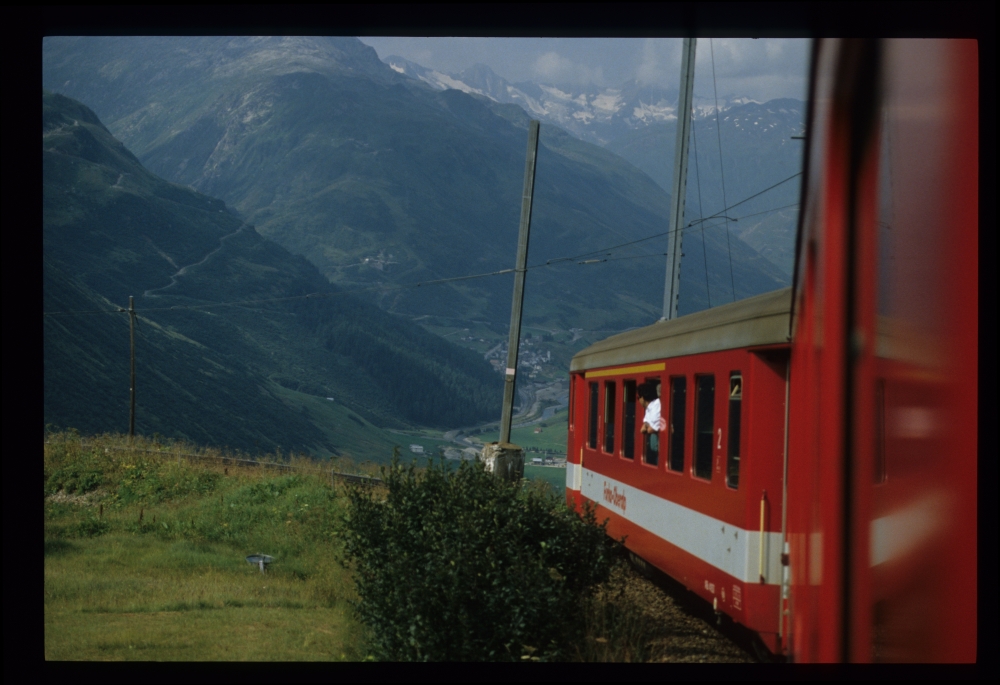
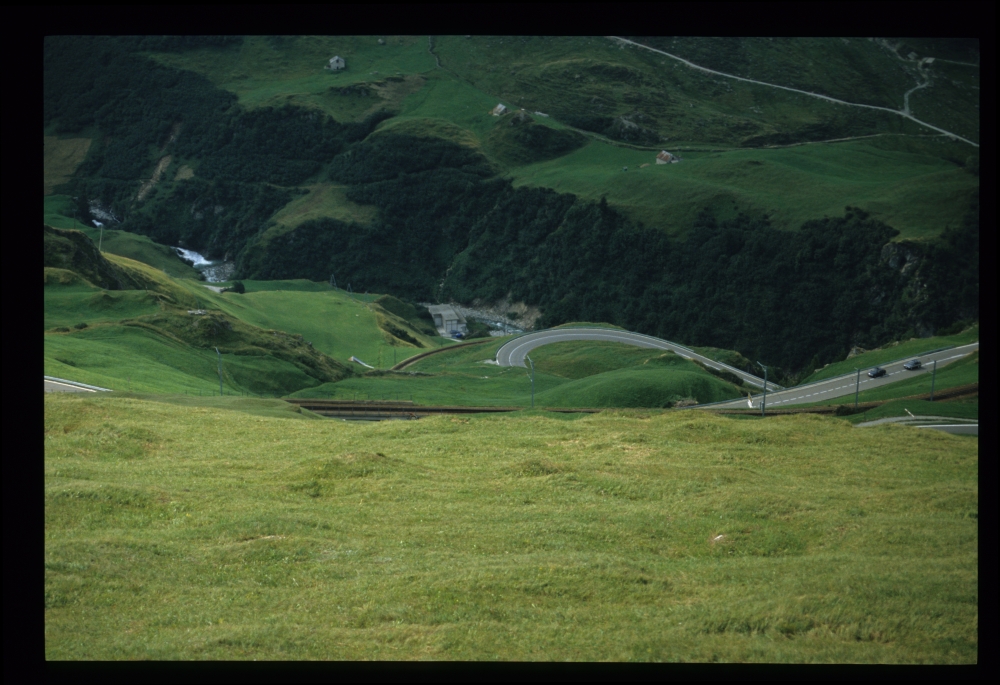
Descent to Andermatt, 15.8.1988

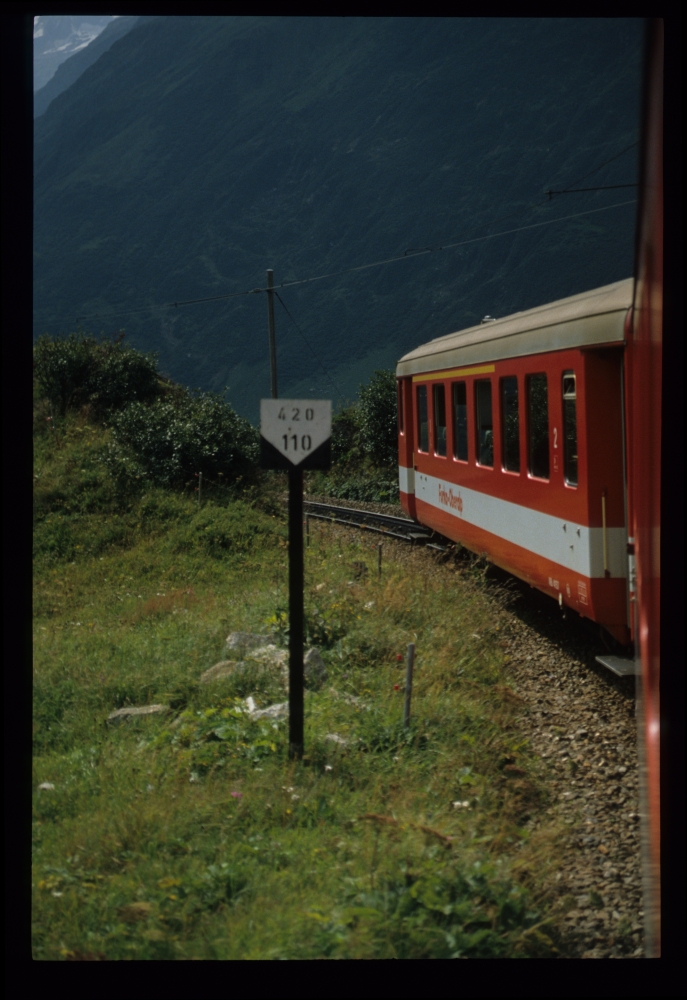
11% (110‰) downhill:

Descent to Andermatt, 15.8.1988

Descent to Andermatt, 15.8.1988

Deh 4/4 II 92 "Realp", descent to Andermatt, 15.8.1988

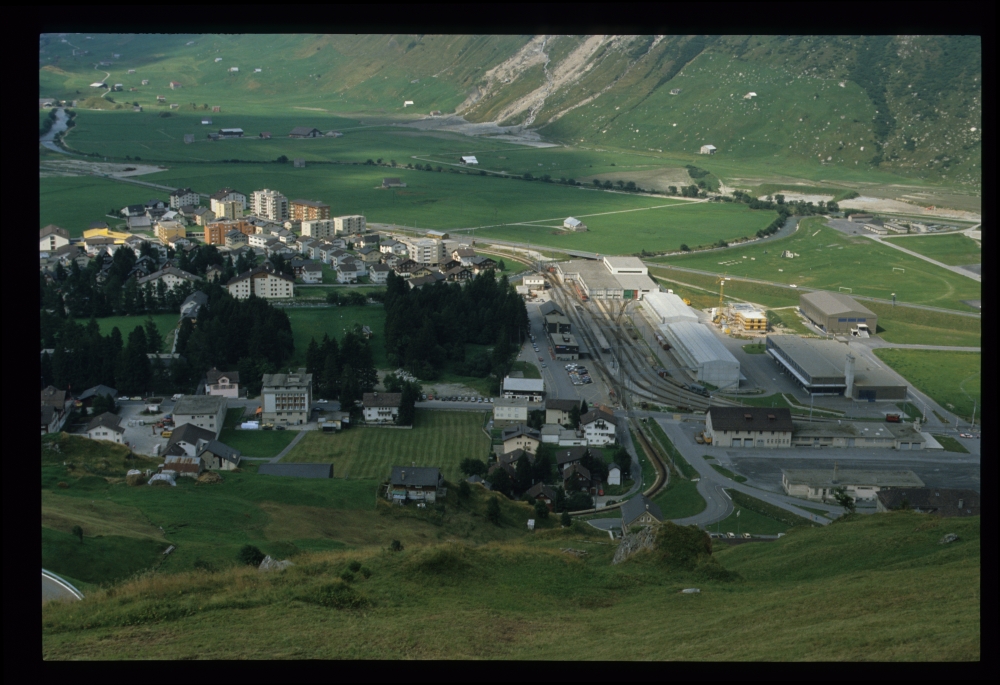
Andermatt, 15.8.1988

Home signal, Andermatt, 15.8.1988

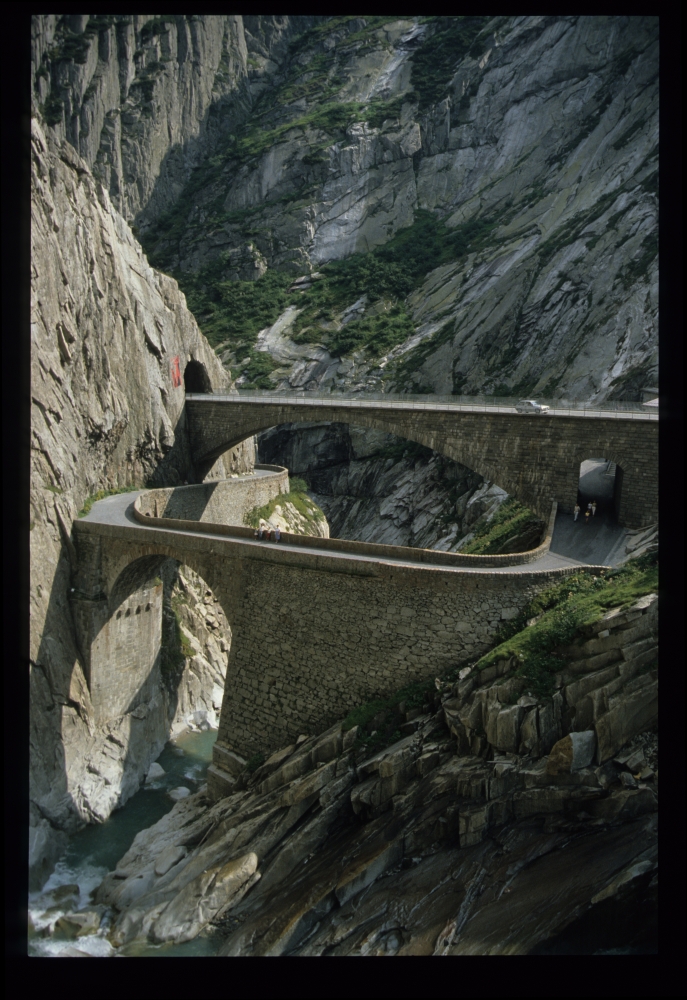
We took the next train down through the Schöllenen Gorge to Göschenen:

Schöllenen Gorge, 15.8.1988

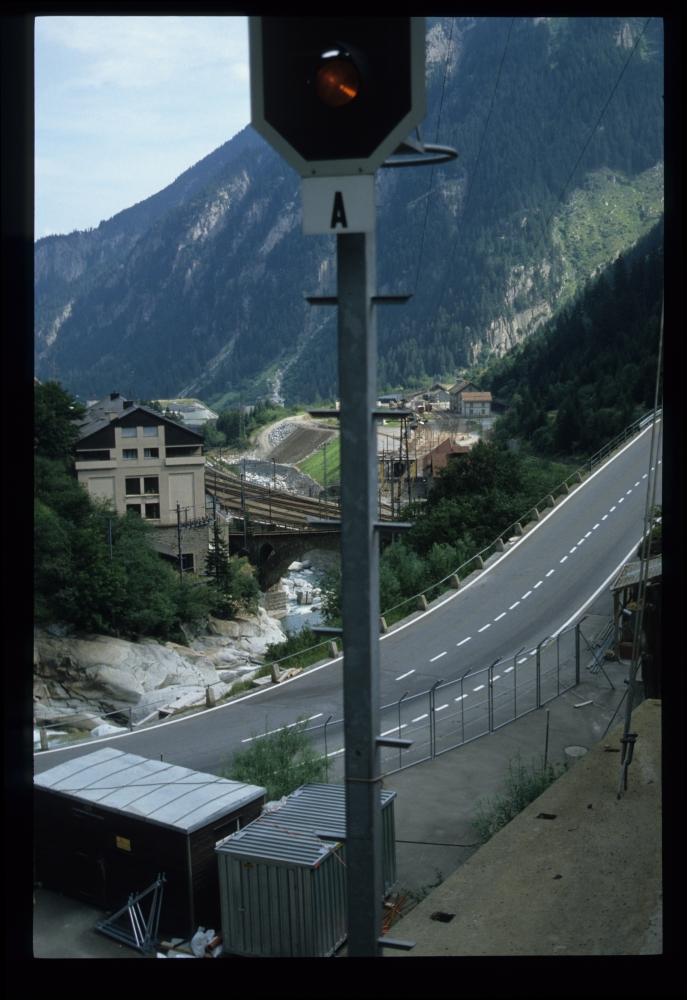
FO's home signal A, Göschenen, 15.8.1988

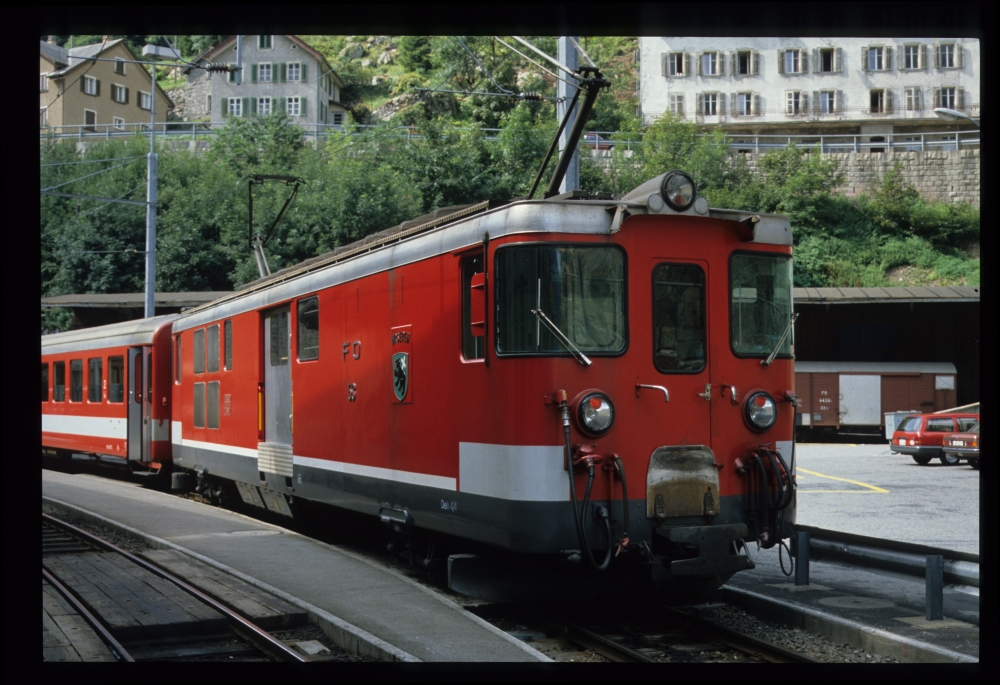
FO 53, Göschenen, 15.8.1988

I only took two signal box photos this day, of the Integra signalling panel at Göschenen. It is of type 'Domino 55 mit Zwergsignalen', i.e. "with dwarf signals" for shunting routes, as I have learned from Hanspeter Thöni. The upper part of the panel, which connects to an Integra Domino 67 interlocking, has the diagram and buttons for the northern part of the line through the Gotthard tunnel, with the two-way connection of the two tracks at "Gotthard Nord":

Integra interlocking panel, traffic bureau, Göschenen, 15.8.1988

Integra interlocking panel, traffic bureau, Göschenen, 15.8.1988

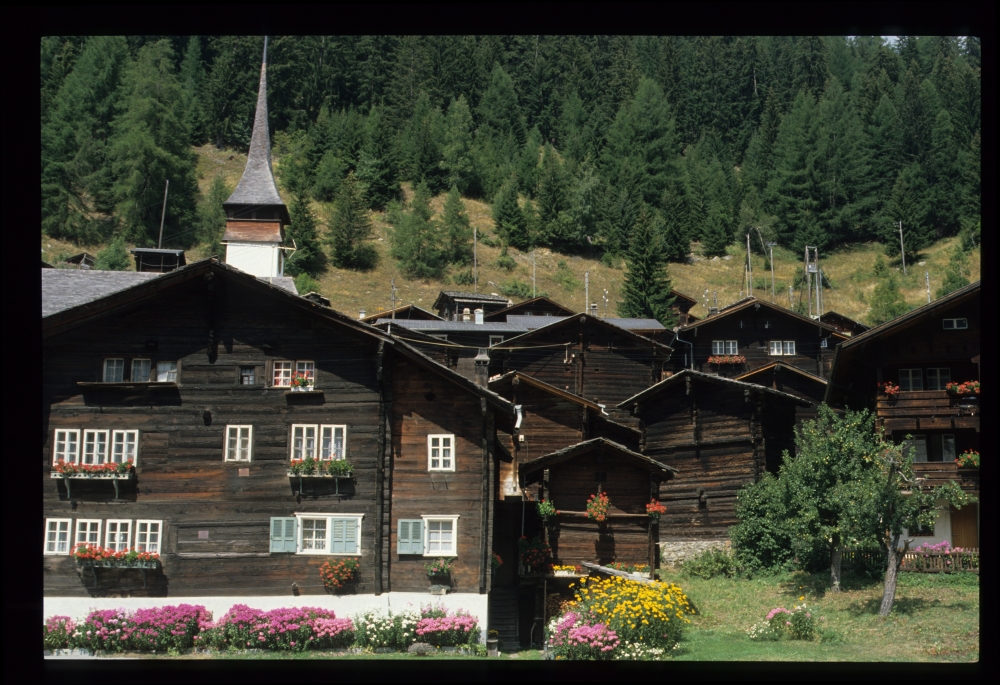
Somewhere near Brig I took this picture of a village consisting solely of log houses:

Somewhere near Brig, 15.8.1988

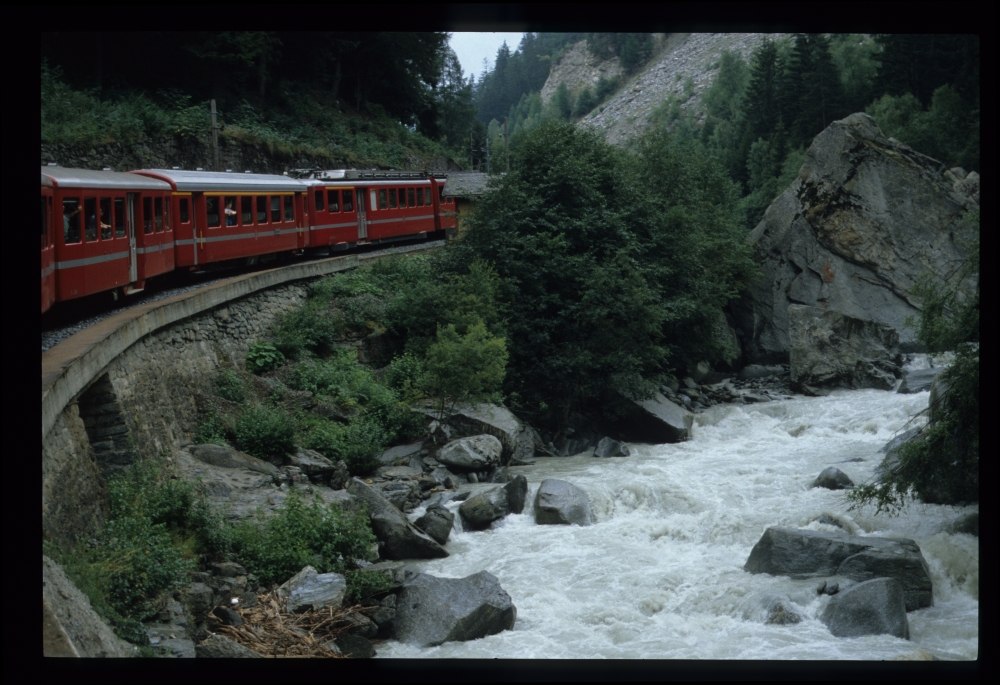
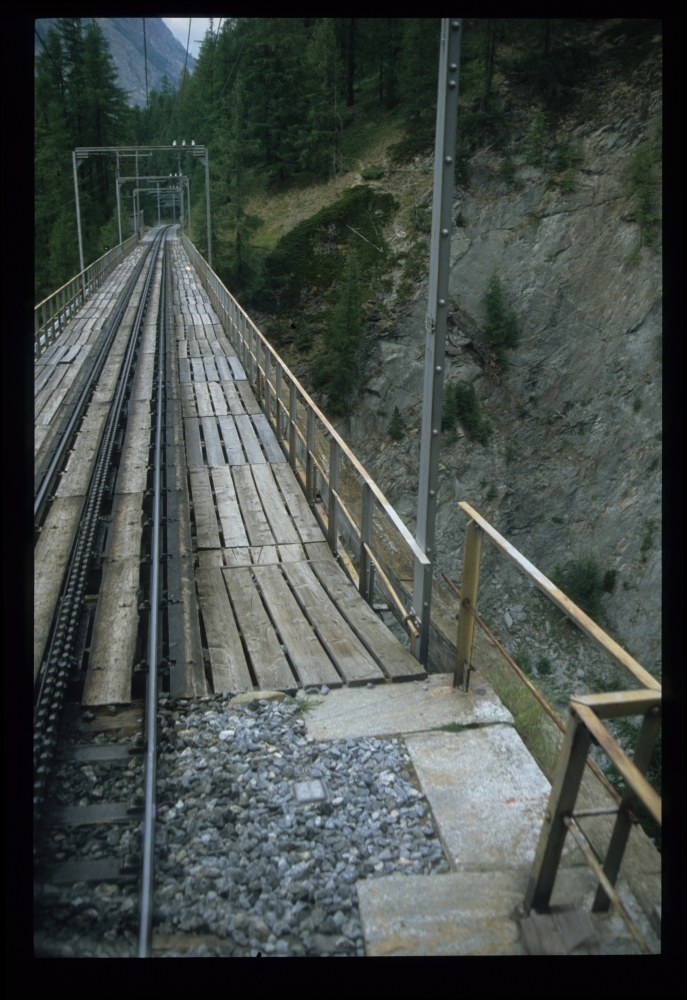
The following picture is probably from the gorge between Visp and Zermatt on the BVZ:

Somewhere between Visp and Zermatt, 15.8.1988

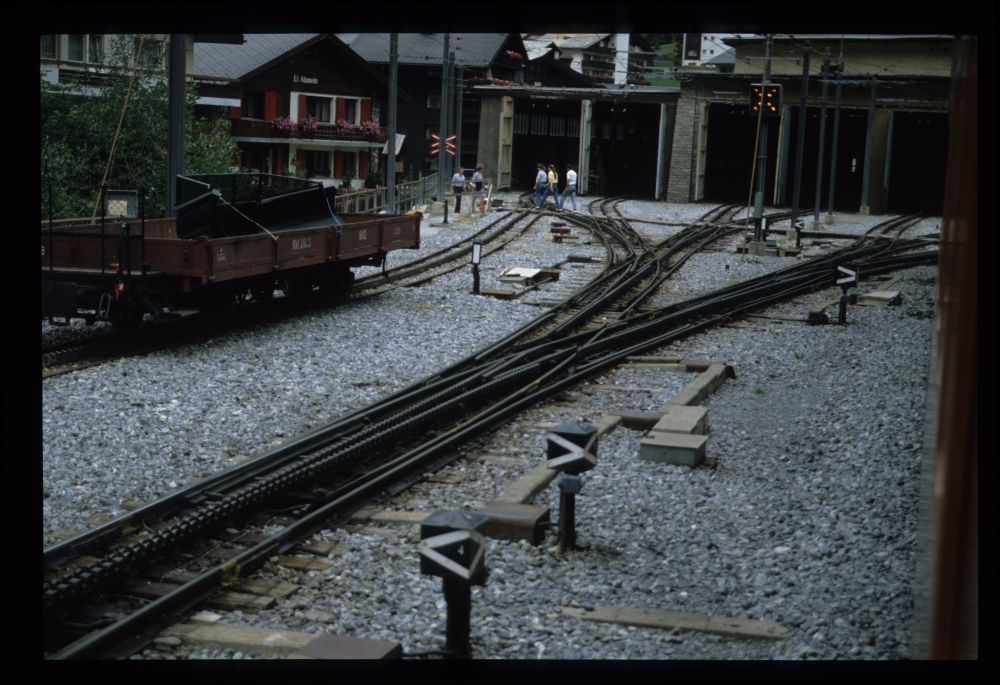
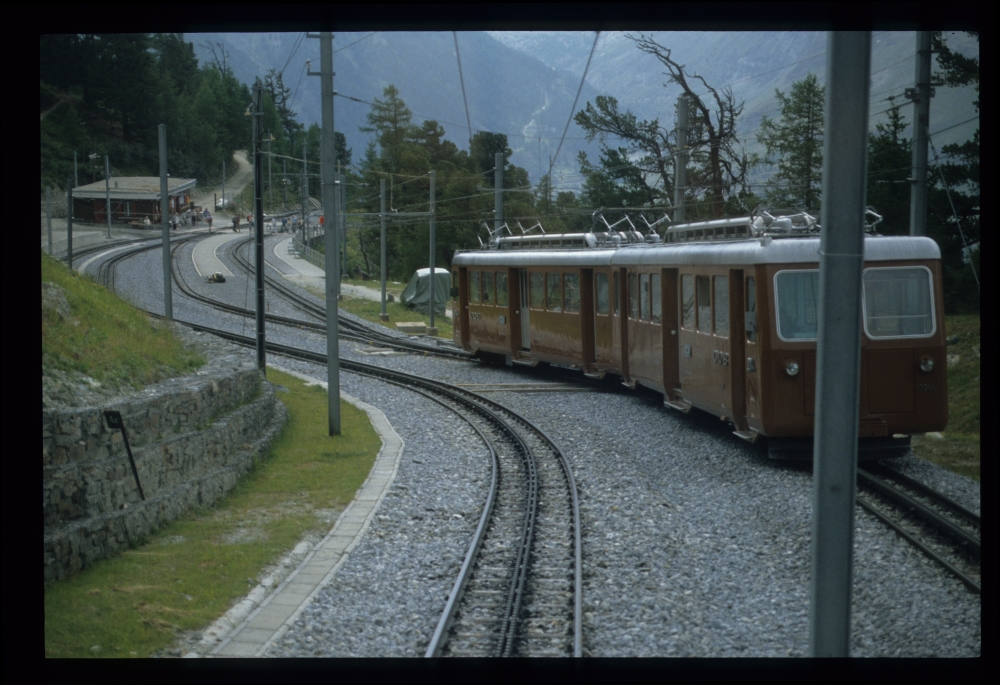
Here is a sequence of pictures from the Gornergrat railway, which uses three-phase current and hence has somewhat complicated overhead lines, not to speak of the complications of the cograil:

Gornergrat railway, Zermatt, 15.8.1988

Gornergrat railway, 15.8.1988

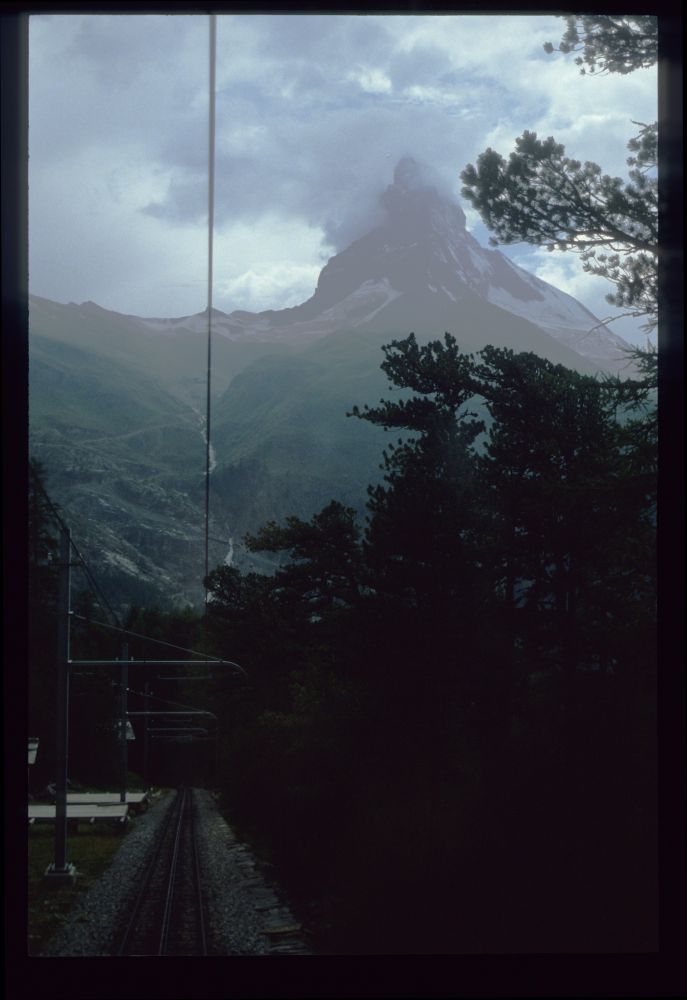
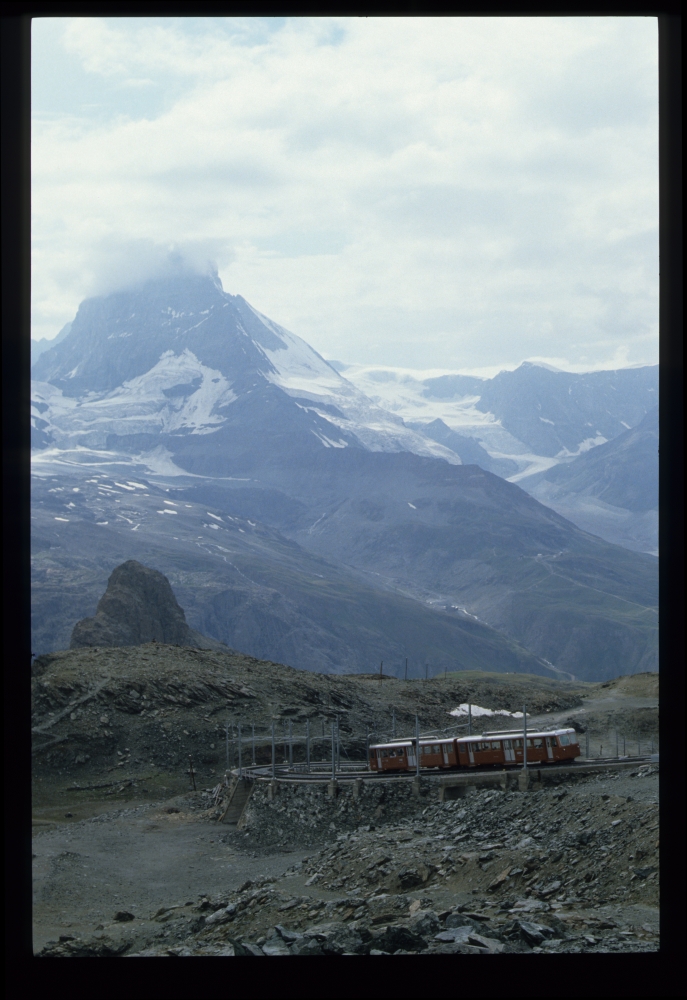
Matterhorn, Gornergrat railway, 15.8.1988

Riffelalp, Gornergrat railway, 15.8.1988

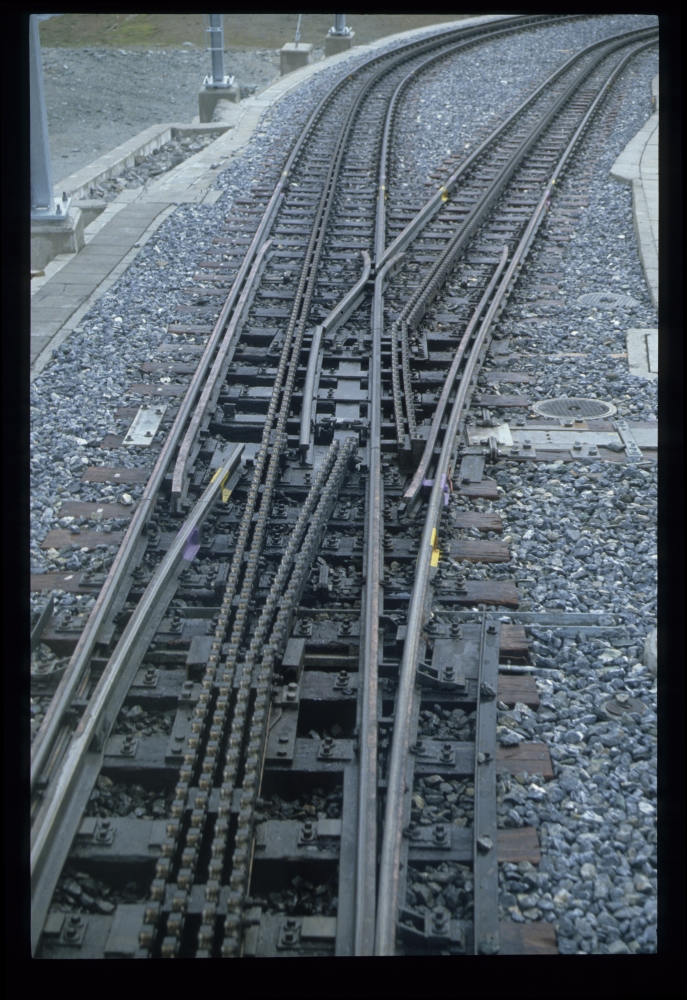
Points, Gornergrat railway, 15.8.1988

Matterhorn, Gornergrat railway, 15.8.1988

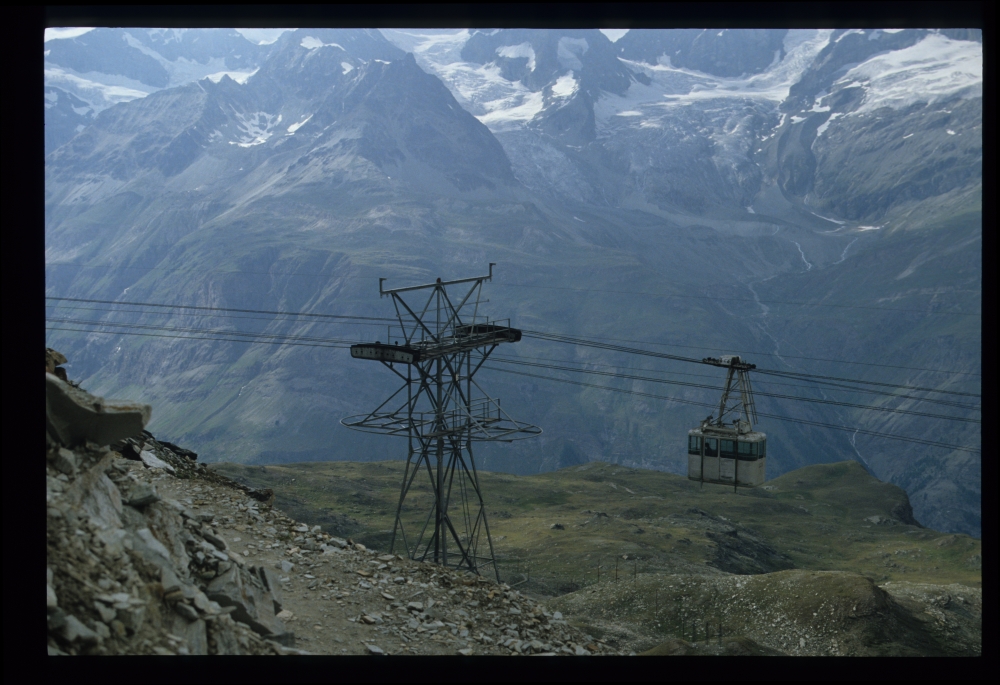
The Seilbahn Gornergrat-Hohtälli, built by Von Roll, had a pylon immediately below the top station of the Gornergrat railway. I was fascinated by the double track cables, which allowed the mounting of "flying" suspension rollers to keep the haulage rope up. This allows extremely long distances between the support pylons. Unfortunately, this seilbahn has been dismantled in 2007:

Seilbahn Gornergrat-Hohtälli , 15.8.1988

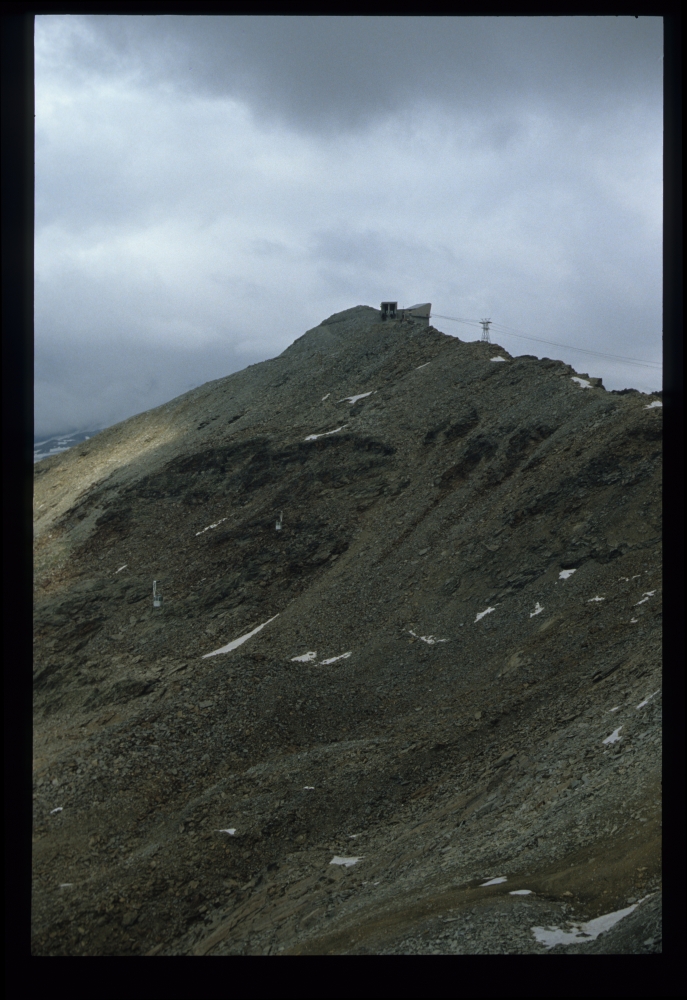
The two cabins are almost invisible before the boulders of the Hohtälli:

Seilbahn Gornergrat-Hohtälli, 15.8.1988

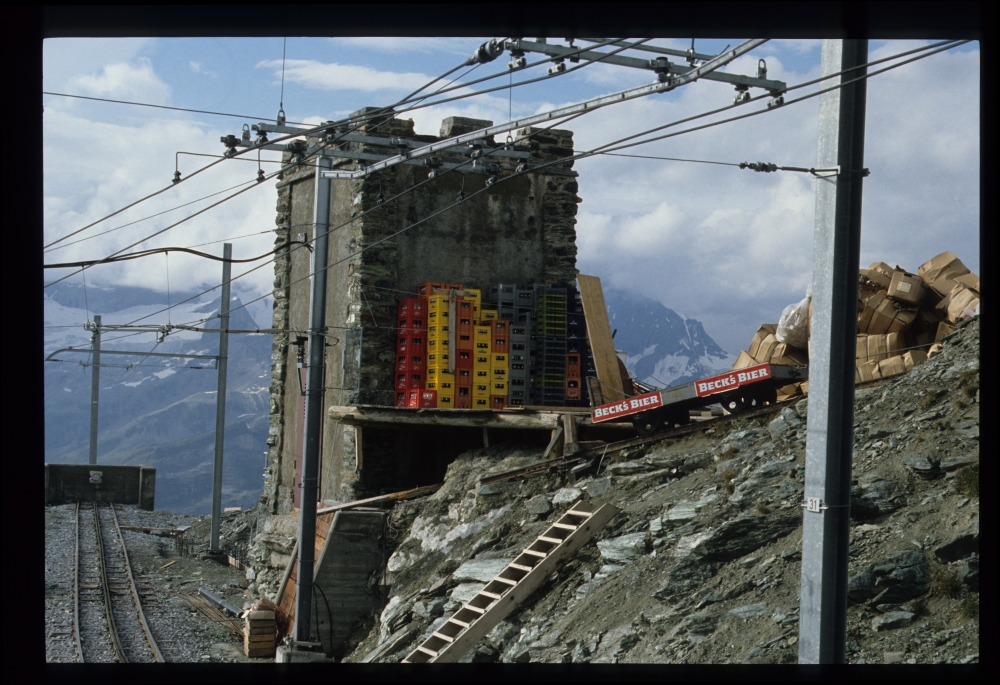
A small cable railway lead upwards from the top station of the Gornergrat railway. The most important goods to be hauled were clearly stencilled on the car:

Cable railway, Gornergrat, 15.8.1988

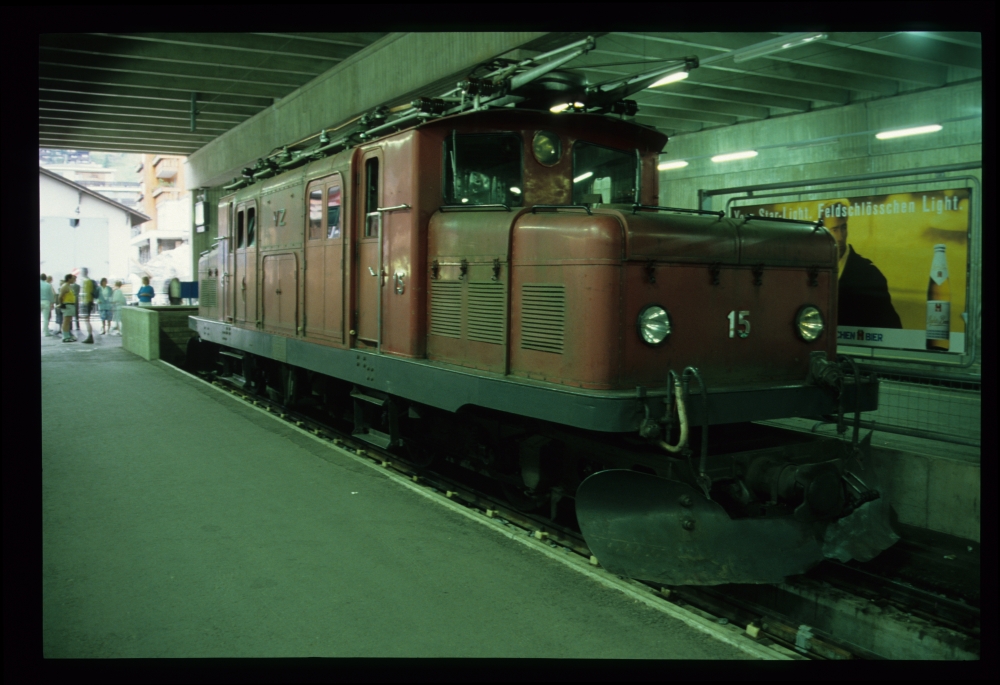
Back down in Zermatt, I took the following picture of the old HGe 4/4 15 of the Brig-Visp-Zermatt railway. On its side, it had the old letters VZ ("Visp-Zermatt")—it seems that it was only used for chartered trains at this time:

BVZ HGe 4/4 15, Zermatt, 15.8.1988

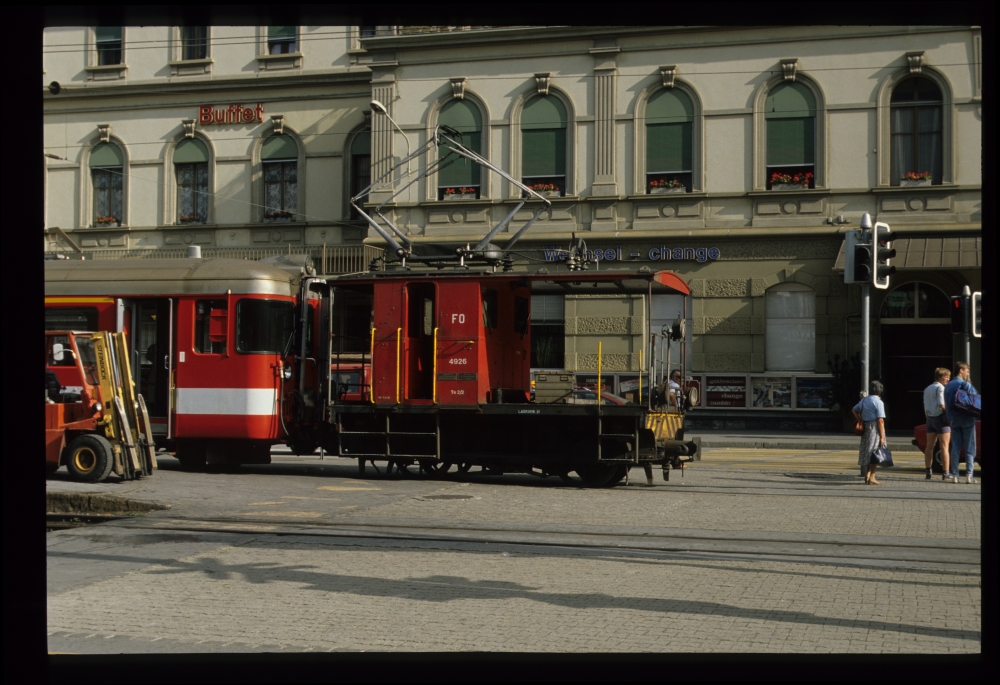
At last, here is the electric FO tractor 4926 in front of the Brig station building:

FO 4926, Brig, 15.8.1988

Update 2.5.2016: Here is Hanspeter Thöni's comment:

The interlocking at Göschenen is of type 'Domino 55 mit' (with dwarf signals, i.e., with routes for shunting movements). This is an entry-exit interlocking, but without geographical locking. The relay racks are still wired directly. Only with the Domino 67 type, geographical interlocking (with wiring by geographically oriented cables) was introduced. A Domino 67 can be identified by the transparent buttons for train routes as well as shunting routes, as the buttons can show a flashing indicator (memory indicator [for a prearranged route]).

An addition to the Gotthard tunnel [segment]: The double connections between the two lines are called "Spurwechsel" [literally, track exchange] in Switzerland. This track arrangement is not in the middle of the tunnel, as there are two double connections, called "Gotthard Nord" and "Gotthard Süd." Gotthard Süd is controlled from Airolo.
This part of the interlocking is Domino 67. Looking closely at the image, one can see that the buttons for the dwarf signals are transparent (see previous paragraph). The reason for this [the Domino 67 interlocking] is the distance of the points from the interlocking. With a Domino 55, it would not be possible to control the points and signals in the tunnel. With a Domino 67, this is possible due to three-phase points machines and selective signalling indicators. Therefore, this installation does no longer require separate relay racks in the tunnel.

[Hanspeter Thöni]

Tuesday, April 26, 2016

Switzerland 1988: Bernina, Thusis, Reichenau-Tamins

Deutsche Version dieses Postings

From Davos, we took a train over the Albula pass to Pontresina, from where we went back and forth over the Bernina line. Here are, without much comment, a few pictures from this trip:

Points no. 1, Davos Platz, 14.8.1988

Too close, too blurred:

RhB 623, Davos Platz, 14.8.1988

RhB 607, Davos Platz, 14.8.1988

Filisur:

RhB Be1 511, Filisur, 14.8.1988

RhB 706, Filisur, 14.8.1988

Points no.18, locally operated, Filisur, 14.8.1988

Many points on the RhB had already gotten claw blade locks—but the following set of points (whose number I do not know; might be no. 18 from above, but it is pointing the other way) had the traditional Swiss center lock, which presses the blades against the stock rails with an elbow lever:

Blade locks, Filisur, 14.8.1988

RhB, 14.8.1988

RhB, 14.8.1988

Preda station building, 14.8.1988

This type of double-slip points indicator was also used in Austria, but it has been replaced there with "Cauer's signals" that are also standard in Germany. However, in Switzerland, this type of indicator remained the standard type:

Souble-slip points, Pontresina, 14.8.1988

The following shots of the trip to Poschiavo and back are mere snapshots:

Snowplow, Pontresina, 14.8.1988

On this sunny day, some Bernina trains had open cars:

Bernina line, 14.8.1988

Bernina line, 14.8.1988

Bernina line, 14.8.1988

Bernina line, 14.8.1988

Bernina line, 14.8.1988

At Ospizio Bernina, the highest point of the line at 2,253 m (7,392 ft), the weighted points levers were mounted on pedestals at the hillside—maybe this helped to keep them clear of snow in the winter:

Ospizio Bernina, 14.8.1988

I took this miserably lighted picture of the famous curve at Alp Grüm, where the steep descent into the Val Poschiavo starts:

Alp Grüm, Bernina line, 14.8.1988

Going downwards on 7%:

Bernina line, 14.8.1988

At the approach to Poschiavo, the steep down-grade can also be seen:

Poschiavo, 14.8.1988

About an hour later, here is the train back:

Poschiavo, 14.8.1988

For some reason, I sawed off a piece of this "tractor":

RhB Ge 2/2 161, Poschiavo, 14.8.1988

On the way back, we enjoyed the open cars at the end of the train:

Bernina line, 14.8.1988

Bernina line, 14.8.1988

Bernina line, 14.8.1988

Once more, the tight curve at Alp Grüm, this time going upwards:

Bernina line, 14.8.1988

And then, a long train brought us to Thusis:

Landwasser viaduct, 14.8.1988

Thusis had an older interlocking panel. If I remember correctly, it was the last station on the Rhaetian Railway without a push-button panel:

Interlocking panel, Thusis, 14.8.1988

The following detail of the picture above shows the push buttons and the labels somewhat more readable. Apparently, only the outermost points were controlled from this panel. The points towards Sils (i.e., towards the Albula) is labelled inconsistently: On top, there is a label saying W21, whereas the number below the push button is W24:

Interlocking panel, Thusis, 14.8.1988

On the platform, there was another small panel. At the top, it had two voltage meters for the lines on both sides, both showing 11.5 kV at this time. Below, small track plans has lamps showing the points—however, only the indications for the outermost points are lighted. Maybe the switch on the right side is used to light them, or to reverse the points ... Below this small panel, another one controls two sets of flashing lights at level crossings.

Another interesting instrument, albeit not really railway-related, is the minimax thermometer on the right side: Small metal needles are pushed up by the mercury in the lower part of the instrument, while the alcohol on the left side expands or contracts. Thus, the needle on the left shows the minimum temperature, whereas the one on the right is moved up when the temperature increases. Below the instrument, there is a typewriter-written label saying "Maximum temperature: 28th July 1983, 3 p.m."—unfortunately, the actual value is missing from my photograph:

Points indicator panel, Thusis, 14.8.1988

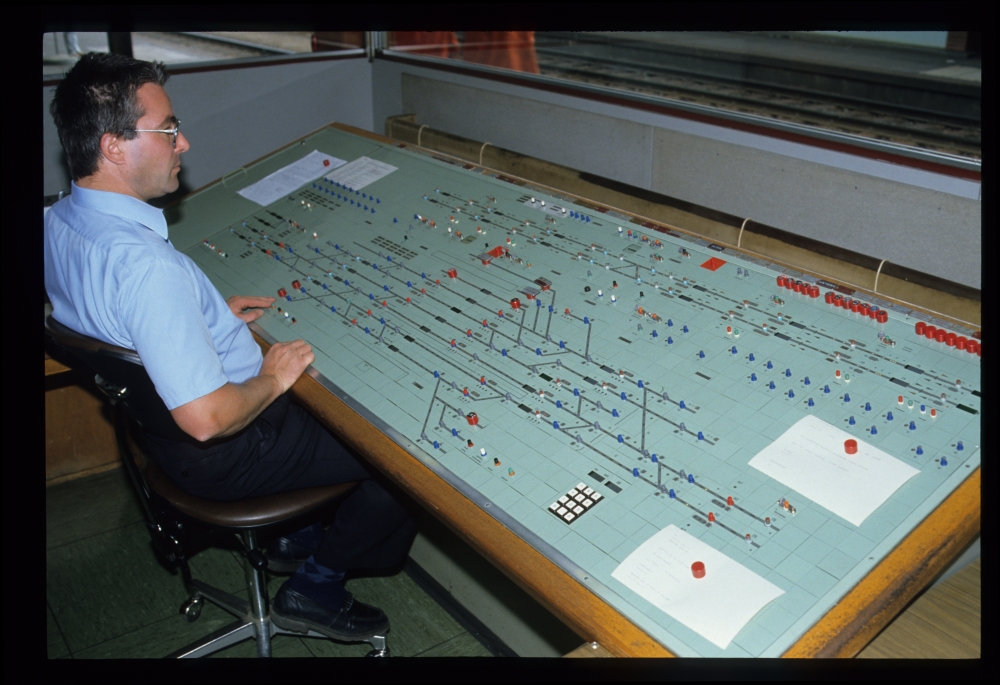
Reichenau-Tamins controlled all stations on the lines to Chur, Thusis, and Disentis. The next picture shows the signalling panel, elegantly laid into a wood-panelled wall. The control table in front of it contains two panels, one for controlling the double-track line to Chur, the other one for the single-track lines to Thusis and Disentis. On the right, part of the panel for controlling the signals of Reichenau-Tamins can be seen:

Control panel of dispatching center Reichenau-Tamins, 14.8.1988

In the following picture, one can see that on this Sunday, all train traffic was running automatically: At each station, the indicator for automatic running is lighted. At Versam-Safien, a train has triggered both the home and the starting signal:

Control panel of dispatching center Reichenau-Tamins, 14.8.1988

The panel for manually controlling the signals, points, and barriers on the single-track lines is laid out for efficient operation: For each station, there is a single station button in the track plan. It can be pressed together with a function button in the lower part to trigger various effects. From left to right, these buttons have the following purposes:
  • Locking and unlocking signals on the Chur side of each station, setting a route into the station, reversing the outermost set of points, setting a route leaving the station.
  • Opening and closing of the barriers of up to three level crossings (in Switzerland, these are actually called "Barrieren").
  • Points heating, timer reset (for what I do not know), "set up crossing" and "cancel crossing" (probably to tell the system whether an approaching train should trigger the starting signal or not), "running through points" (probably accepting such an event and indicating that the points are in order), emergency route unlock and emergency stop.
  • And finally, the same functions as in the first item on the Thusis or Disentis side of each station.
No more buttons are available—most noticeable, there are no buttons in the large control panel (this is very different to e.g. Austrian and German push-button interlockings). Also, there are none of the override signals (infamous since the accident at Bad Aibling in Germany): A malfunction had to be handled via orders radioed to the trains:

Control panel of dispatching center Reichenau-Tamins, 14.8.1988

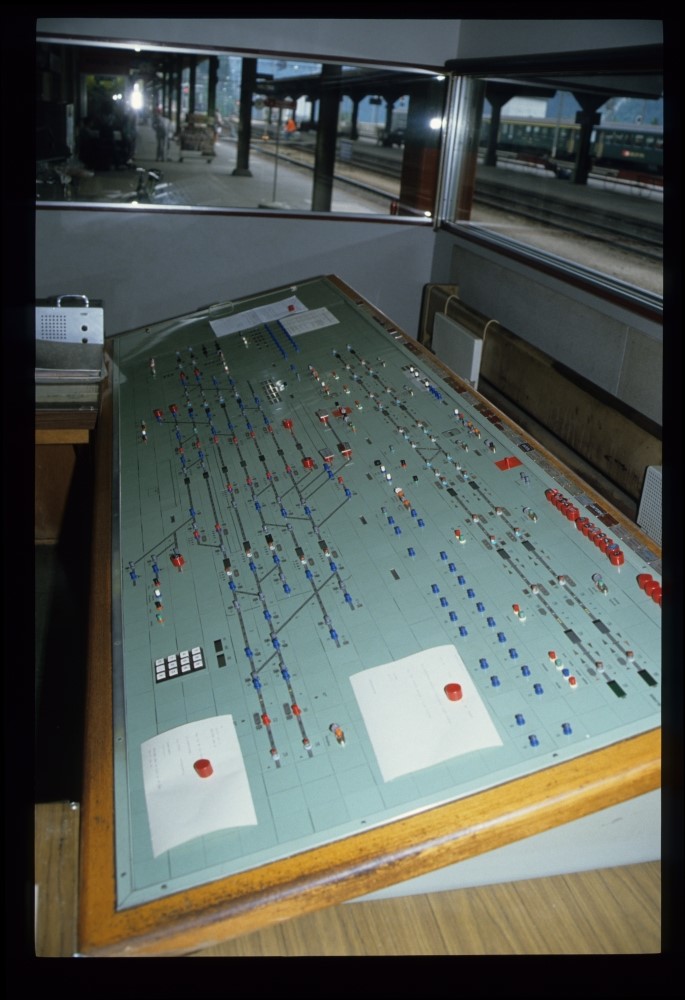
Finally, here is a picture of the control panel for the station tracks of Reichenau-Tamins. At the left, there is the double-track line to Chur, whereas the right side shows the junction where the lines to the Surselva and the Albula diverge. On the Integra panel, all the single function buttons are near the rim, whereas the track diagram contains only buttons for setting up various routes:

Control panel for Reichenau-Tamins station, 14.8.1988

The last train then brought us to Disentis, where we stayed overnight at a small hotel directly above the station tracks.

Update 2.5.2016: I am happy to announce that I can add English translations of comments by Hanspeter Thöni, who specializes in Swiss interlockings, to my postings. Here is his comment for this posting:

The "interlocking" at Thusis was actually a "block case:" When line block working was introduced, such cases were installed at many stations without interlocking frames. Originally, there existed no control of points. However, at later times, the points needed for crossings were provided with electric point machines, and controls for these where added to the cases in many installations. The two differing points numbers might be correct. As far as I know, the upper lamp is not a locking indicator, but an occupation indicator. These were necessary to control block working and return signals to stop. Therefore, the first set points [on each side] was equipped with a track circuit. As the electrified points might not necessarily be the first set of points, the different numbers might be correct.
Incidentally, one of these block cases is installed on my model railway.

The timer reset [at Reichenau-Tamins] is probably for the timer that switches off signal lamps. In earlier times, it was typical to switch off all signals when no trains were running (e.g., during the night).

Regarding "set up crossing" and "cancel crossing:" The automatic crossing operation of the RhB not only prevents clearing the starting signal, but is capable of executing the complete crossing automatically. If automatic crossing is activated, the following will happen:

  1. The first train will be routed to the track nearer to the station building (there are no overpasses or underpasses).
  2. After the first train has arrived, the home signal as well as the starting signal for the second train is cleared on the track farther from the station building.
  3. After the second train has arrived, the starting signal for the first train is cleared.
  4. The automatic crossing operation is cancelled so that it has to be activated manually for the next crossing.
Thus, the "cancel crossing" button is only needed when a planned and activated automatic crossing should not take place.

[Hanspeter Thöni]