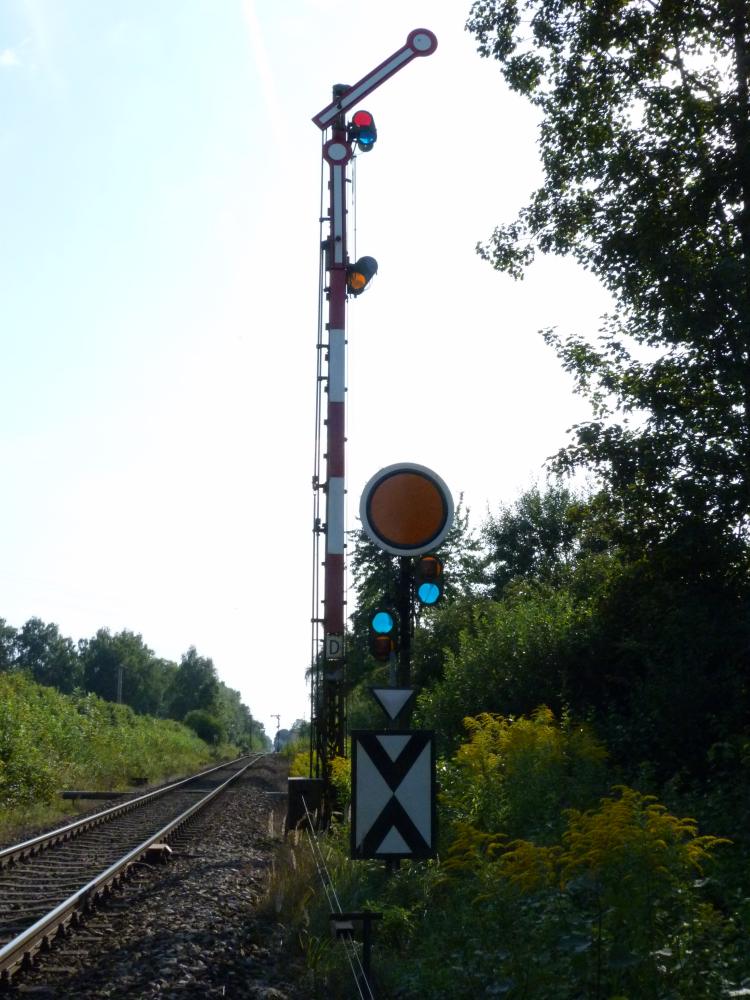
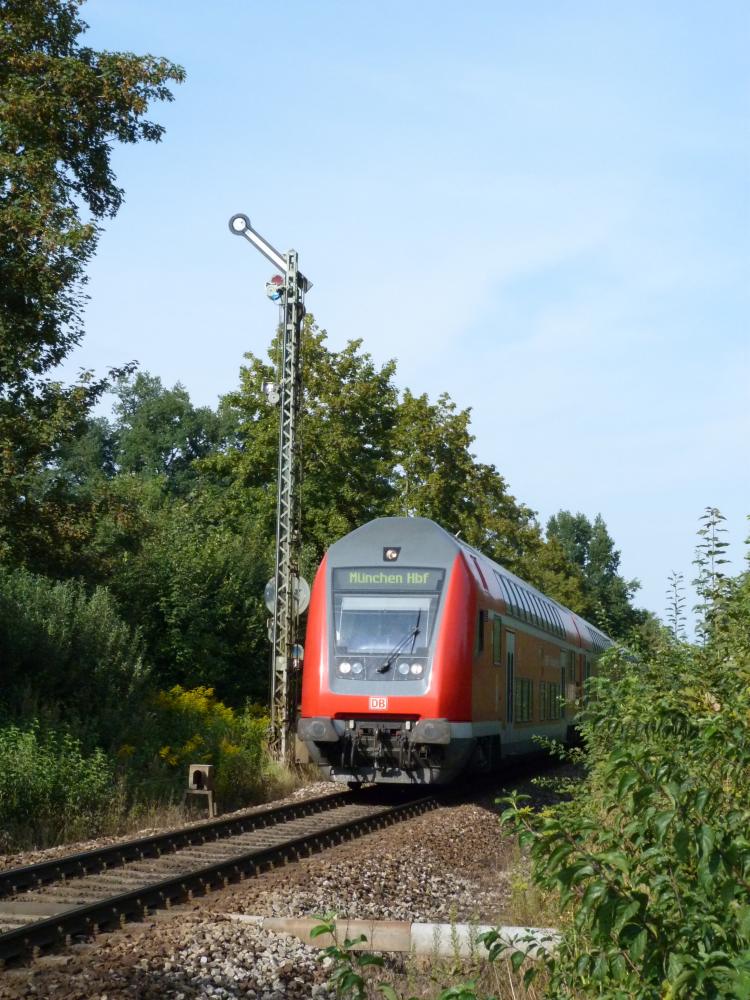
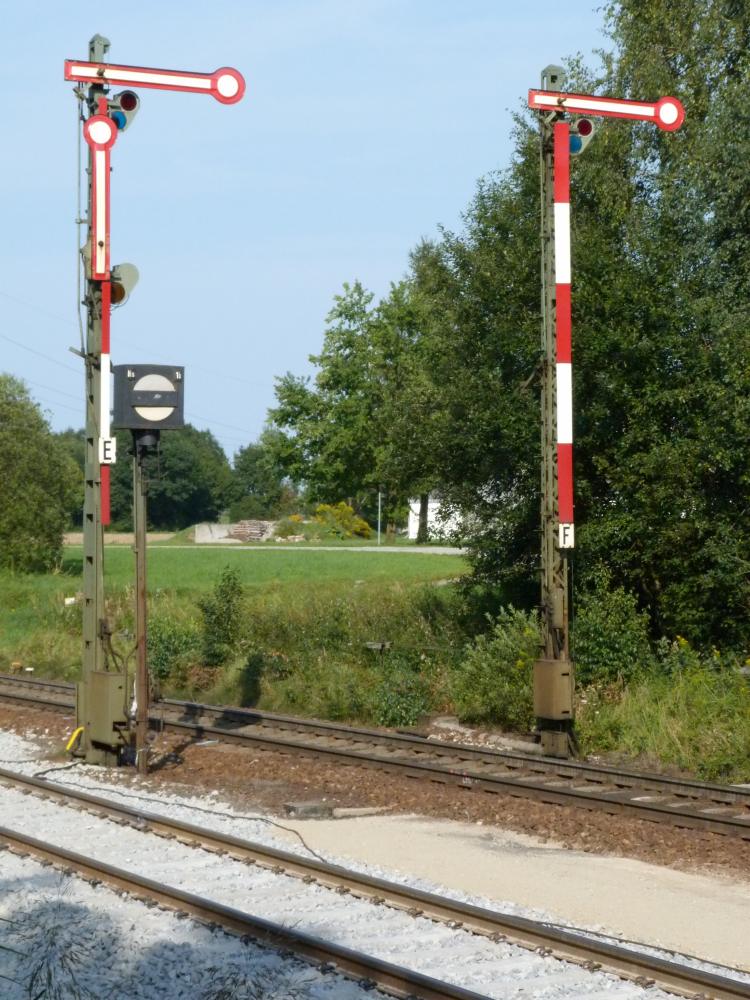
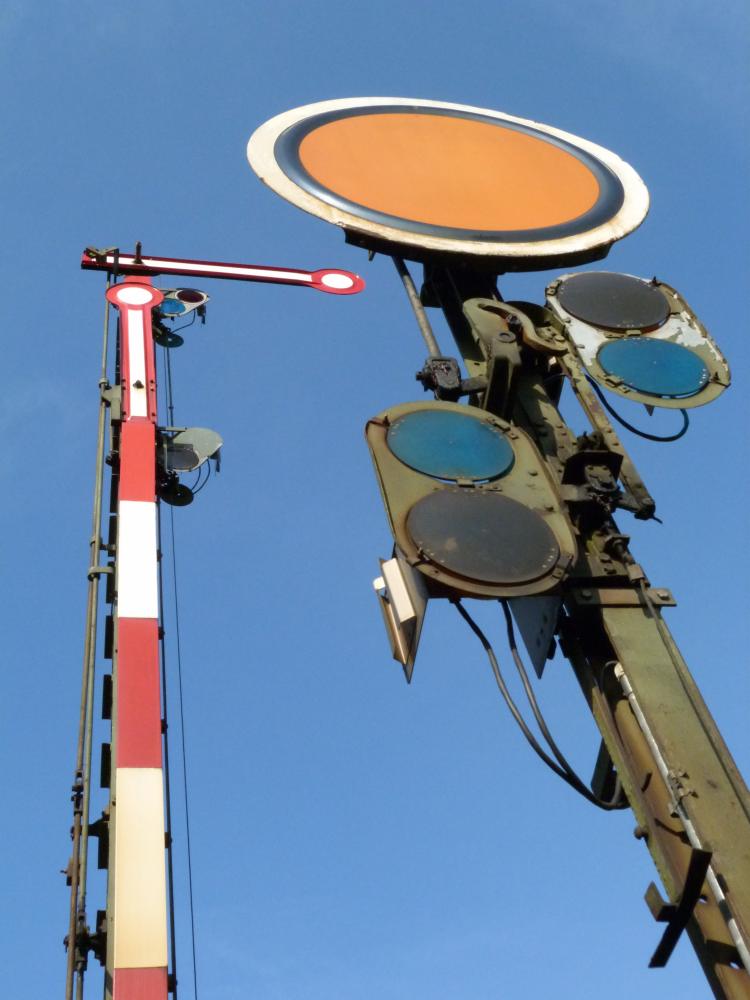
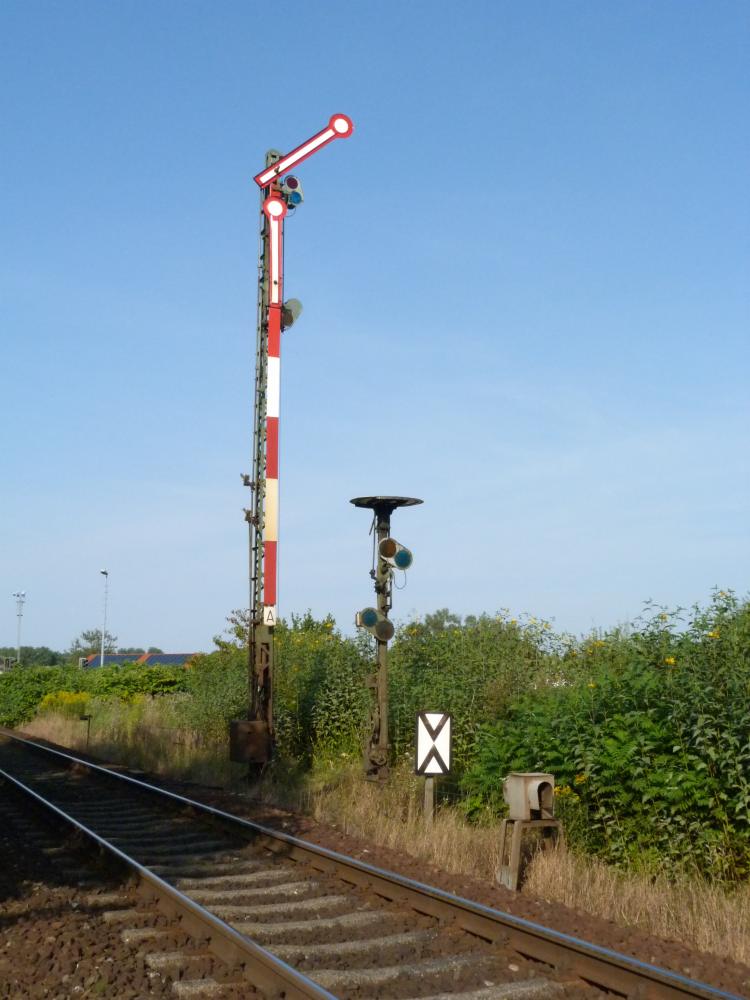
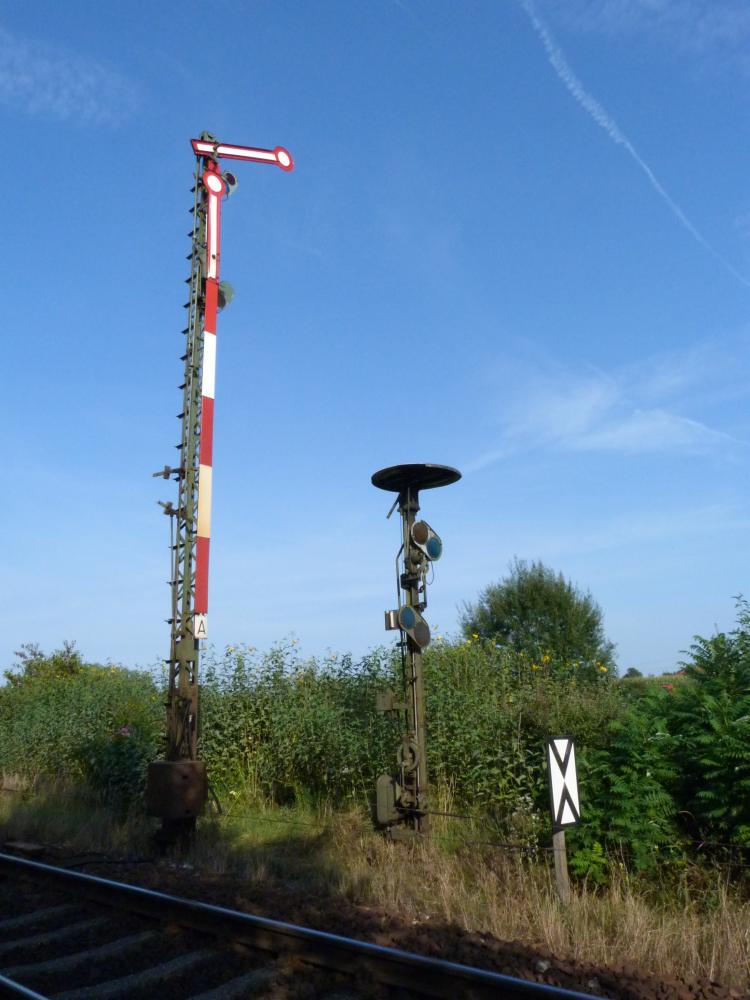
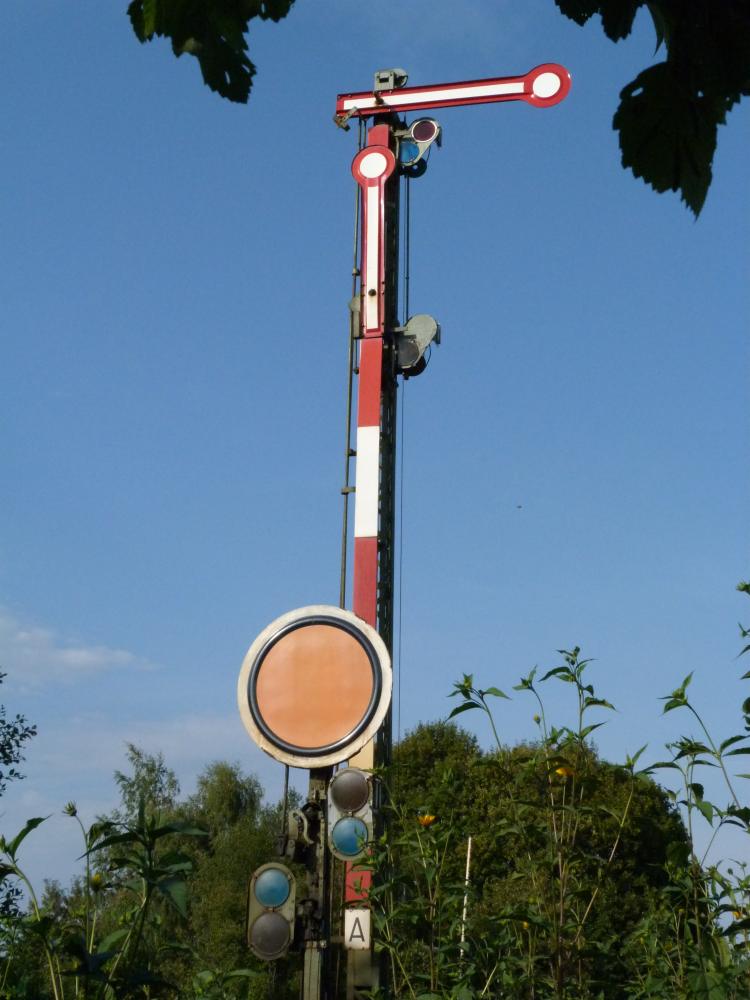
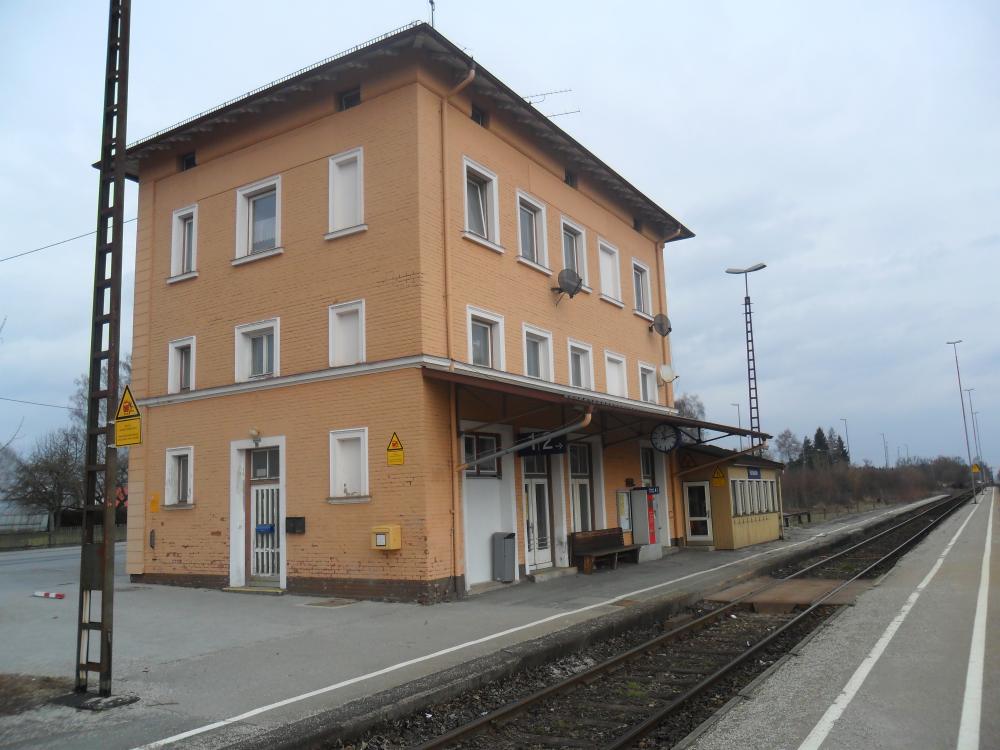
The third as yet operational Krauss lever frame on the line Munich–Mühldorf is at Weidenbach. I only made a few photos through the windows of the signal box. Overall, this frame is not as interesting as the ones at Hörlkofen and Schwindegg, I think.
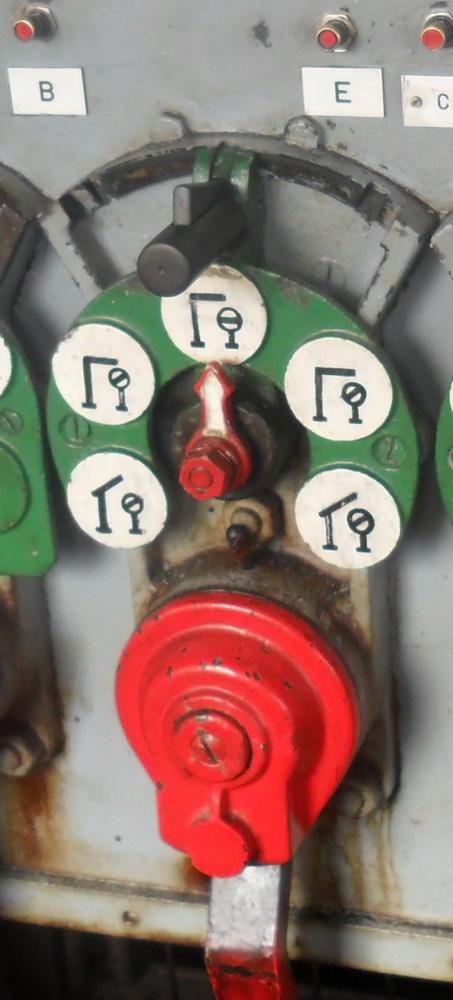
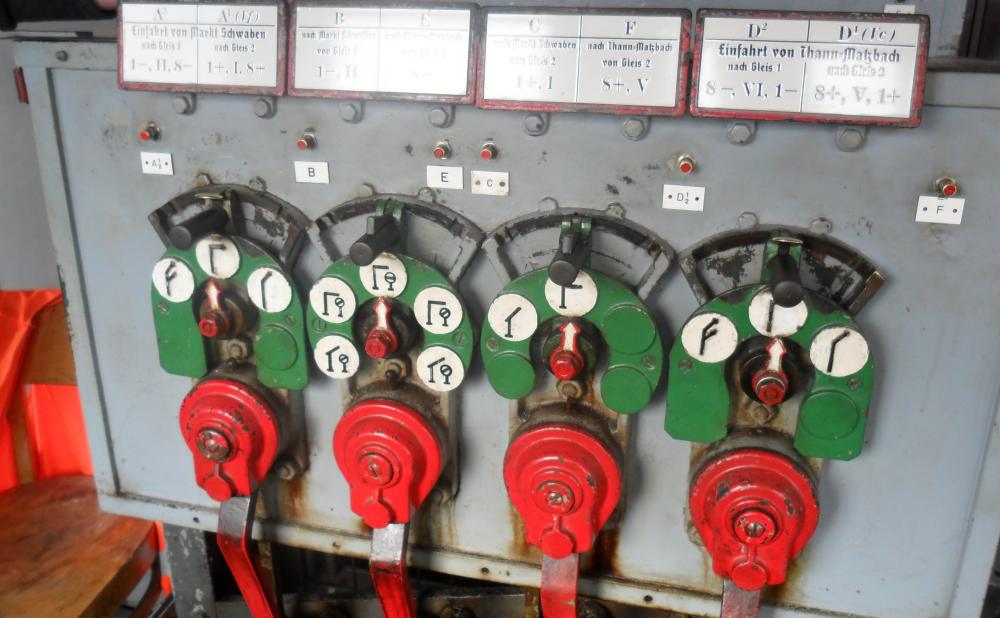
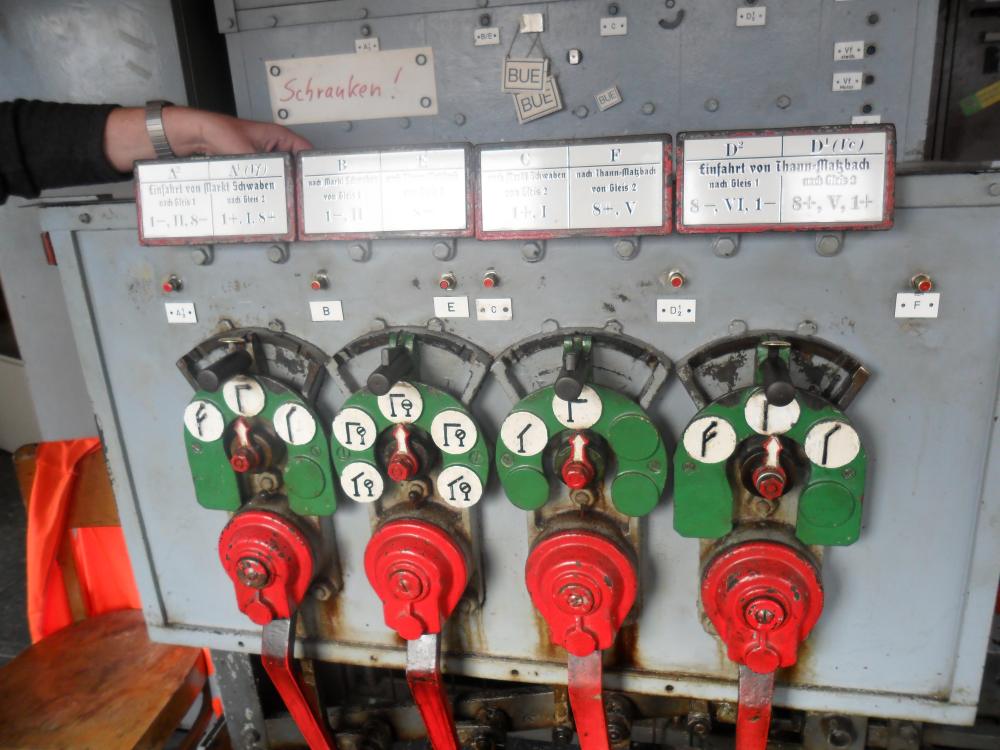
Here is the crank frame—it has 5 cranks like the frame at Schwindegg, and also the assignment of the signals to the cranks is identical:
Also this frame got new route tags. In contrast to Schwindegg, all five are lettered correctly and frames with silicone. However, the old signal symbol for route D² has been preserved!
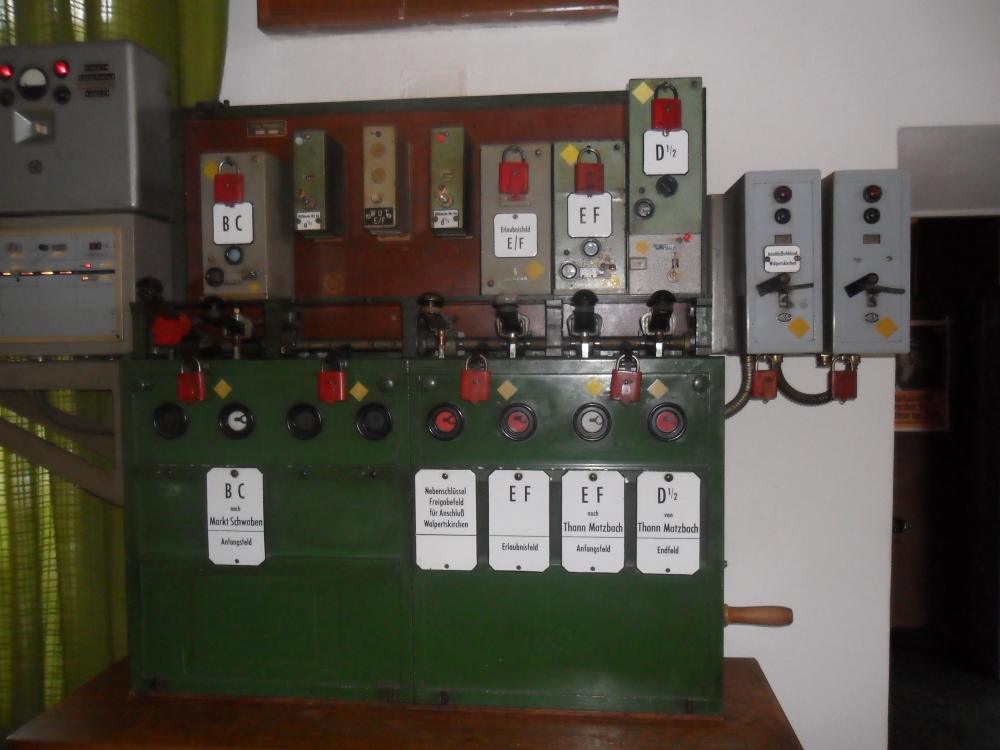
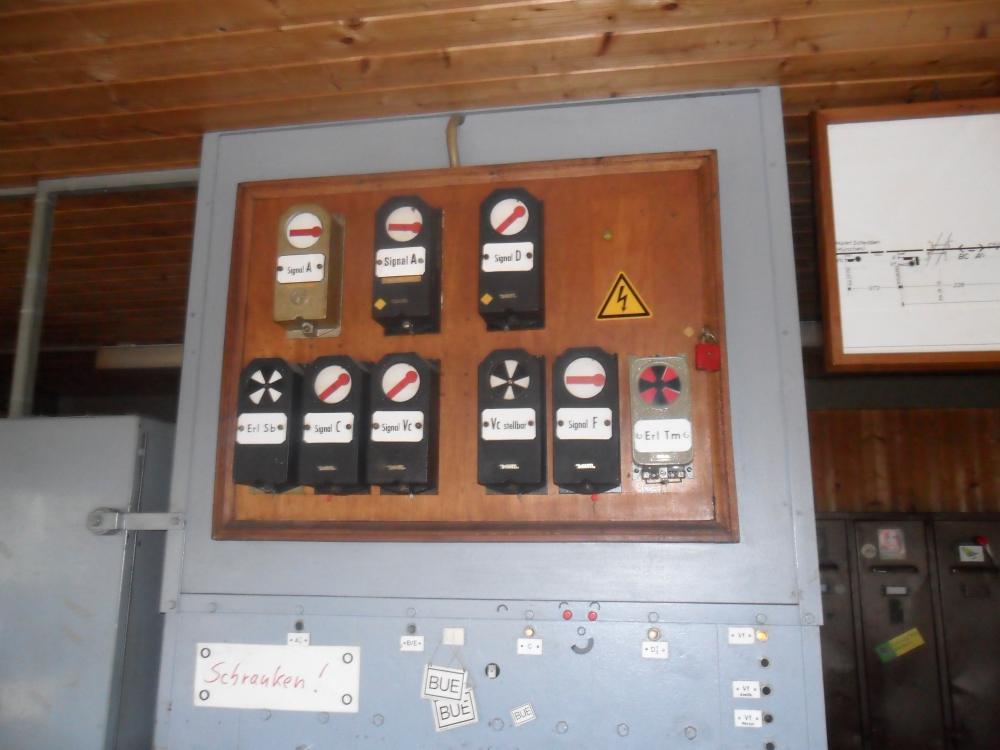
There is a Siemens block apparatus for the line to Schwindegg—unfortunately, I forgot to ask how block working towards Ampfing works (which is controlled by a solid-state interlocking at Dorfen):
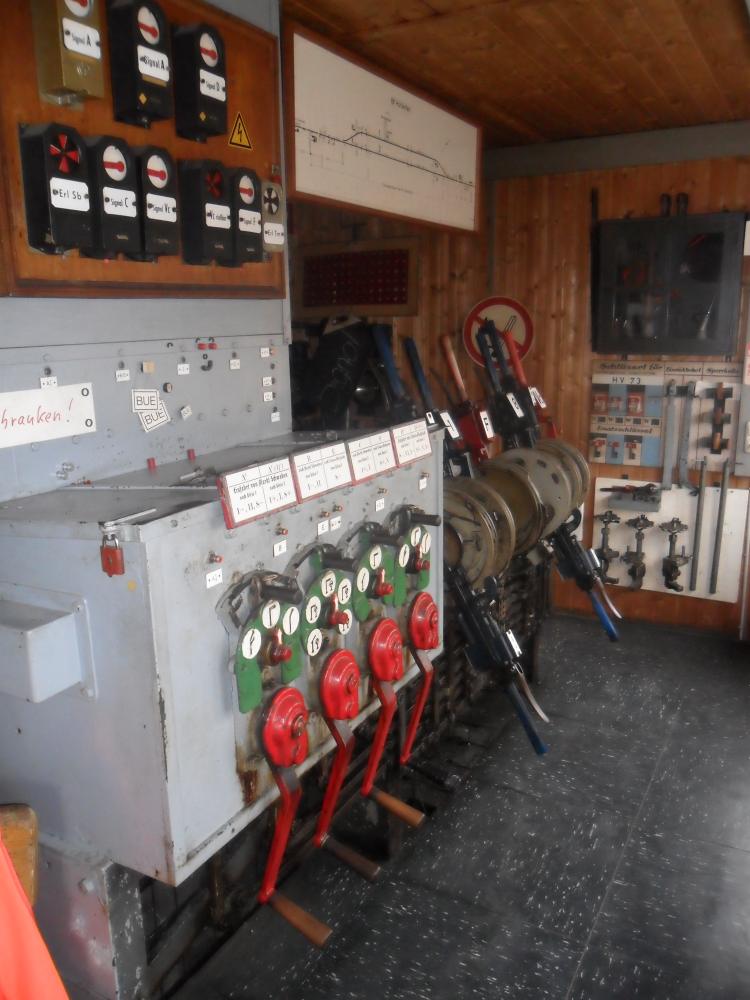
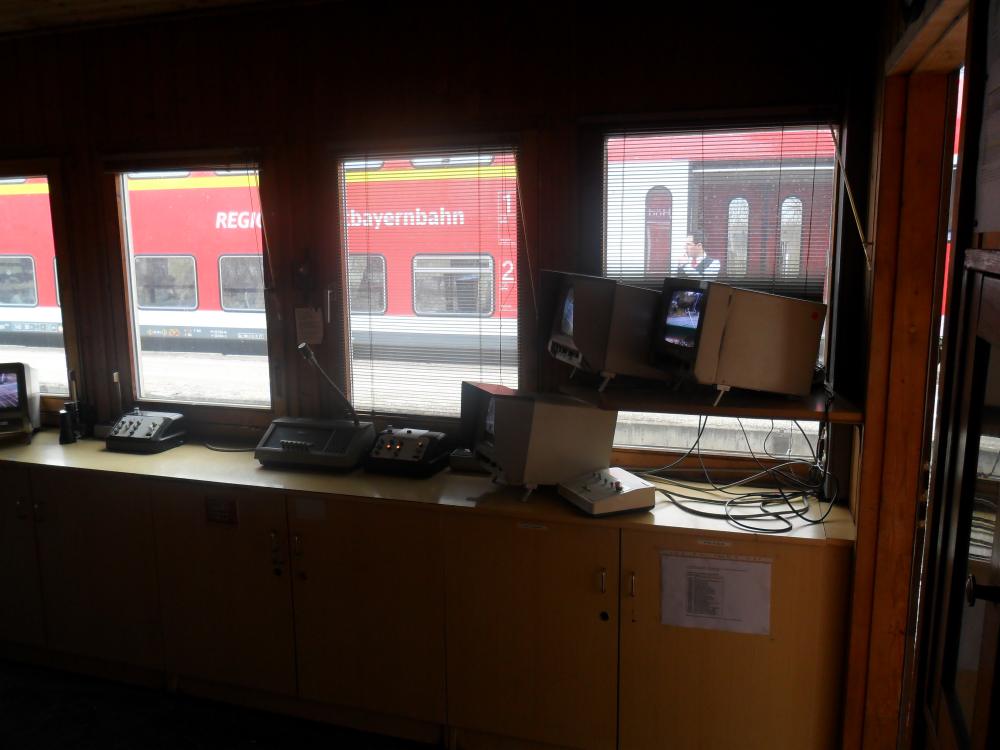
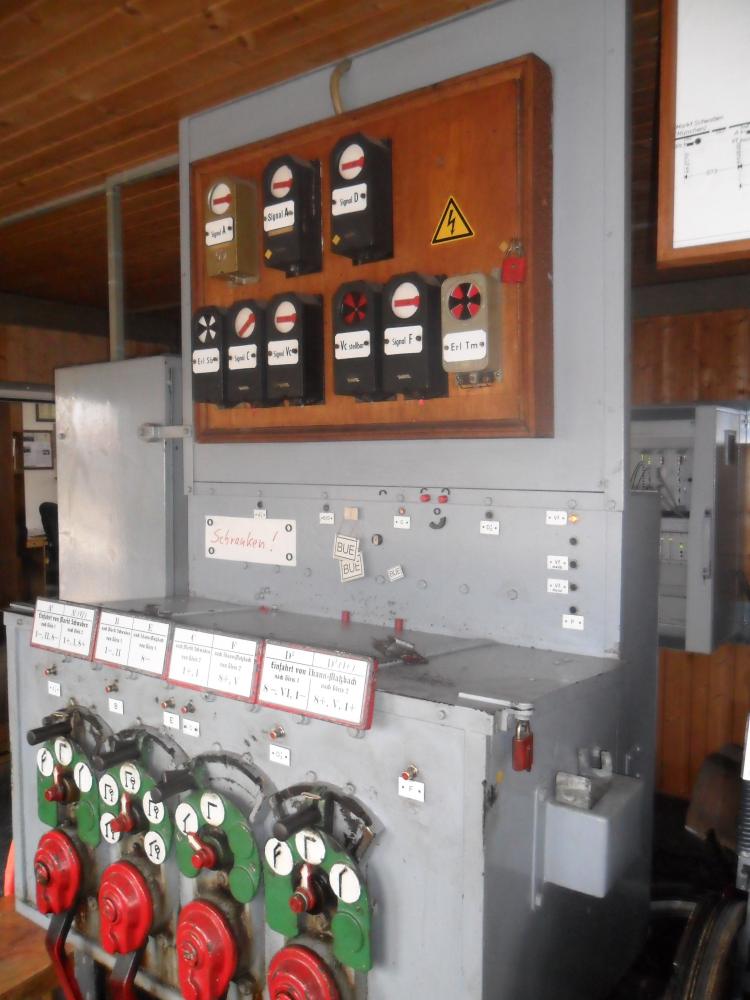
The following image shows the frame (with a few unfortunate reflections). At the upper left, there is the monitor of the rear end monitoring system, which saves a lot of walking and (during winter) freezing: The monitor is automatically switched on when the route is released by the train. It shows single shot of the rear end of the train. If the signalman observes the required rear end signal, he can signal line clear to the station in the rear. Before the installation of the rear end monitor, the signalman had to walk to the end of te train—for a 600m goods train, he was given 11 minutes, but more during winter and in the night. This is the disadvantage of signal boxes in the center of a station combined with missing axle counters or track circuits on the line ...
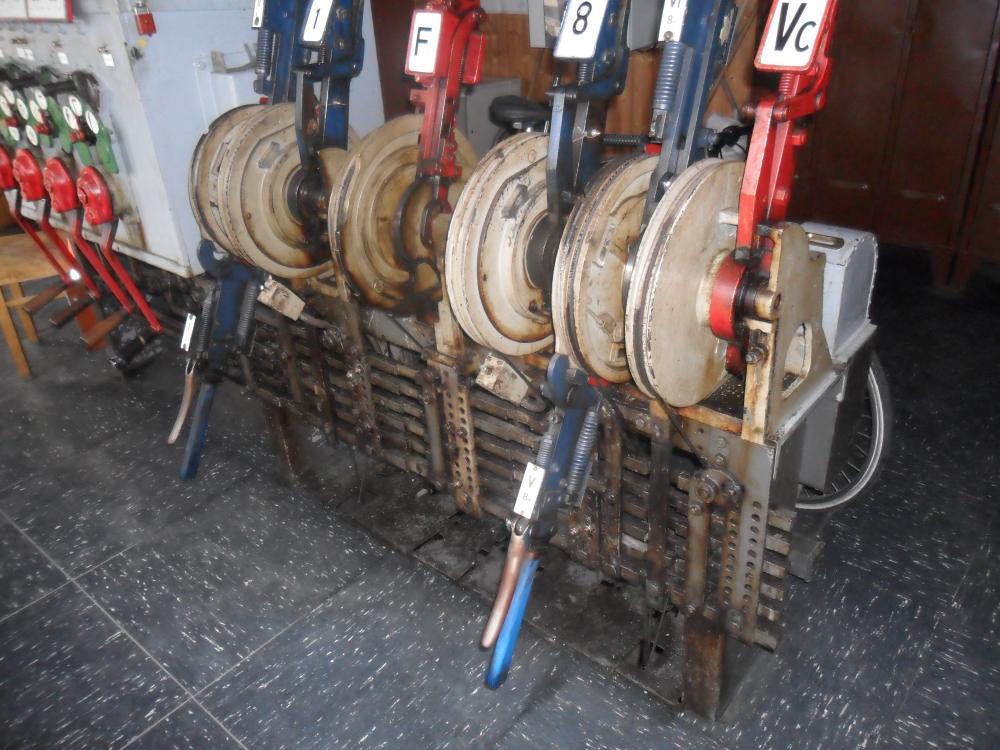
Here one more image of the frame ...
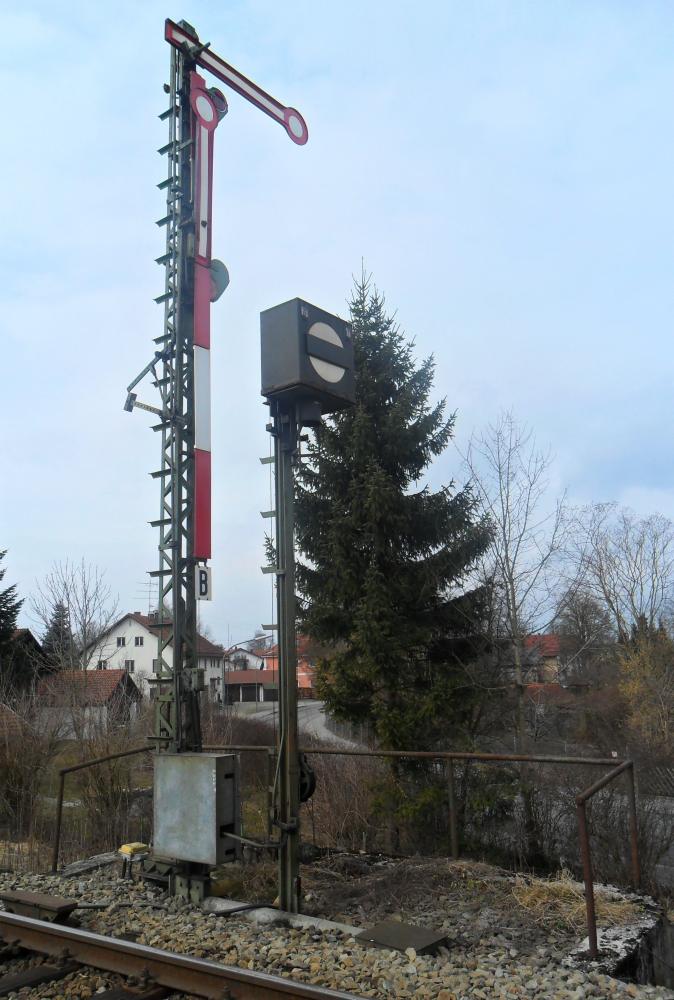
... a view of the two-arm starting signal E on the Ampfing side ...
... and finally the station building with the annex containing the lever frame:
Sunday, May 12, 2013
Saturday, April 6, 2013
Nice coincidence: Warmbad Villach and Bangor, Wales ...
Just a fun posting: I stumbled over the track plans of these two stations:
- Warmbach Villach (1959, but remained like that into the '80s)
- Bangor, Wales (1987)
- Bangor is a "usual station" at a double-track line (with left hand running, as always in the UK).
- Warmbad Villach, however, was actually situated at two single-track lines, namely the Karawankenbahn to Rosenbach (and further on through the Karawanken tunnel to Slovenia) and the Rudolfsbahn to Tarvis (and Italy).
Sunday, March 24, 2013
The Krauss lever frame at Schwindegg, Bavaria
Some time ago, I have described the Krauss lever frame at Hörlkofen. On that line from Markt Schwaben to Mühldorf in Bavaria, there are currently two more Krauss frames originating from the 19th century, namely at Schwindegg and at Weidenbach.
Here is a series of photos of the Schwindegg frame. In contrast to Hörlkofen (and Weidenbach), Schwindegg has an additional loading track—sort of: The track itself is interrupted and paved over at one place, but it is still fully integrated into the interlocking logic. On the following pictures, one can see, with some reflections, the track plan of Schwindegg:
Here is the complete interlocking:
In contrast to Hörlkofen, the Siemens block instruments are in the same room with the lever frame. And, also in contrast to Hörlkofen, there is no "normal position" for the direction of the block instrument—which is actually the rule. Hörlkofen - Markt Schwaben, for some reason, does have a normal position for the direction, apparently because of the S-Bahn traffic from Munich to Markt Schwaben (to Erding). I hope to understand the details of that somewhen ...
Let's return to Schwindegg. On the frame, there are five cranks for
- the home signal D on the Weidenbach side
- the two-arm semaphore starting signals on track 1 (E to Weidenbach, B and shunting signal Hs I on the Dorfen side)
- distant signal Vc for starting signal C at home signal D
- the single-arm semaphor starting signals on Gleis 2 (F to Weidenbach, C to Dorfen - no shunting signal here!)
- home signal A from Dorfen
- the distant signal Vf for starting signal F at home signal A
- points and FPL levers for points no.9
- derail for the loading track
On the right side of the lever frame, we finally have
- the lever for shunting signal Hs 2
- points and FPL levers for points no.1
By rule, the route levers must carry clear indications which levers (of points, FPLs, derails, and shunting signals) must be in which position so that the route can be locked. Here are these indications for the two rightmost cranks:
But why are these signs so different? Blame the German "EBA" ("Eisenbahnbundesamt": The authority overlooking all railways): Some time ago, this station, as well as a few others on this line, got an inspection visit. During this visit, manual corrections and some missing inscriptions were criticised. Therefore, new signs were ordered (it seems they are produced by a shop employing handicapped), and someone decided that the new signs should carry that beautiful old Gothic print! However, the sign for track 2 had some error on it, so a new one needs to be made—but then, all signs will "look like old"!
At the same time, also the symbols at the cranks were corrected—that's what they now look like:
Some of the stations masters think this looks more like kindergarten ... Also, historically, the signs are not that correct: On the one hand, they show the old Bavarian style arms ending with a square; and also they show one-arm also for track 1, even though these signals are actually two-arm semaphores with coupled arms:
On the other hand, the shunting signal Hs I is correctly, but non-Bavarian, shown as a separate signal ... oh well, if the EBA is happy with it, why shouldn't I be?
There are block locks ("Tastensperren") above the start and end blocks ("Anfangsfeld", "Endfeld"). A train director (see my dictionary for this term) explained to me that the blocks also, electrically, lock the corresponding route levers: The route lever can be returned to normal only after the block lock has returned from blue to white by the train:
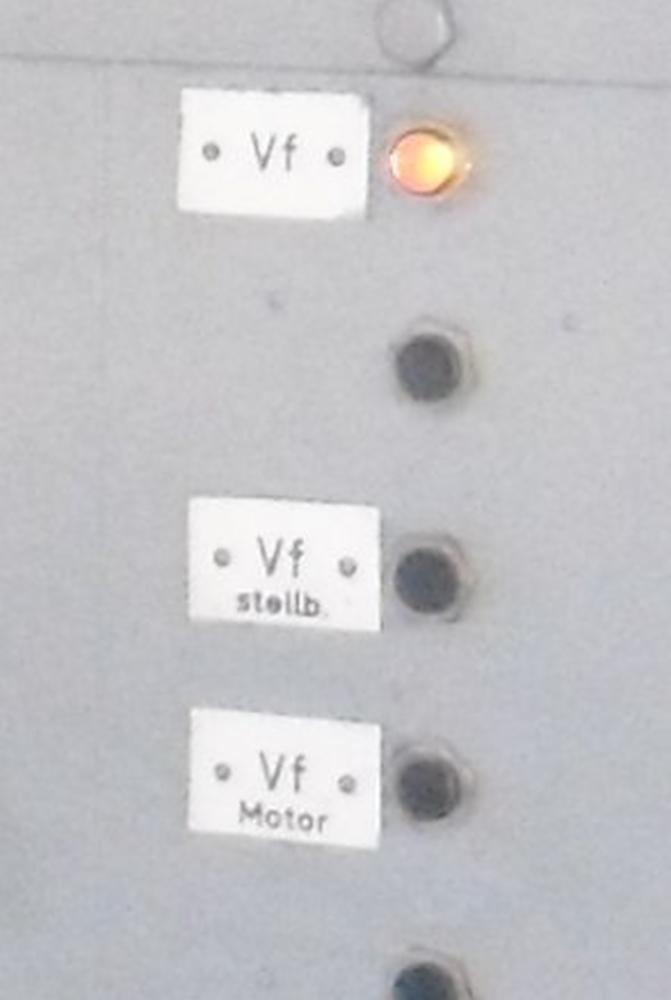
The distant signals of the home signals are cleared by electric motors. The control lamps for them are above the signal cranks:
At last, here is a picture of the electric lever locks. Actually, the lock the catch handles on the levers. The catch can be lifted if the small window shows white:
The lever lock at the lever for distant signal Vf is activated directly by the catch handle. For the points levers, it is necessary to push a separate long key which can be seen at the upper left:
The following pictures shows the cranks, then the angle levers for moving the route bars, and then the wires to the signals:
Finally, here are a few pictures from the station:
On the Mühldorf side, the shunting signals were removed some time ago. It seems nobody wanted to take them, and the EBA did not protest this small junkyard:
Here is a picture of the brutally cut loading track:
Finally, this picture of the station shows the signal box annex on the right:
Sunday, March 10, 2013
The Krauss lever frame at Hörlkofen, Bavaria (2011)
This posting and two subsequent ones describe three of the oldest still operational interlockings in Germany. They are on the line from Munich to Mühldorf in Bavaria, which is, in an ironic twist, part of the Magistrale for Europe (MoE) (TEN 17) – and exactly this seems to be the reason that the line has seen such hesitating modernisation: The line would need substantial upgrading, for which financing is hard to round up. Even though important factories near Mühldorf have requested an upgrade (e.g. electrification) for decades, almost nothing has been completed up to now. Anyway, this made it possible that three lever frames have survived from the 19th century up to these days.
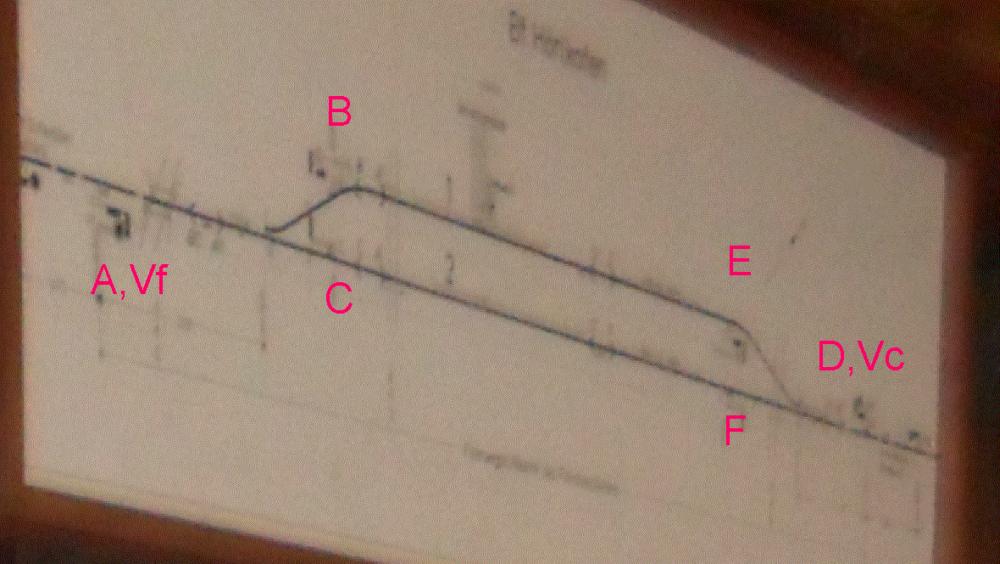
One of the oldest lever frames in Germany is still worked day-to-day on the line from Munich to Mühldorf. Allegedly, it was built in 1899 or 1898—it has been in use in three different centuries! The single interlocking is a mixture of a few types, the main lever frame has been built by Krauss after a design by Bruchsal. In our days, the track layout is as simple as it gets: One main track, one passing loop. The following, enlarged part from an image shown later shows the layout, including the letters of the stop signals and the distant signals located at the home signals:
The interlocking machinery is located in two rooms:
Here is the lever frame ...
... and here we see the block instruments:
A long time ago, Hörlkofen was equipped with special semaphores used only in Bavaria, which had a special position where the single arm dropped vertically downwards. This indicated that shunting moves were allowed (see e.g. the German discussion at Frage zu Bayerische Signale, Begriff "Ru"). Because of this, separate shunting signals ("Sperrsignal") were not necessary. These Bavarian signals required levers for three positions:
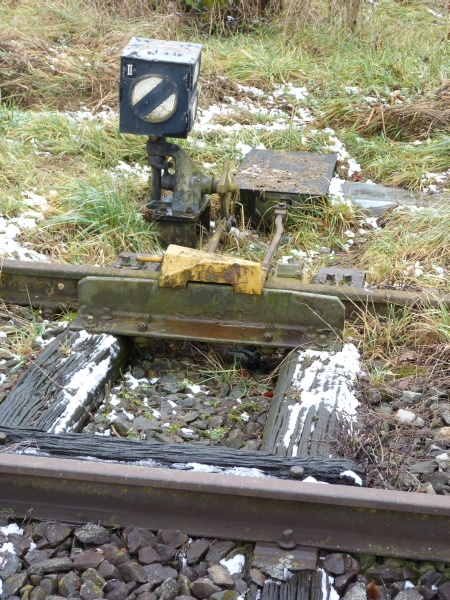
Because of this arrangement, there is only a single mechanism at each signal pair which moves both signals. Here is an image of this setup at starting signal B, with shunting signal Hs 1a:
The Kraus interlockings, like almost all German lever frames, have separate route levers. That lever can be seen above the corresponding signal crank. The route lever has a small catch handle, which the signalman releases with his thumb before moving the route lever to the left or right. This moves the corresponding route bar, which in turn locks the point levers and, where necessary (entry routes), the separate FPL levers.
Obviously, the crank shown above could be used to clear either signal B or signal E.
The simple layout of Hörlkofen's tracks is symmetric—the following enlarged image shows the east end of the station, with home signal D, distant signal Vc for the starting signals, and starting signals E and F (I was too lazy to walk the distance to the signals):
In contrast to the track layout, the lever frame is not symmetric, as you can see on this picture of the cranks:
The outermost cranks are for the two-arm home signals A and D. The second crank controls starting signals B and E on the loop track no.1 and their shunting signals. The third crank, however, controls only starting signal C on the main track! How is the arm of signal F moved? This is done by an actual lever—here is the right half of the frame:
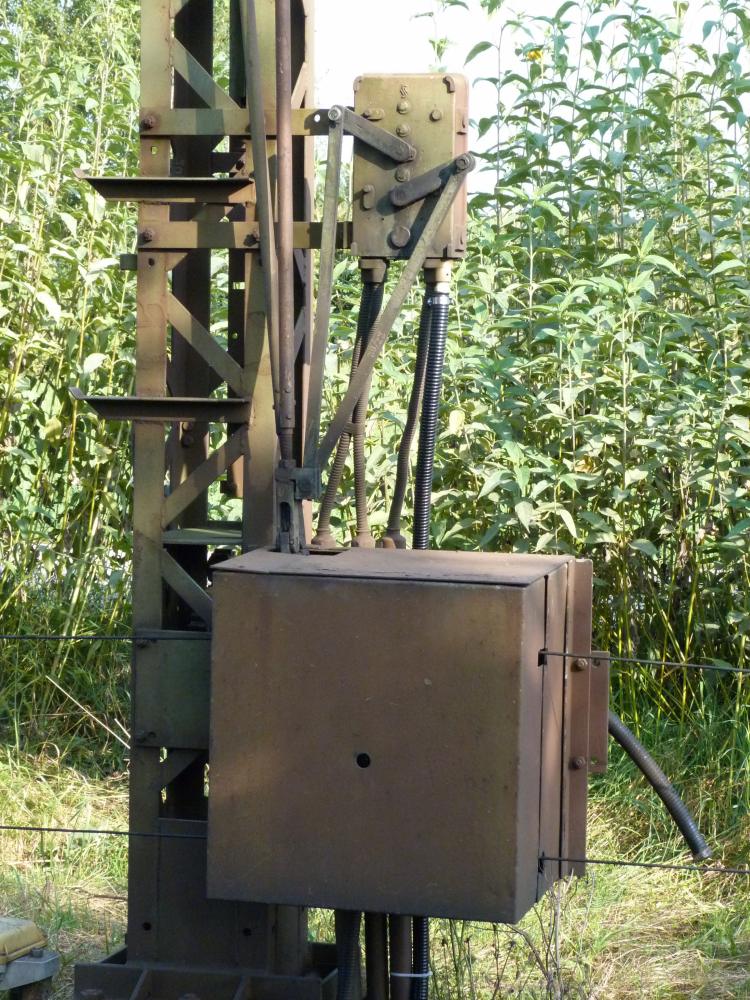
The left red lever is for signal F. The right red lever moves distant signal Vc, which is located immediately in front of home signal D. But where is a lever for distant signal Vf? There isn't any: This signal has an electric drive—both F and A must be clear, then Vf clears automatically. The motor drive is the grey box in the following picture:
The wheel with cogs on the inside and a few other parts were used in earlier times to lift or lower the gas-lit signal lamps—nowadays, they have been replaced with LEDs, as can be seen later.
Back to the lever frame: Above the signal cranks, one can see small keys. They release lever locks that are controlled by the block instruments. Above the cover at the cranks, one can see signal repeaters showing the actual position of the signals. This is necessary (or at least useful), as German signal arms on lines with block instruments are equipped with electro-magnetic couplings so that the arms fall to the stop position after a train has passed—in the picture of the signals above, you can see the coupling about half a meter above the signal drive mechanism. The following picture shows the repeaters for a route over the main track, where home signal D, starting signal C and its distant signal Vc are all clear:
After the train is in the station, ...
... D and Vc have returned to stop, only C is still clear:
The route lever for starting signal C is still in the reverse position so that points no.1 cannot be reversed:
Near the signal repeater, there are three more "butterfly indicators":
By the way, there are no separate levers for the distant signals of the home signals: Each such distant signal is moved by the corresponding signal crank together with its home signal. For this, the signals have a special differential mechanism—on the left, the wires from the lever frame enter the mechanism; on the right, the wires go to the distant signal (Va, in this case):
The lever frame has two levers for the points, which are numbered 1 and 8—most probably, there were lots of additional points in earlier times for various loading tracks. In addition, the two points also require FPL levers both for normal and reverse position. In Germany, the FPL levers are numbered with roman numerals which are independent of the points numbers: In Hörlkofen, levers I and II control the FPL for points no.1, levers V and VI control the FPL for points no.8.
In recent times, both sets of points have been equipped with track-circuits—the blue buttons near the levers are used to release the corresponding lever locks (this is done only to save energy: The lever lock would be uselessly engaged all the time when the points are not occupied without these additional release buttons).
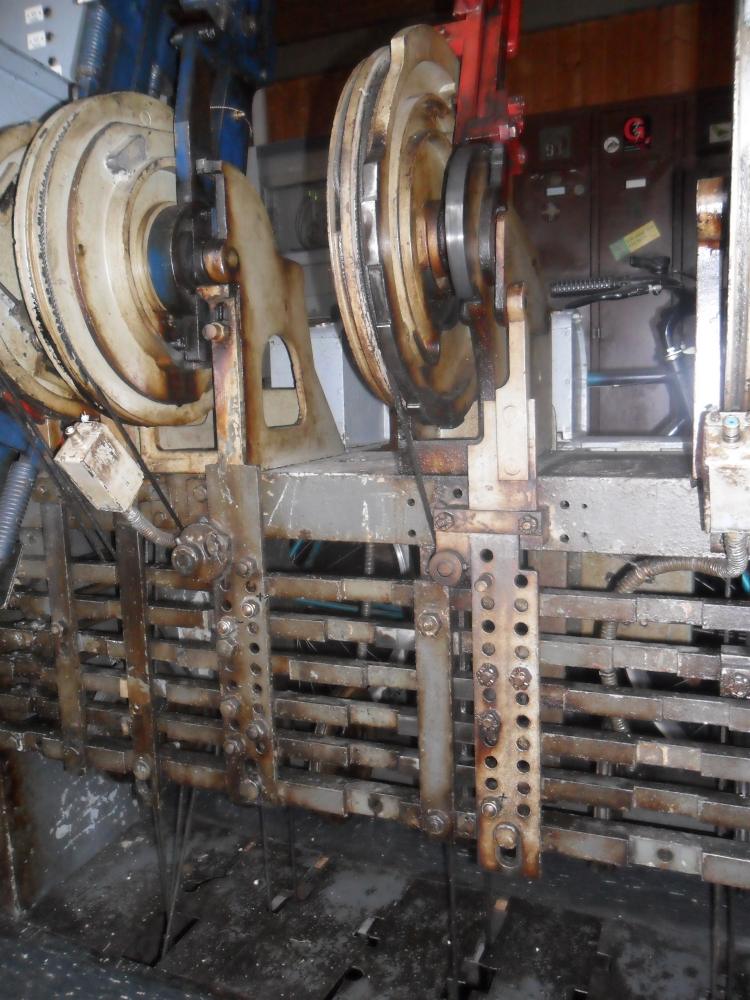
Below the levers, one can see the most prominent feature of this type of lever frame: The open locking bed. The vertical bars are moved by the points and FPL levers. The horizontal route bars are moved by the route levers. Here is the central part of the locking bed:
The hexagonal nuts are used to fasten the locking pieces, which mimic the locking plan. Interestingly, this installation already has three types of nuts:
--------------------
For people who like pictures from the outside, here are a few photos of the signals. First, here you can see signals D and Vc (Mühldorf side), unfortunately with some back light:
Here is the train for which signal D was cleared:
The starting signals E and F on the Thann-Matzbach side; at signal E, one can see the combined mechanism for both stop signal and shunting signal:
At last, signals A and Vf on the Markt Schwaben side:
The previous picture also shows the wires leading to the LED matrices that replaced the gas-lit lamps.
The following picture was taken in the moment when the signalman (actually, the train director; see my dictionary for this term) turned the crank to return signal A to its normal stop position; Vf still shows clear, but will drop to danger in a moment:
Again A and Vf, this time framed by green leaves:
At last, here is a picture of the Hörlkofen station building. The lever frame and the video screens and control panels for the barriers are in the annex on the right side. The traffic bureau is located in the station building:
One of the oldest lever frames in Germany is still worked day-to-day on the line from Munich to Mühldorf. Allegedly, it was built in 1899 or 1898—it has been in use in three different centuries! The single interlocking is a mixture of a few types, the main lever frame has been built by Krauss after a design by Bruchsal. In our days, the track layout is as simple as it gets: One main track, one passing loop. The following, enlarged part from an image shown later shows the layout, including the letters of the stop signals and the distant signals located at the home signals:
The interlocking machinery is located in two rooms:
- One contains the lever frame for signals and points.
- The other one contains the Siemens block instruments.
Here is the lever frame ...
... and here we see the block instruments:
A long time ago, Hörlkofen was equipped with special semaphores used only in Bavaria, which had a special position where the single arm dropped vertically downwards. This indicated that shunting moves were allowed (see e.g. the German discussion at Frage zu Bayerische Signale, Begriff "Ru"). Because of this, separate shunting signals ("Sperrsignal") were not necessary. These Bavarian signals required levers for three positions:
- "stop" (signal 7),
- "rest" (i.e., shunting allowed because no other traffic was allowed; signal 7a according to Röll's Enzyklopädie des Eisenbahnwesens, Bd.9, S.59, Fig.96, 2nd edition, 1921),
- and "clear" (signal 8a).
Because of this arrangement, there is only a single mechanism at each signal pair which moves both signals. Here is an image of this setup at starting signal B, with shunting signal Hs 1a:
The Kraus interlockings, like almost all German lever frames, have separate route levers. That lever can be seen above the corresponding signal crank. The route lever has a small catch handle, which the signalman releases with his thumb before moving the route lever to the left or right. This moves the corresponding route bar, which in turn locks the point levers and, where necessary (entry routes), the separate FPL levers.
Obviously, the crank shown above could be used to clear either signal B or signal E.
The simple layout of Hörlkofen's tracks is symmetric—the following enlarged image shows the east end of the station, with home signal D, distant signal Vc for the starting signals, and starting signals E and F (I was too lazy to walk the distance to the signals):
In contrast to the track layout, the lever frame is not symmetric, as you can see on this picture of the cranks:
The outermost cranks are for the two-arm home signals A and D. The second crank controls starting signals B and E on the loop track no.1 and their shunting signals. The third crank, however, controls only starting signal C on the main track! How is the arm of signal F moved? This is done by an actual lever—here is the right half of the frame:
The left red lever is for signal F. The right red lever moves distant signal Vc, which is located immediately in front of home signal D. But where is a lever for distant signal Vf? There isn't any: This signal has an electric drive—both F and A must be clear, then Vf clears automatically. The motor drive is the grey box in the following picture:
The wheel with cogs on the inside and a few other parts were used in earlier times to lift or lower the gas-lit signal lamps—nowadays, they have been replaced with LEDs, as can be seen later.
Back to the lever frame: Above the signal cranks, one can see small keys. They release lever locks that are controlled by the block instruments. Above the cover at the cranks, one can see signal repeaters showing the actual position of the signals. This is necessary (or at least useful), as German signal arms on lines with block instruments are equipped with electro-magnetic couplings so that the arms fall to the stop position after a train has passed—in the picture of the signals above, you can see the coupling about half a meter above the signal drive mechanism. The following picture shows the repeaters for a route over the main track, where home signal D, starting signal C and its distant signal Vc are all clear:
After the train is in the station, ...
... D and Vc have returned to stop, only C is still clear:
The route lever for starting signal C is still in the reverse position so that points no.1 cannot be reversed:
Near the signal repeater, there are three more "butterfly indicators":
- an indicator showing whether Vc can be cleared;
- two direction indicators which repeat information from the block instruments (Sb = Markt Schwaben side, Tm = Thann-Matzbach side).
By the way, there are no separate levers for the distant signals of the home signals: Each such distant signal is moved by the corresponding signal crank together with its home signal. For this, the signals have a special differential mechanism—on the left, the wires from the lever frame enter the mechanism; on the right, the wires go to the distant signal (Va, in this case):
The lever frame has two levers for the points, which are numbered 1 and 8—most probably, there were lots of additional points in earlier times for various loading tracks. In addition, the two points also require FPL levers both for normal and reverse position. In Germany, the FPL levers are numbered with roman numerals which are independent of the points numbers: In Hörlkofen, levers I and II control the FPL for points no.1, levers V and VI control the FPL for points no.8.
In recent times, both sets of points have been equipped with track-circuits—the blue buttons near the levers are used to release the corresponding lever locks (this is done only to save energy: The lever lock would be uselessly engaged all the time when the points are not occupied without these additional release buttons).
Below the levers, one can see the most prominent feature of this type of lever frame: The open locking bed. The vertical bars are moved by the points and FPL levers. The horizontal route bars are moved by the route levers. Here is the central part of the locking bed:
The hexagonal nuts are used to fasten the locking pieces, which mimic the locking plan. Interestingly, this installation already has three types of nuts:
- The leftmost locking bar (points no.1) use simple nuts;
- The right bar (signal F) uses castle nuts with cotters;
- Both also use modern self-locking nuts.
--------------------
For people who like pictures from the outside, here are a few photos of the signals. First, here you can see signals D and Vc (Mühldorf side), unfortunately with some back light:
Here is the train for which signal D was cleared:
The starting signals E and F on the Thann-Matzbach side; at signal E, one can see the combined mechanism for both stop signal and shunting signal:
At last, signals A and Vf on the Markt Schwaben side:
The previous picture also shows the wires leading to the LED matrices that replaced the gas-lit lamps.
The following picture was taken in the moment when the signalman (actually, the train director; see my dictionary for this term) turned the crank to return signal A to its normal stop position; Vf still shows clear, but will drop to danger in a moment:
Again A and Vf, this time framed by green leaves:
At last, here is a picture of the Hörlkofen station building. The lever frame and the video screens and control panels for the barriers are in the annex on the right side. The traffic bureau is located in the station building:
Subscribe to:
Posts (Atom)