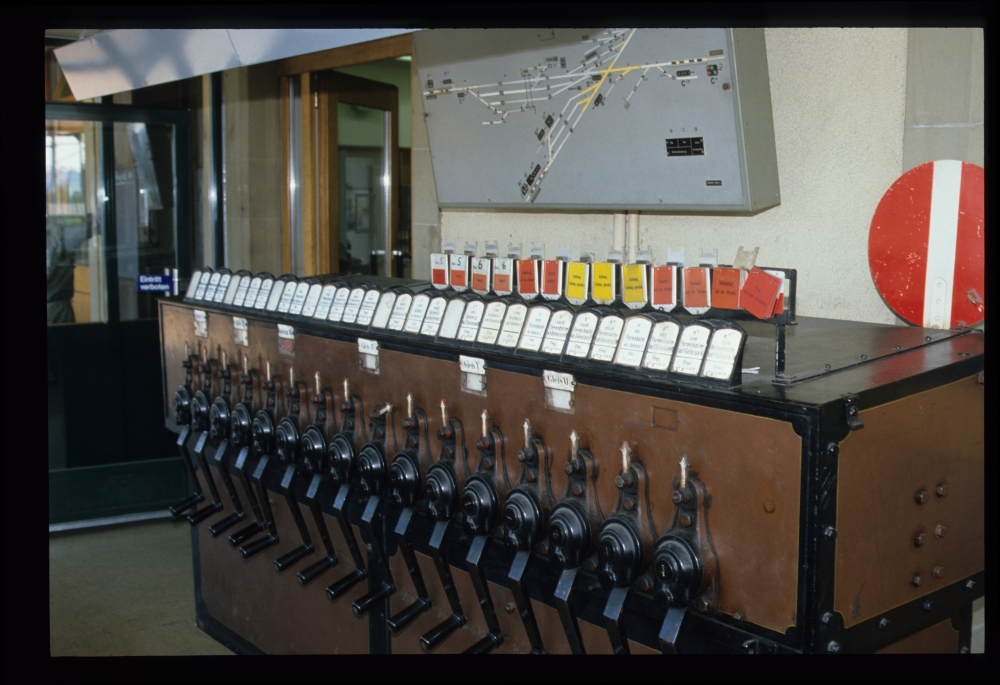
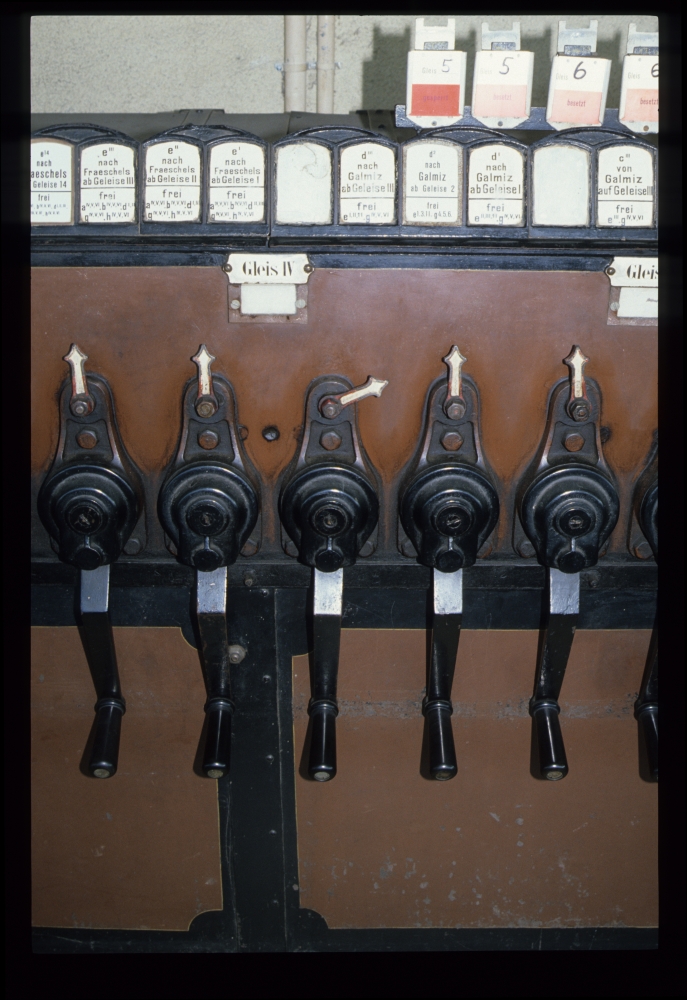
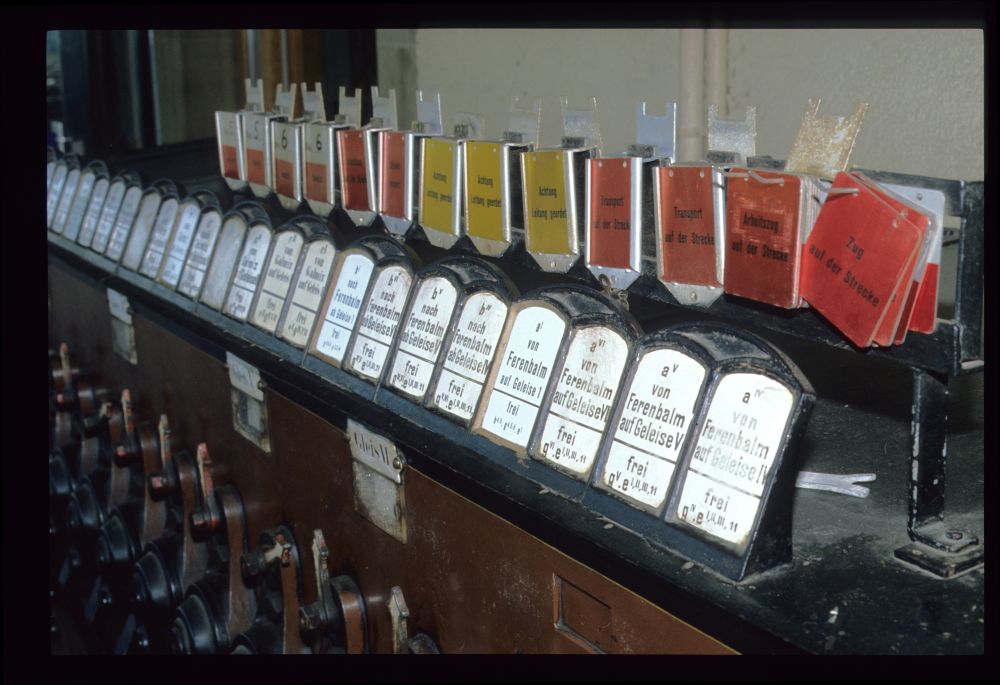
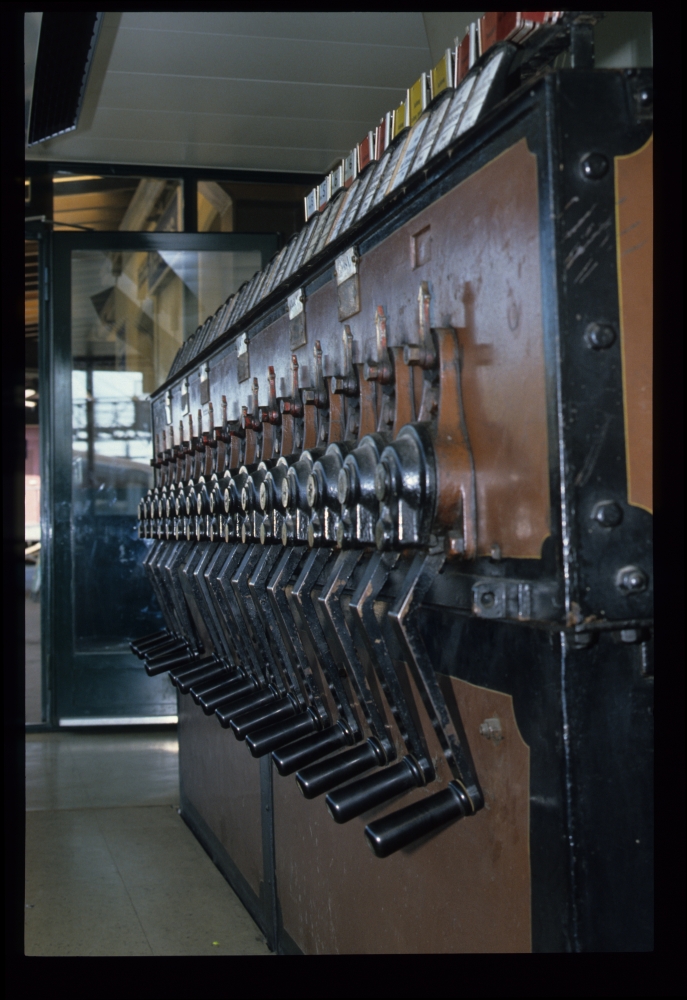
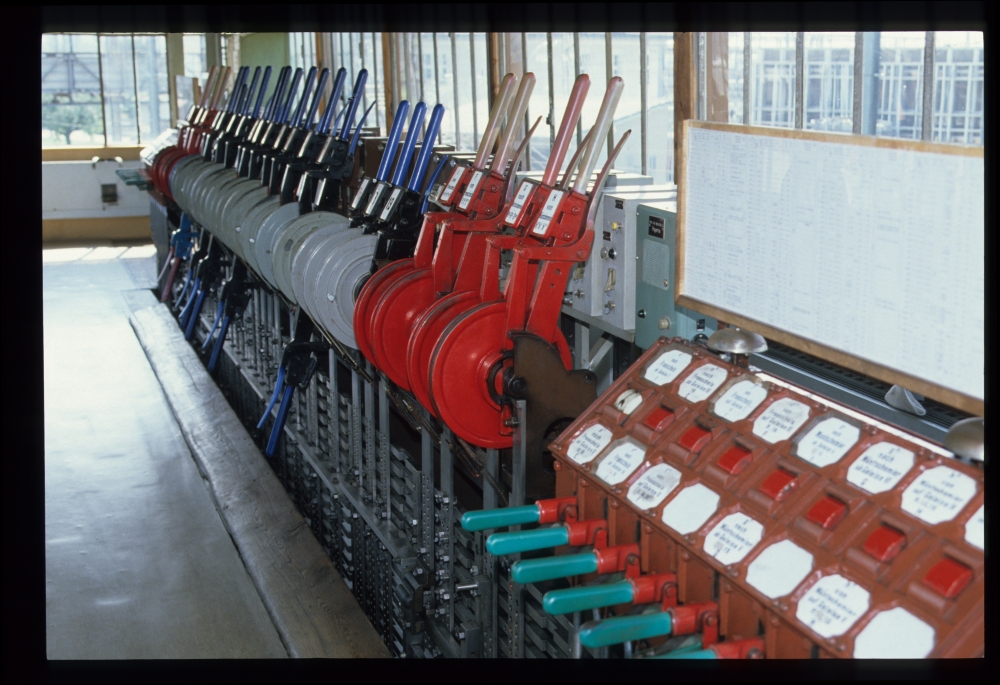
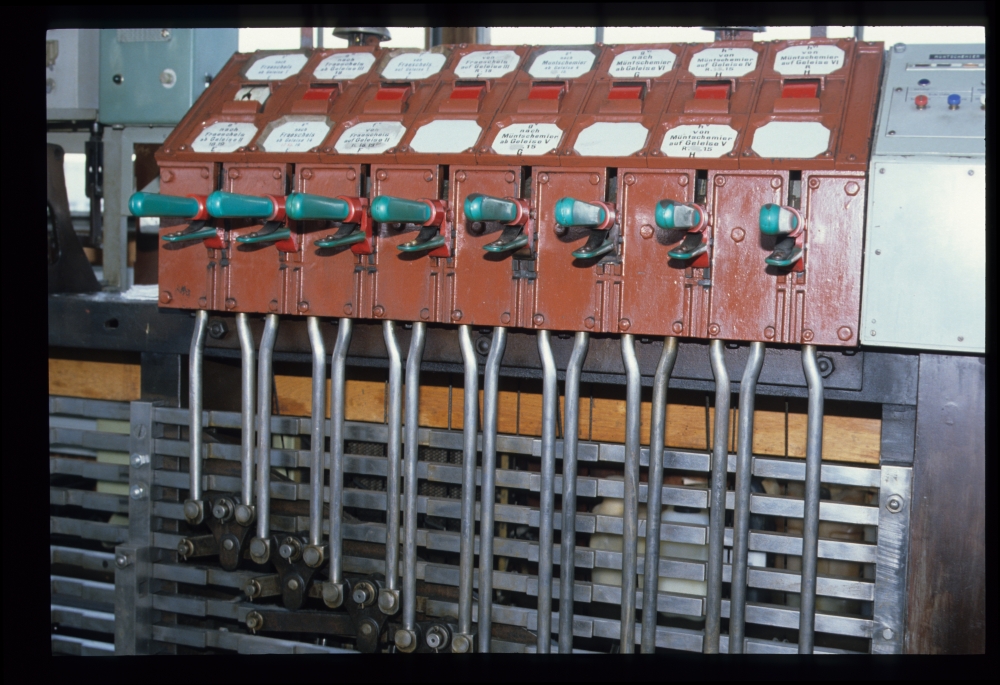
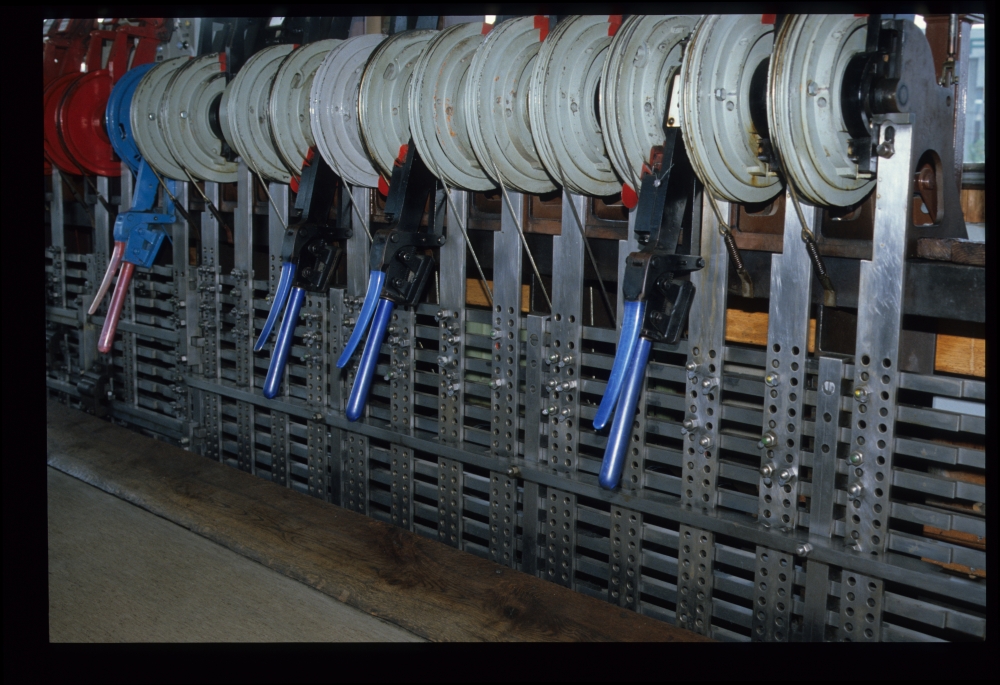
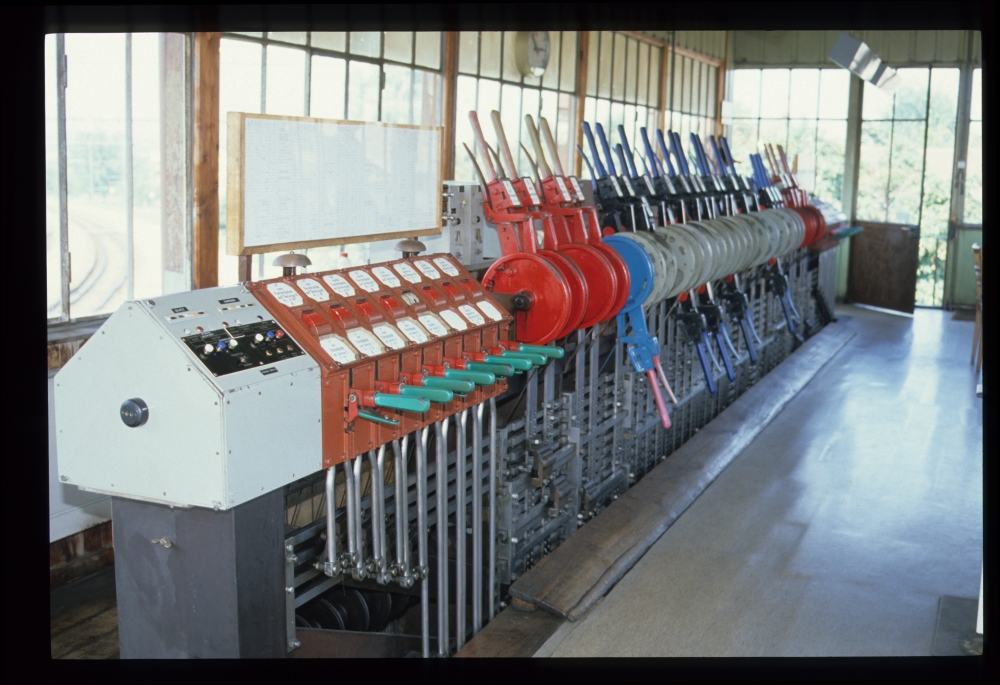
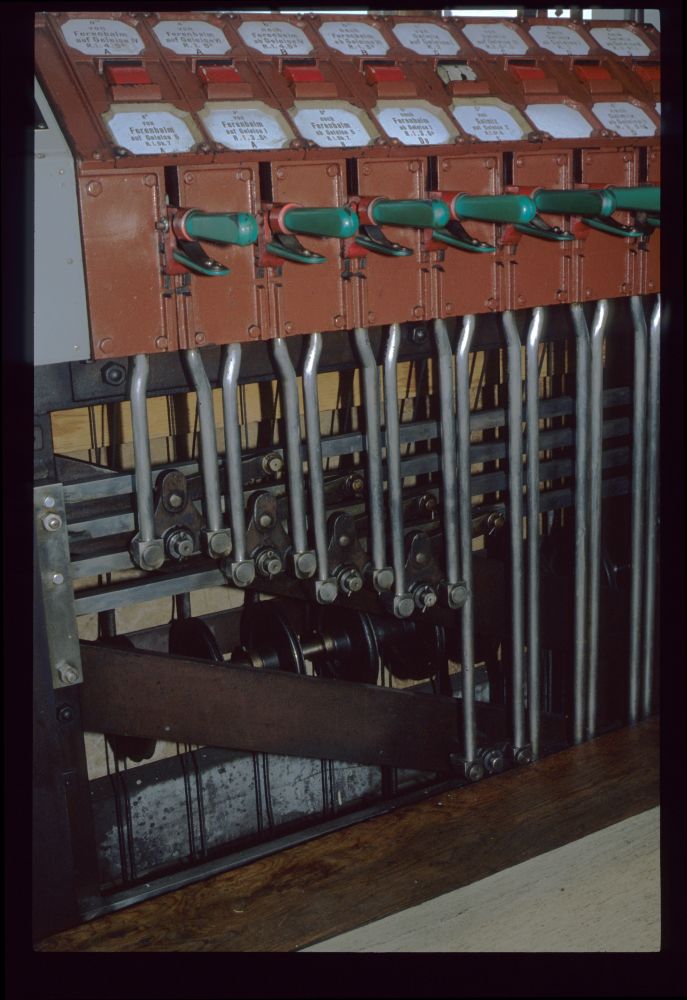
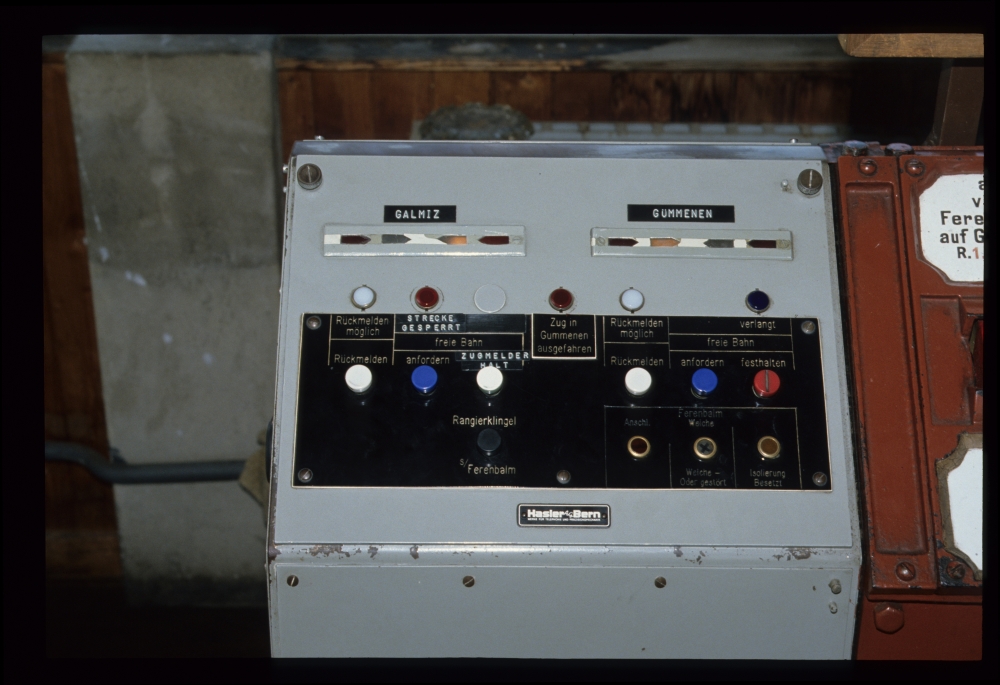
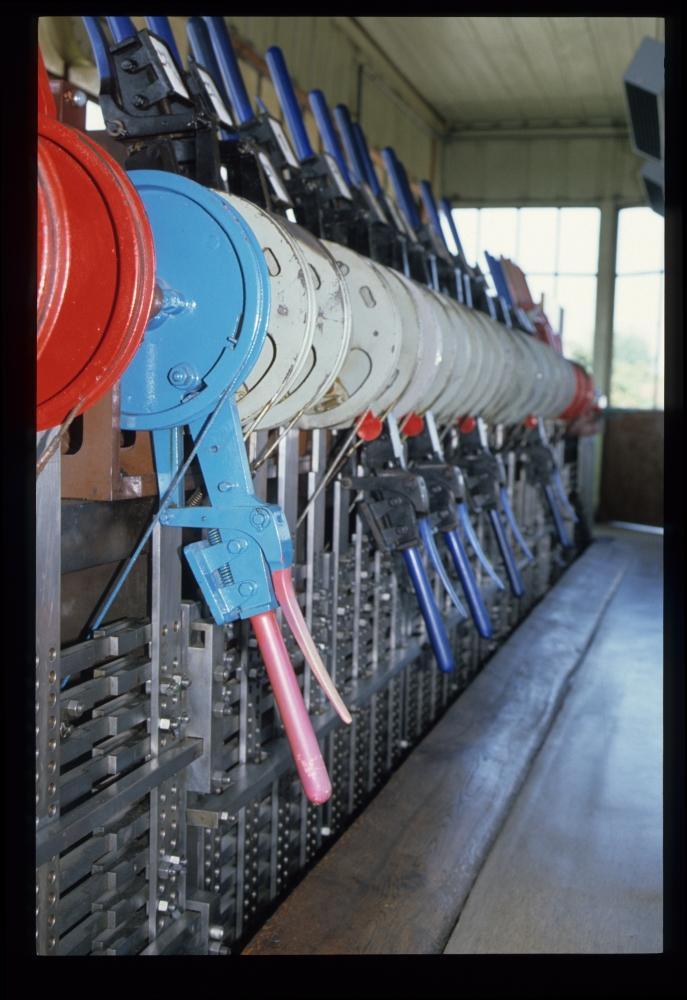
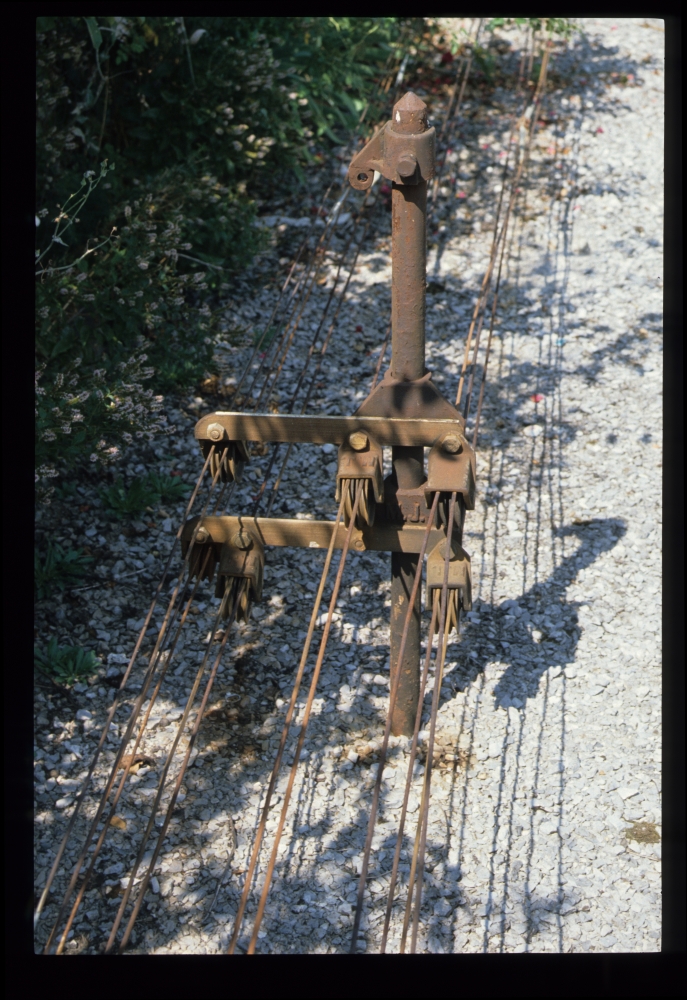
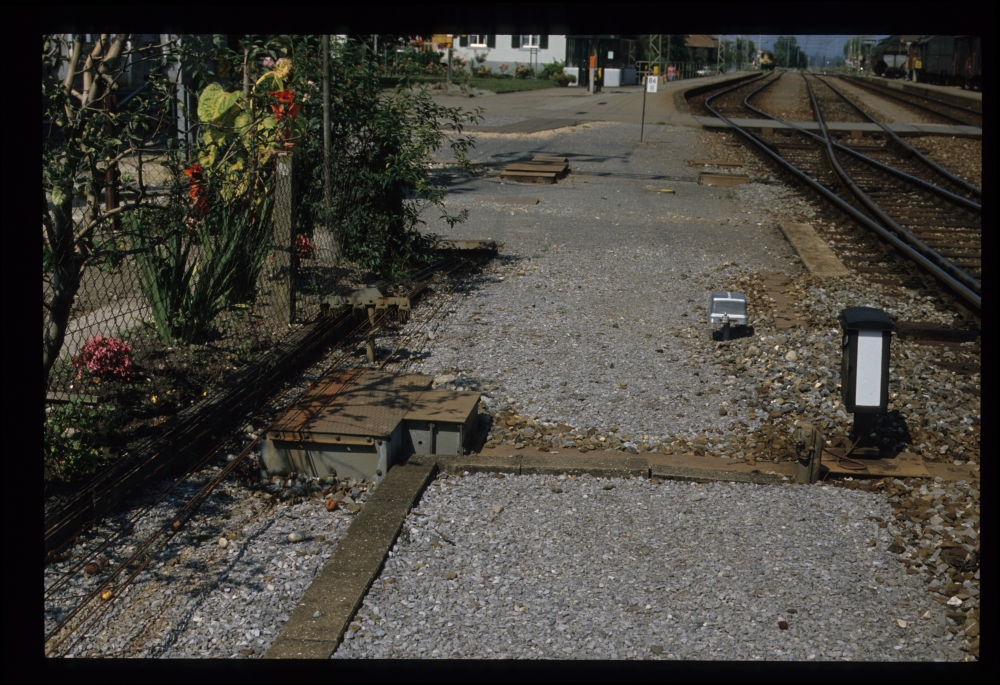
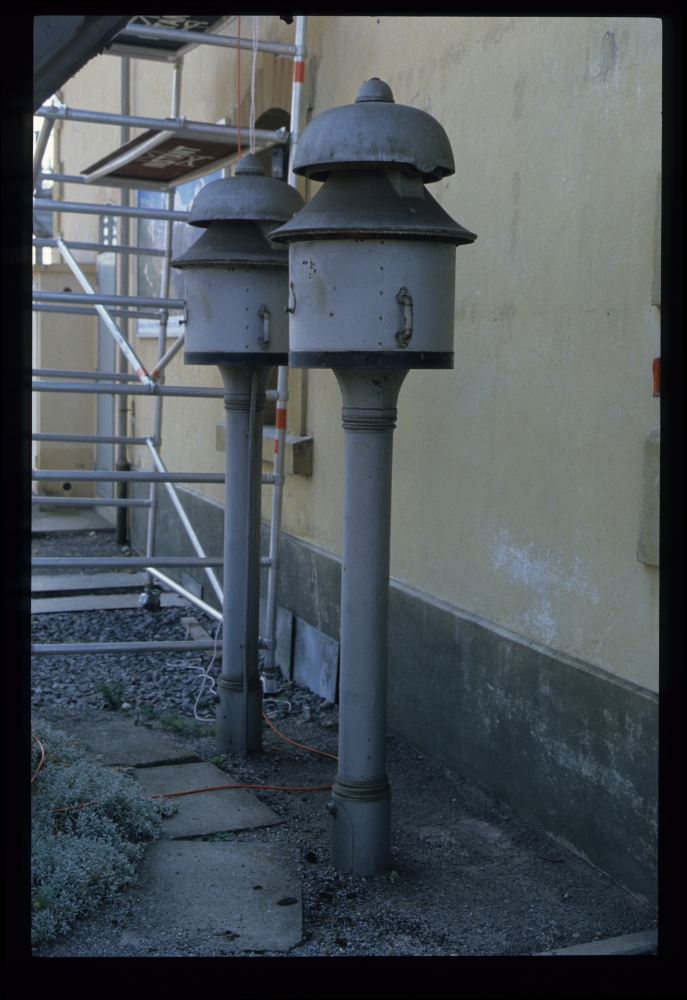
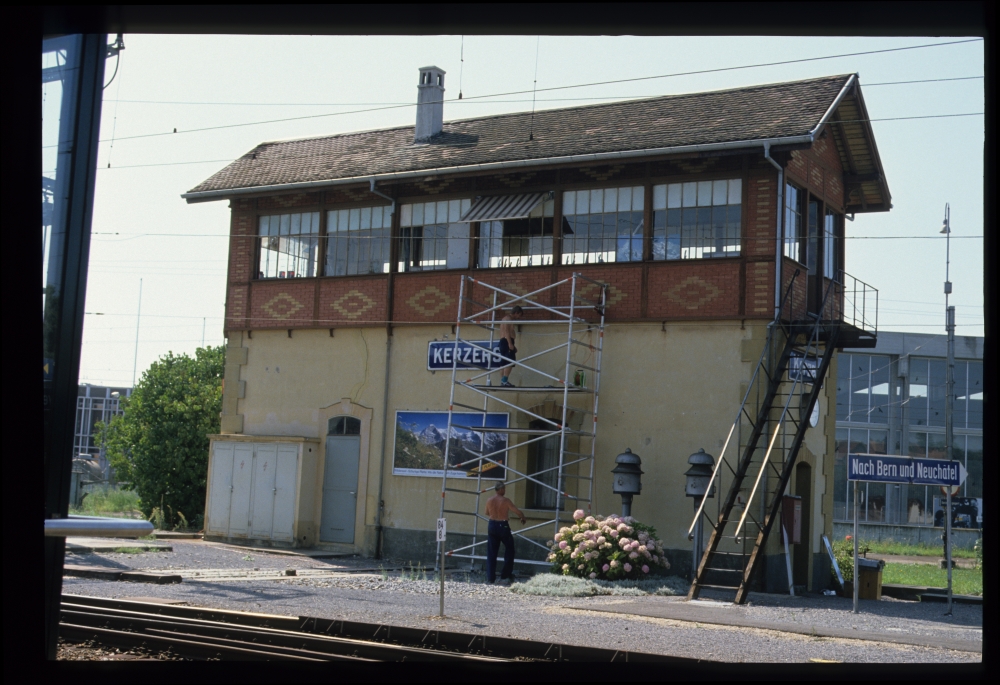
Update 25.3.2020: I stumbled over a wonderful Youtube video, which shows the frame in action before the modifications of 1988, with all the noises and sounds of such a signalbox.
From Kerzers I continued to Kiesen, where I had seen a semaphore on the previous day. Here are three photos taken somewhere on the ride to Kiesen:
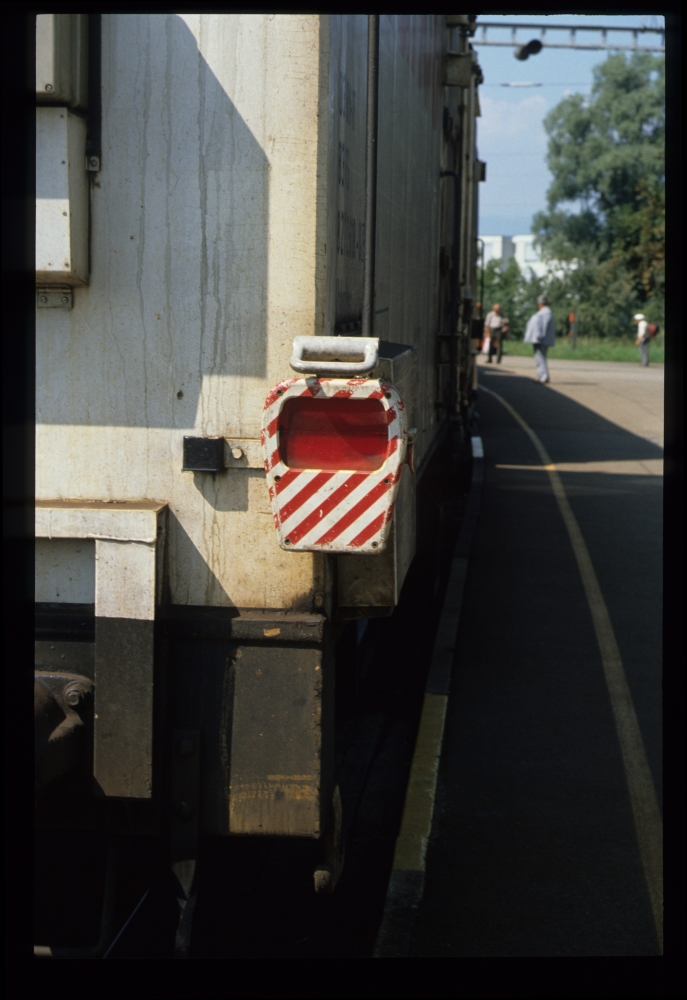
Rear end lamp, Switzerland, 18.8.1988
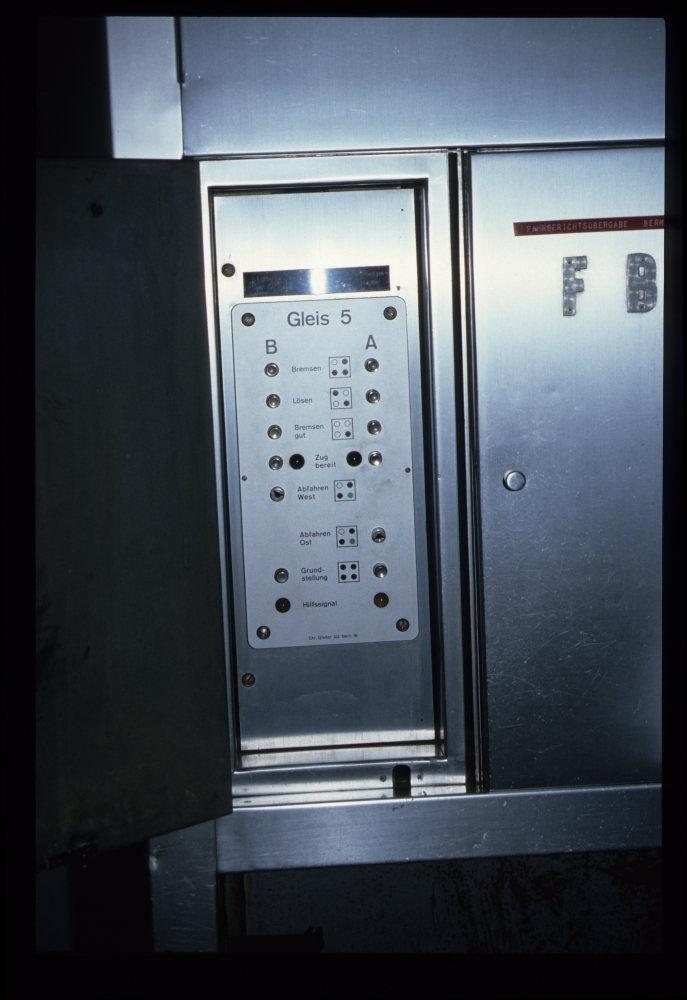
Panel for brake test and "right away" signals, Switzerland, 18.8.1988
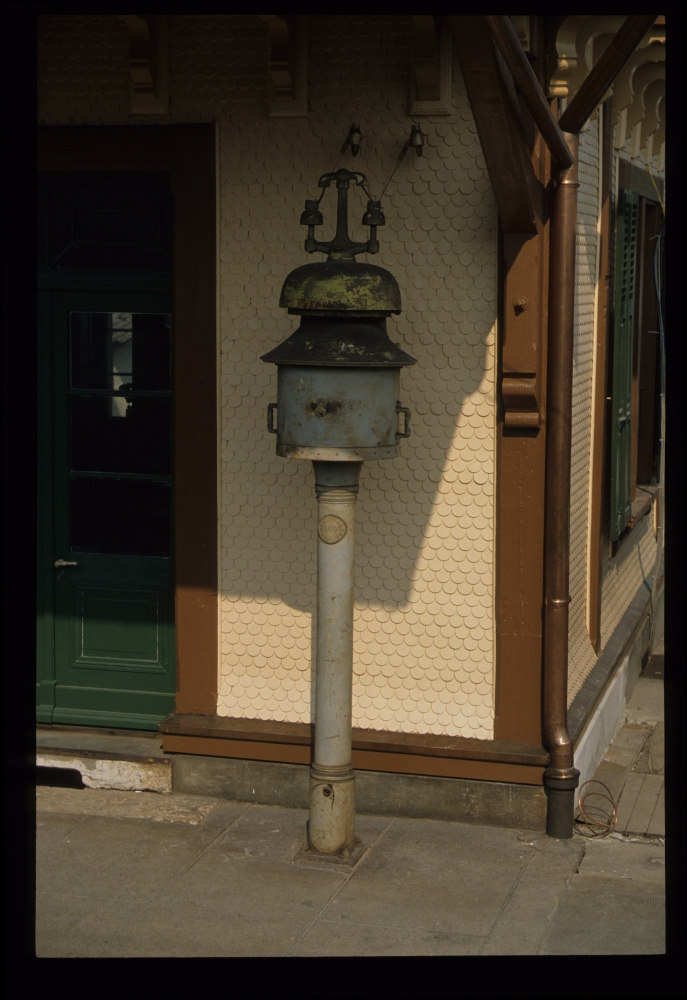
Bells, Switzerland, 18.8.1988
Kiesen had, in 1988, still all the signals of a small intermediate station—two home signals and two group starting signals—, but half of the track connections had been dismantled a short time earlier, as can be seen on the track panel—here with signals cleared for a southward train:
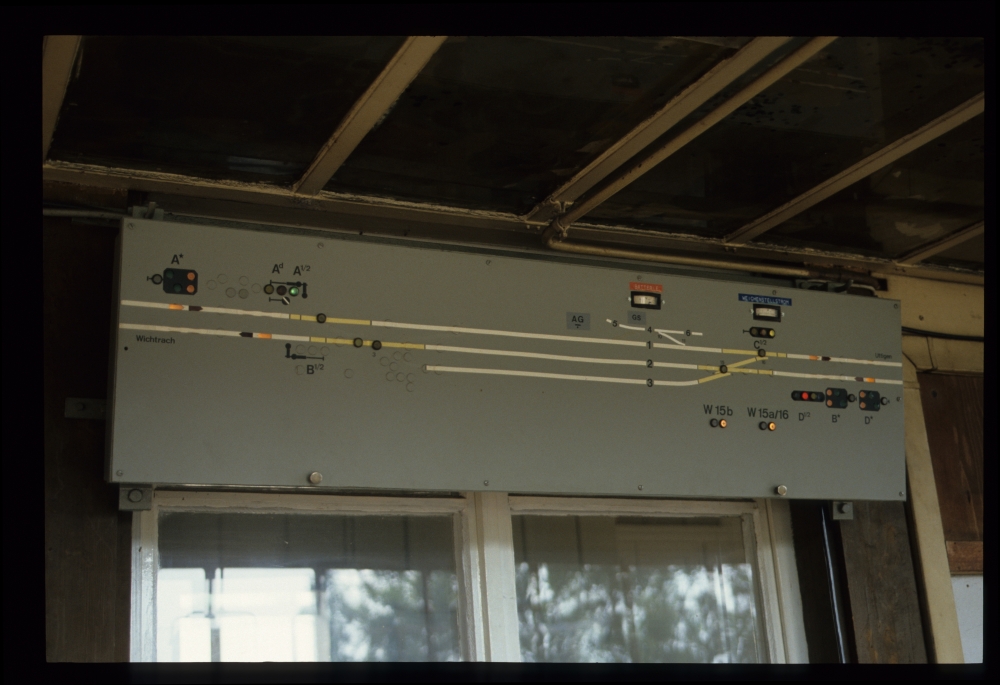
Track and signal panel, Kiesen, 18.8.1988
Here is a track diagram of this small station. Like St.Blaise, it had been reduced from a station with a loop track to a block post with a storage track:

The lever frame at Kiesen still had all the levers—but of course, the levers for the removed points were no longer connected. There were five signal levers on this frame, namely
- the lever for home signal A1/2, a semaphore, which also controlled the corresponding distant light signal A*,
- the lever for distant signal ("Durchfahrsignal") Ad, a disc signal, for starting light signal C1/2,
- the lever for starting signal B1/2, a semaphore, as well as corresponding light distant signal B* mounted on home signal D,
- the lever for starting signal C1/2, a light signal,
- and finally the lever for home signal D1/2 and corresponding distant signal D*, both light signals.
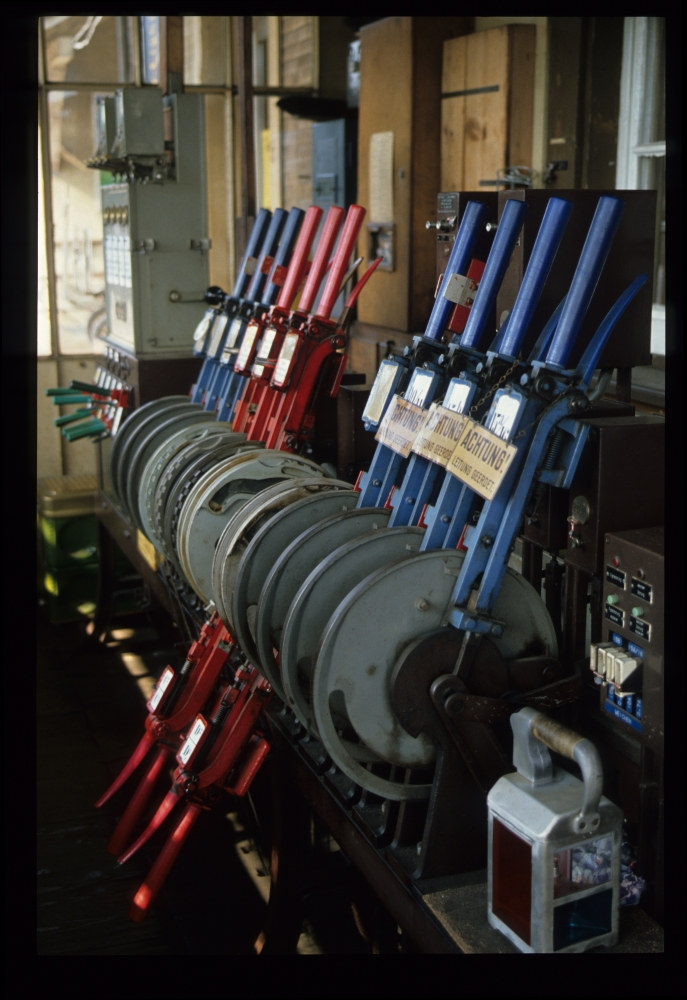
Lever frame, Kiesen, 18.8.1988
On the handles of the disconnected points levers (which had moved their points with rodding), small blocks prevented that they could still be pulled:
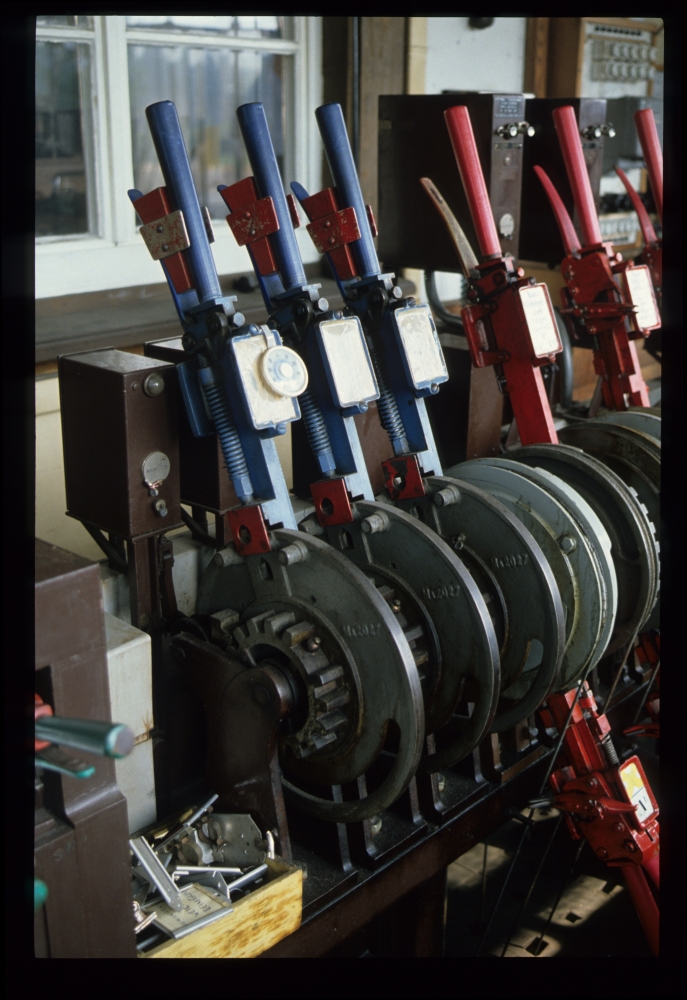
Disconnected points levers for rodding, Kiesen, 18.8.1988
This handle lock, made by Integra, locks the signal lever C on the right, which is reversed and hence invisible here:
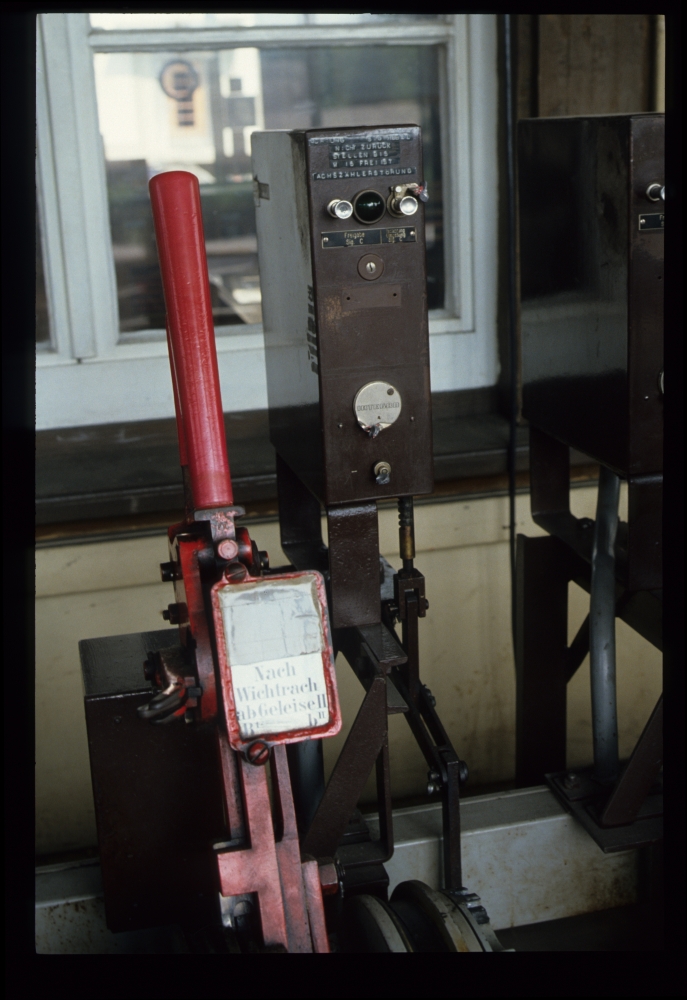
Signal lever for semaphore B1/2 and handle lock for signal C, Kiesen, 18.8.1988
Here one can see the three reversed signal levers for the train route shown in the first picture above:
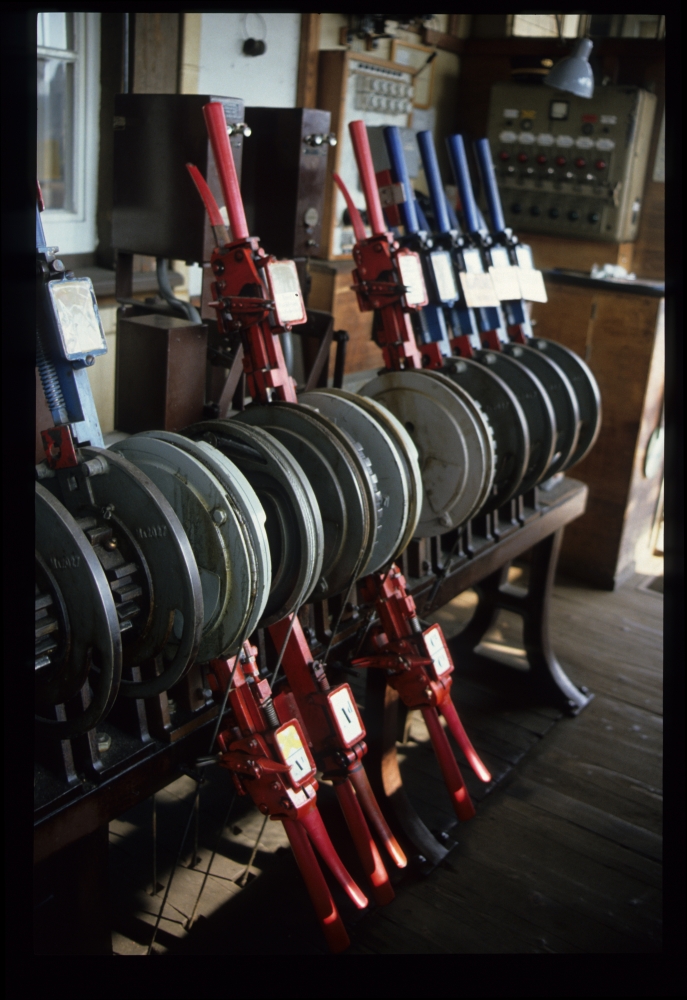
Levers set for a through train, Kiesen, 18.8.1988
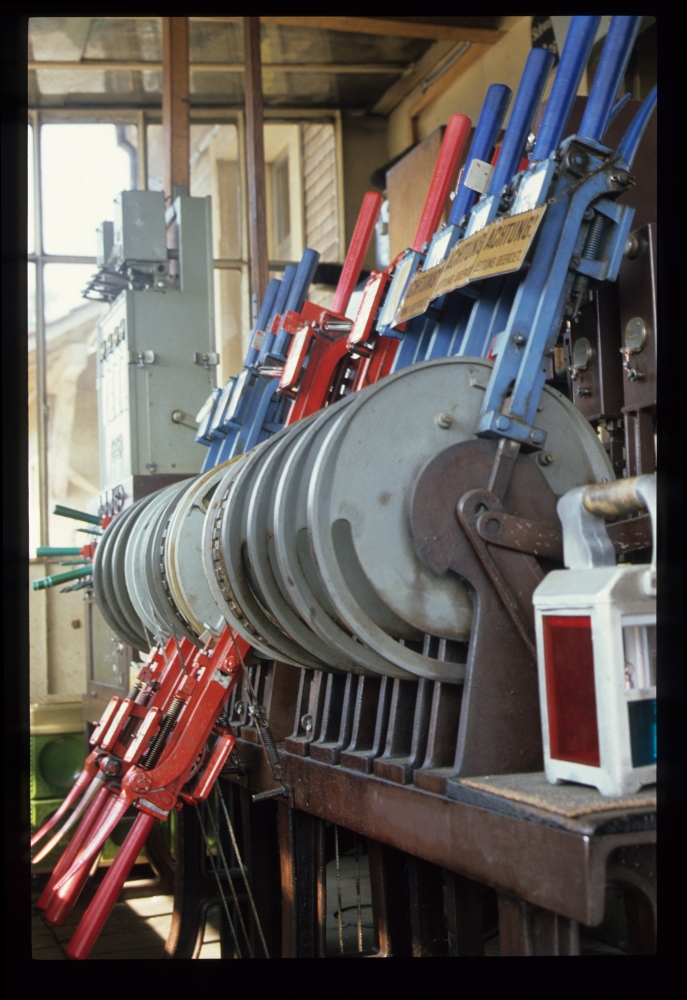
Levers set for a through train, Kiesen, 18.8.1988
And here are the six route levers—five of them are moved from their central position. From left to right, the levers are as follows:
- The first one for route "aI from Wichtrach into track I" is reversed downwards.
- Also the second one, for a route "bII to Wichtrach out of track II", has been moved down (the upper position "bIII to Wichtrach from track III" should have been covered, as the corresponding points were already missing).
- The third lever, allowing a route out of the shed track "c4 to Uttigen from 4", is in its central position.
- The fourth lever is reversed for the route "cI to Uttigen from track I", its other position is for route "cIII to Uttigen from track III" out of the former loop and now stub track.
- The fifth lever for "dII from Uttigen into track II" is also reversed; its other position is for the route "dIII from Uttigen into track III".
- Finally, this frame, like the one at St.Blaise, also had a "switch-out lever" to switch the station out of the line block. Here, this lever is of course moved upwards into position "Stellwerk und Streckenblock in Betrieb", i.e., "signal box and line block operational":
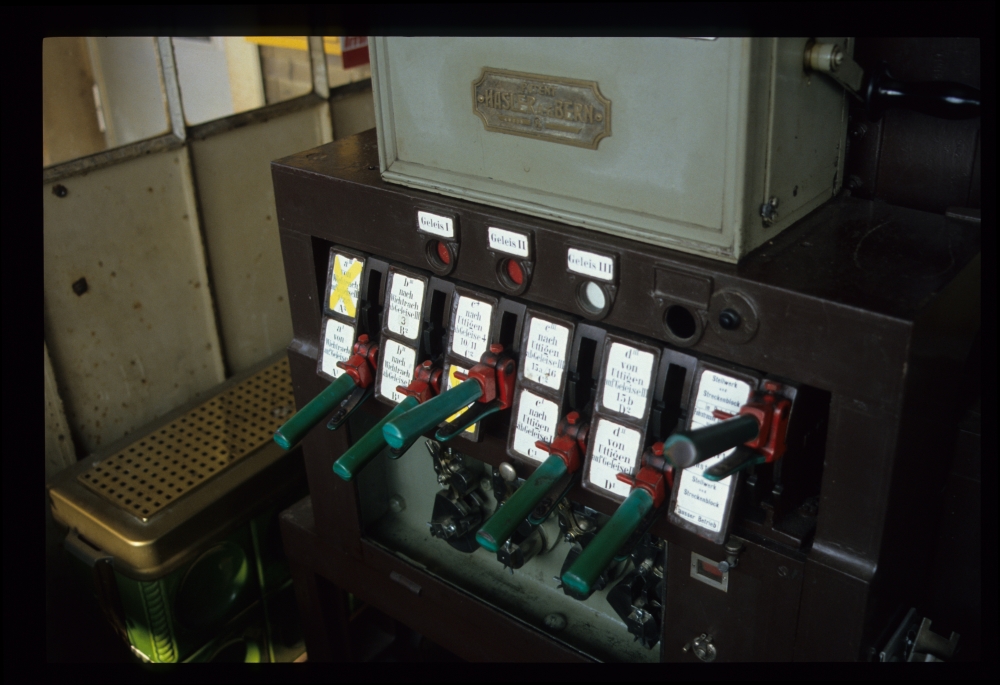
Route levers, Kiesen, 18.8.1988
The line block still used four Siemens block instruments. Here, all of them show white disks, i.e., all tracks from and to Kiesen were unoccupied:
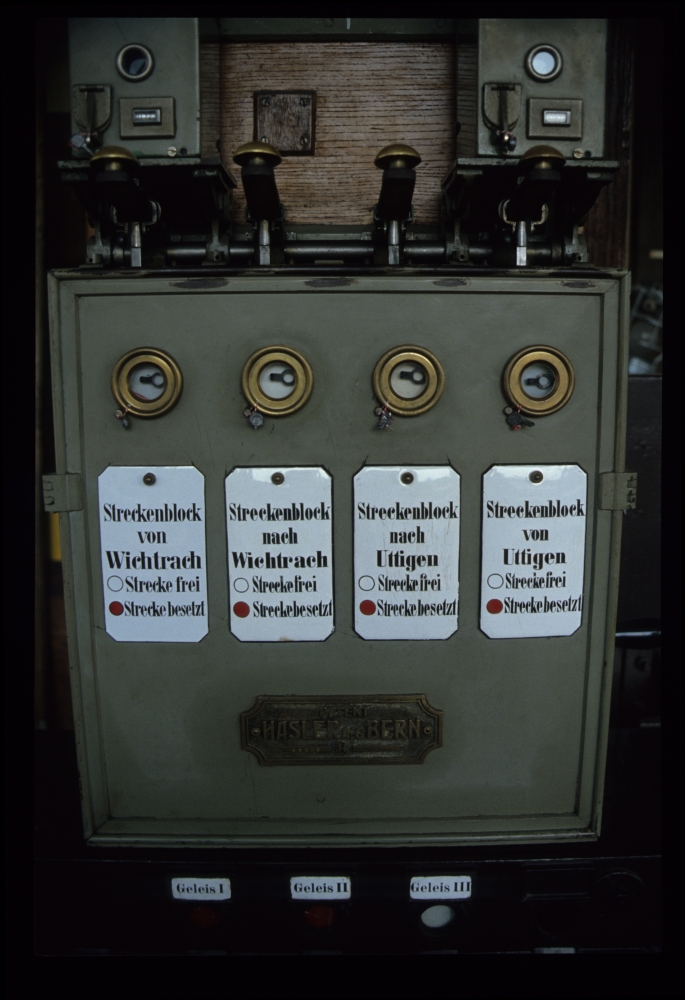
Line block instruments, Kiesen, 18.8.1988
Below the line block case, these locks provided the logic to connect the signal levers with the block instruments:
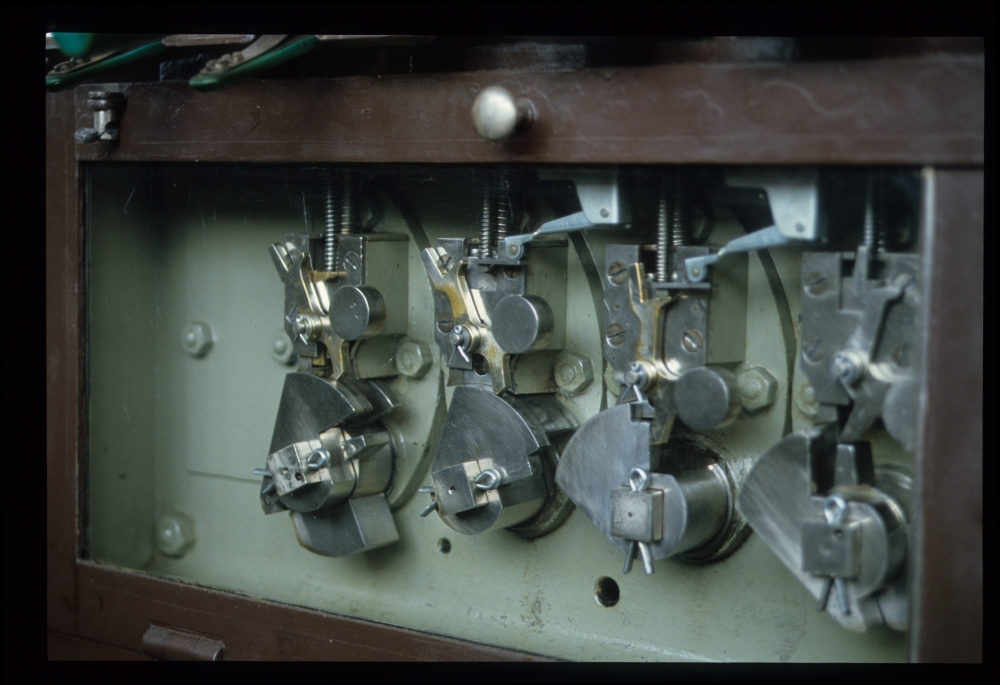
Block locks, Kiesen, 18.8.1988
Points 15 and 16 had already been provided with electrical points machines, the corresponding levers were therefore wound with brake bands over the cog wheels formerly moving the rodding. The leftmost lever for connected points 10 and 11, however, was still connected to its points via rodding. The signs on the levers say "Attention: Catenary grounded.", in other words: Don't reverse them and send a locomotive with pantograph in, as this will create a colossal short-circuit on entering:
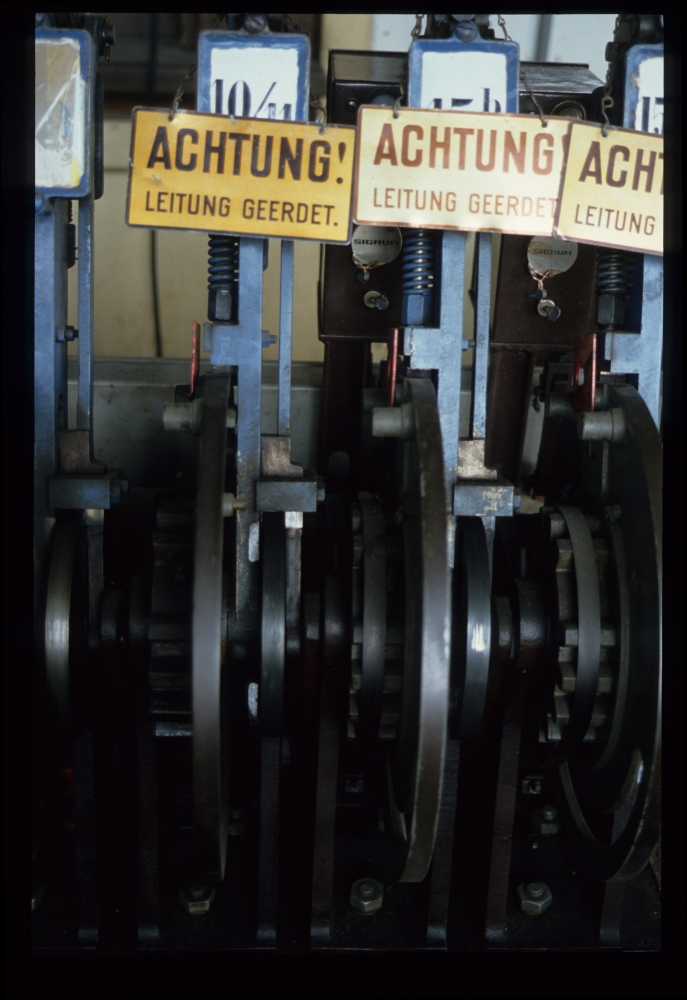
Points levers, Kiesen, 18.8.1988
The electrical points had a few fuses both for the motor current and the monitoring circuits:
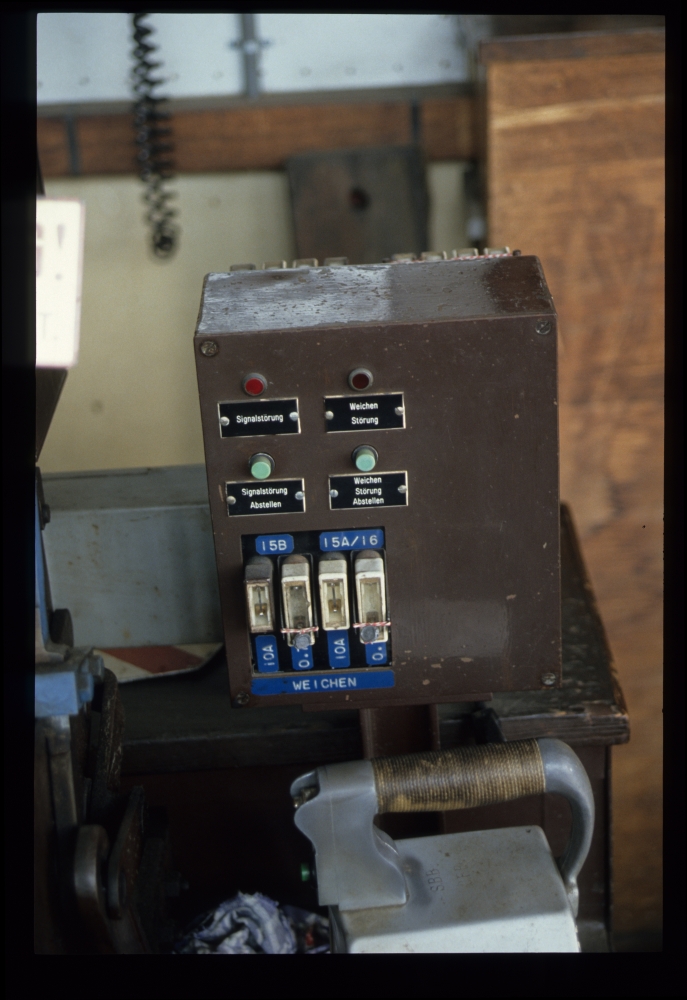
Points indicators and fuses, Kiesen, 18.8.1988
Right outside were these electro-mechanical bells for announcing trains along the line:
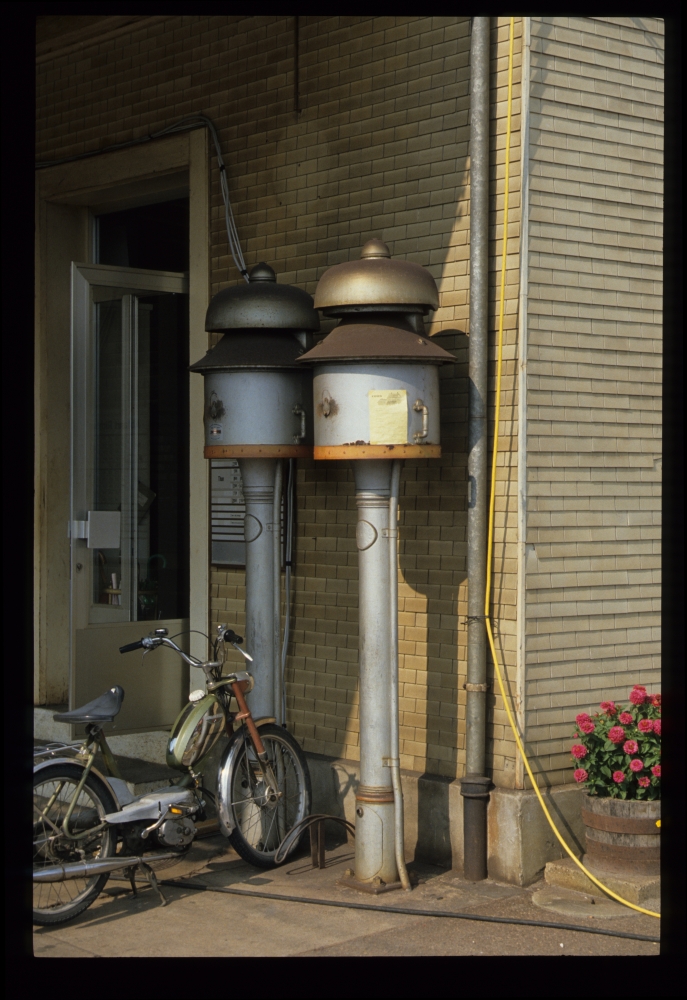
Bells, Kiesen, 18.8.1988
Here is the small shed that housed the frame. The building with single glass sheets was probably horribly cold during winter:
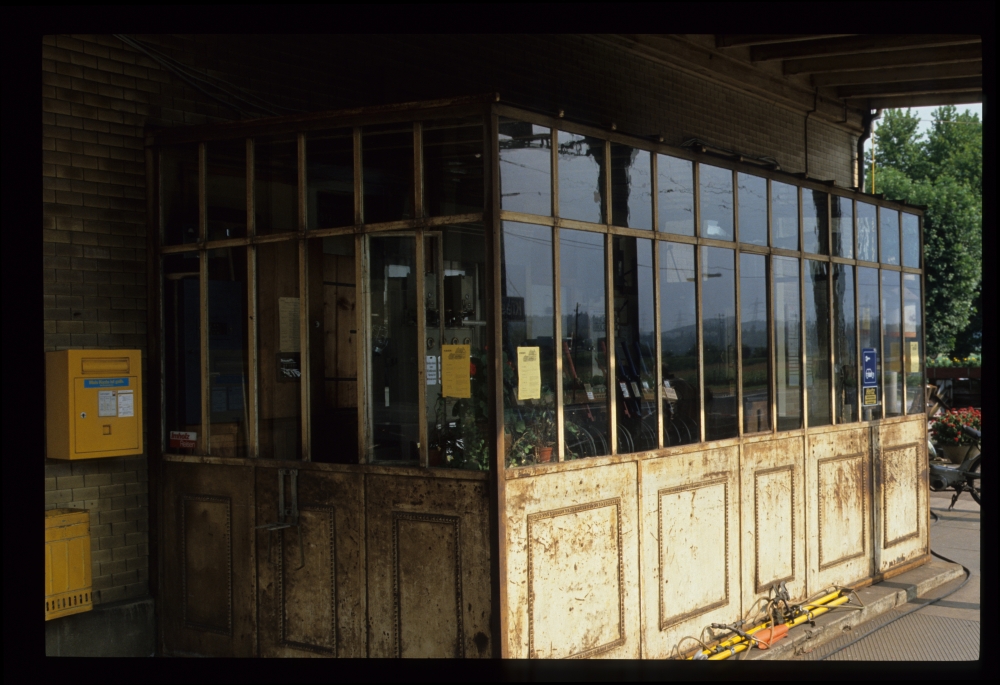
Signal box, Kiesen, 18.8.1988
From the station building, I went out to starting signal B1/2. On my way, I passed the wire tensioner for home signal A1/2:
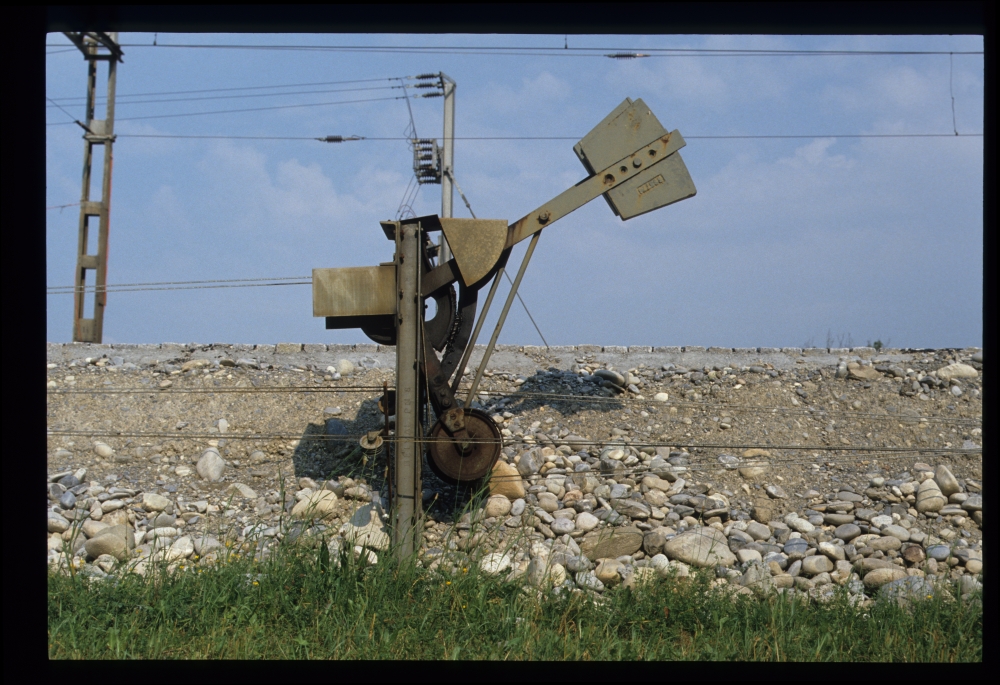
Wire tensioner, Kiesen, 18.8.1988
A little further, I took a picture of the wire tensioner for the starting signal:
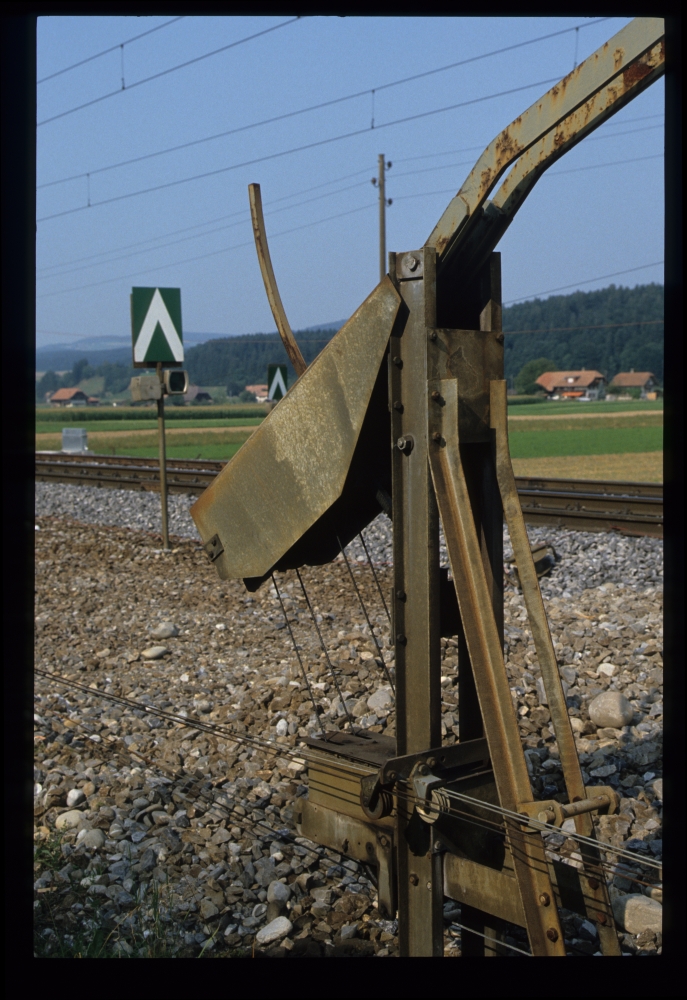
Wire tensioner, Kiesen, 18.8.1988
And here is a train:
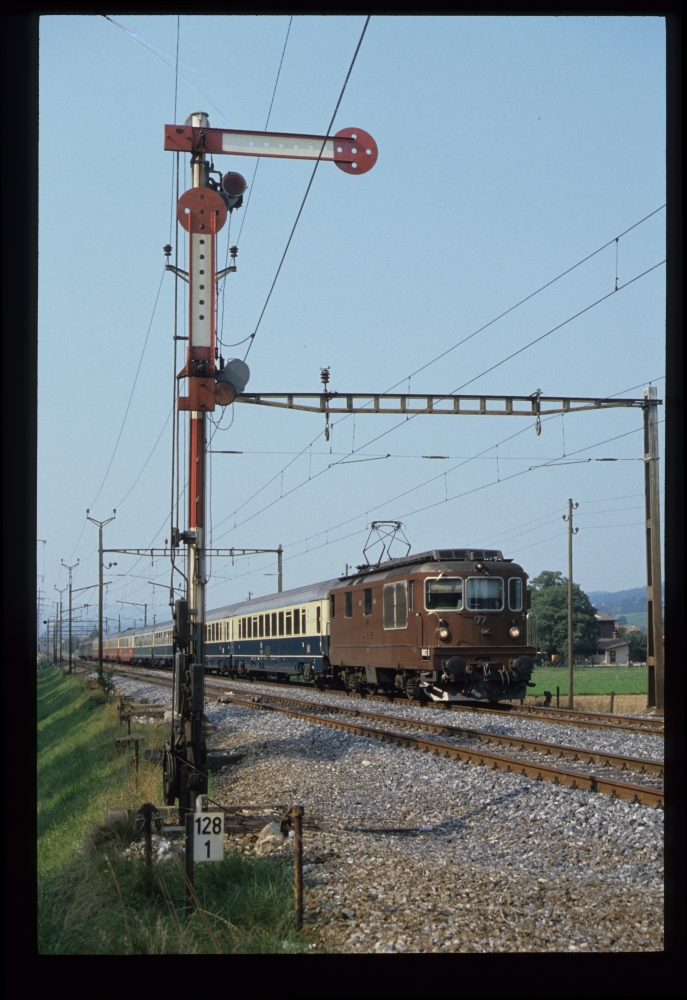
BLS Re 4/4 171, starting signal B1/2, Kiesen, 18.8.1988
After I returned, I took a picture of the station building:
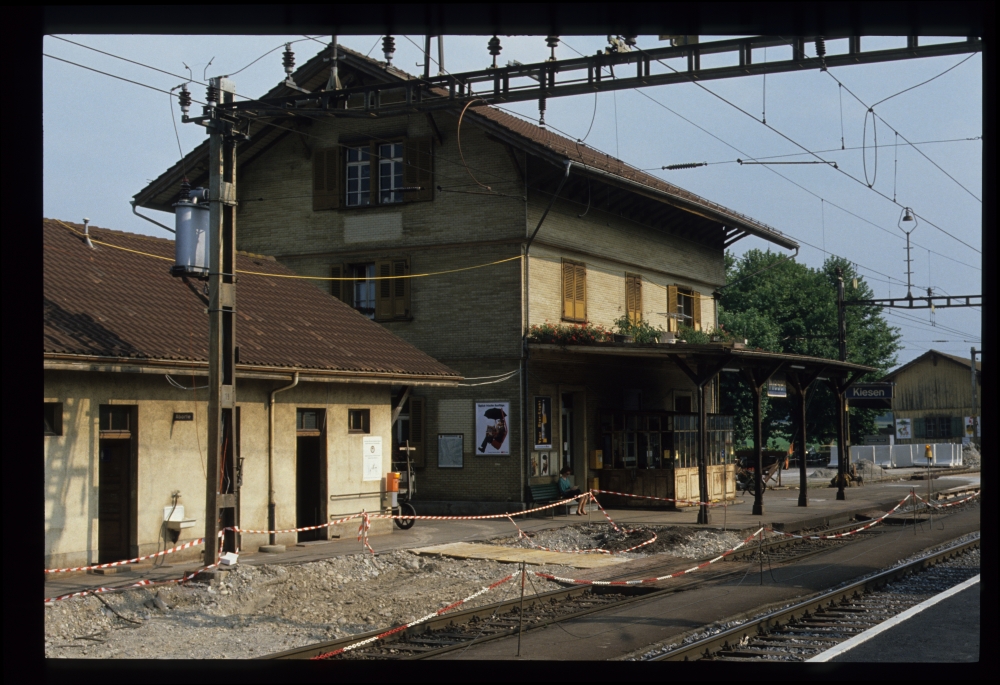
Station building, Kiesen, 18.8.1988
Just before leaving, I took a shot of the signalman returning a signal lever:
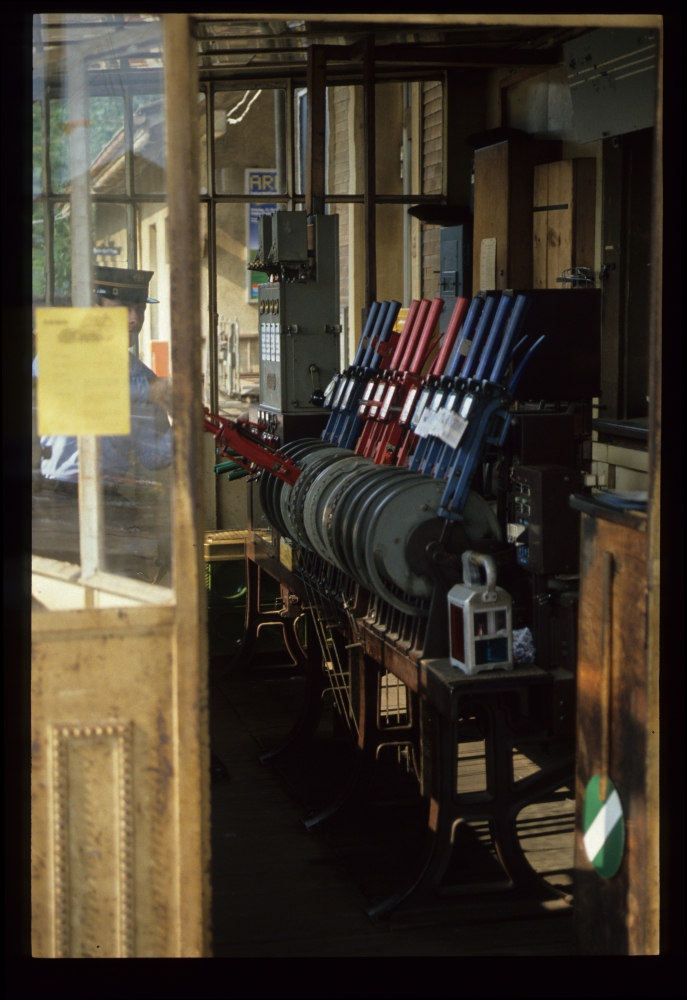
Clearing a signal, Kiesen, 18.8.1988
Finally, I got a picture of a goods train rumbling through. An enlargement would show that all five signal levers had been reversed at that time—there was quite some traffic on that line in this summer:

SBB Ae 6/6 11502, Kiesen, 18.8.1988