Sunday, October 8, 2017

A journey to Sweden, 1989: Rendsburg High Bridge and Flensburg

Deutsche Version dieses Postings

The next twenty or so postings will contain about 300 pictures from 1989 from a journey by train to Sweden. There will be a number of "locomotives and stuff" snapshots, but also signals and interlockings.

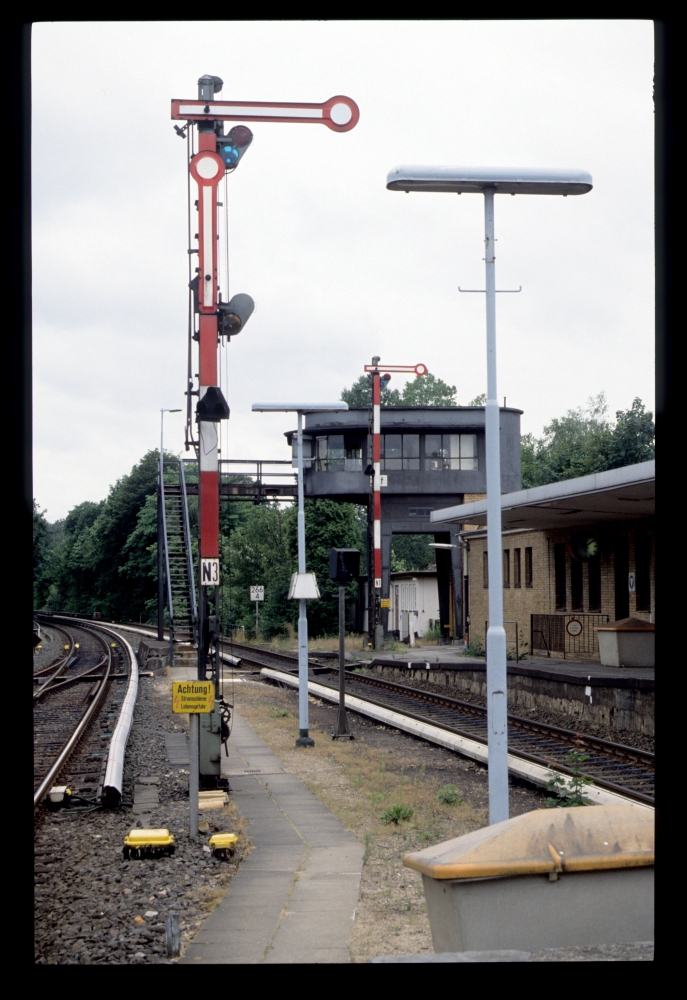
This first posting, however, contains some pictures I shot in northern Germany. At Reinbek near Hamburg, I took a photograph of two semaphores and the well-known signal box in the background:

Starting signals N3 and N1, sigal box Rf, Reinbek, 15.7.1898

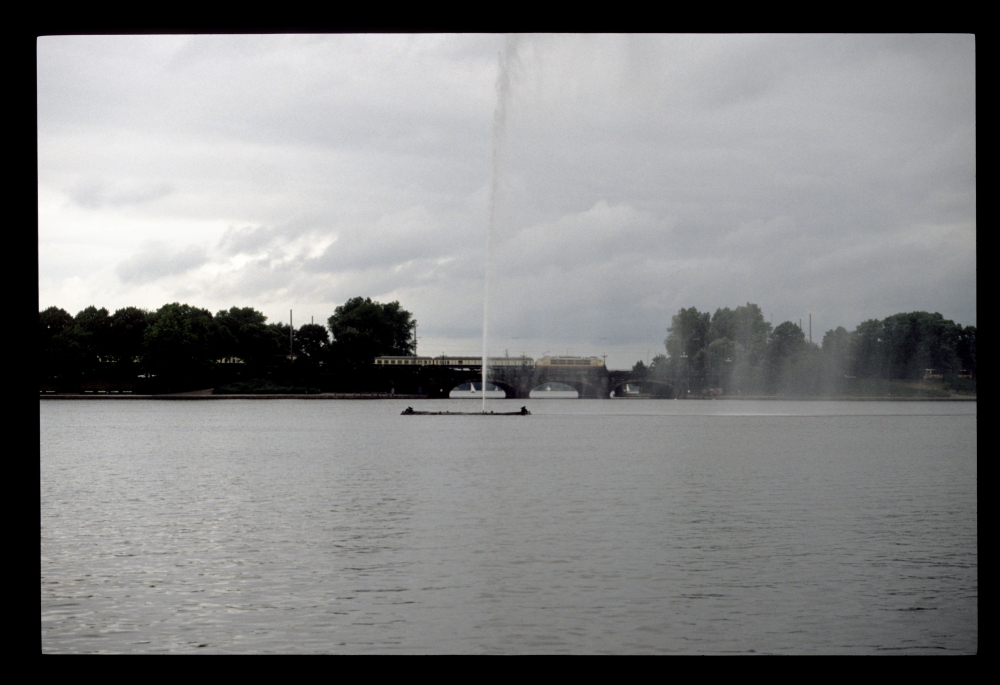
DB's class 103 was still a common sight throughout Germany—here is one behind the Alster in Hamburg:

Alster and class 103, Hamburg, 15.7.1898

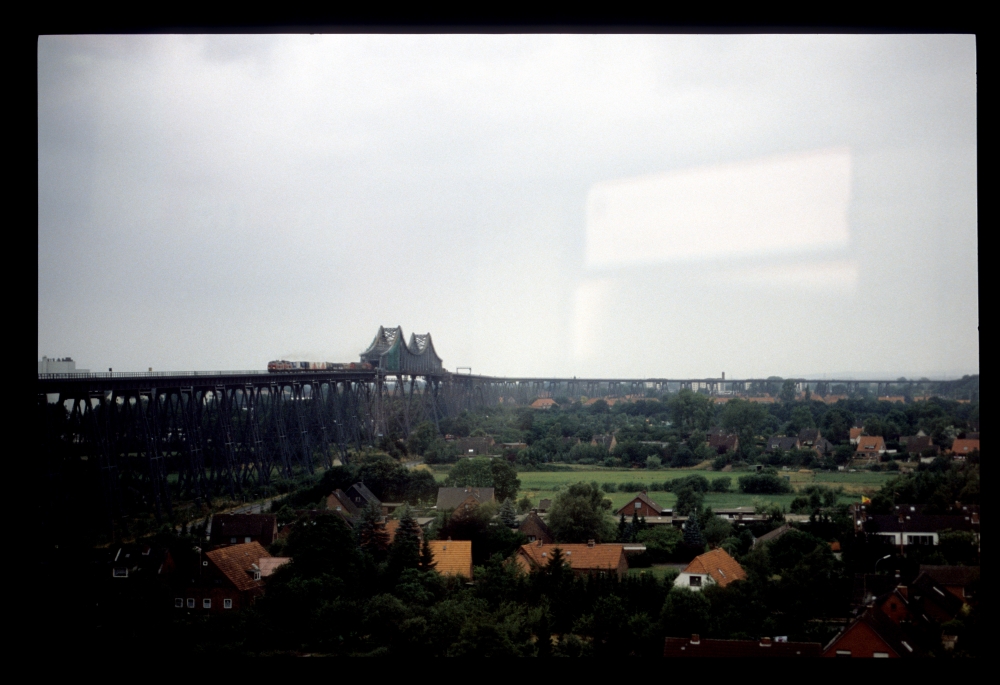
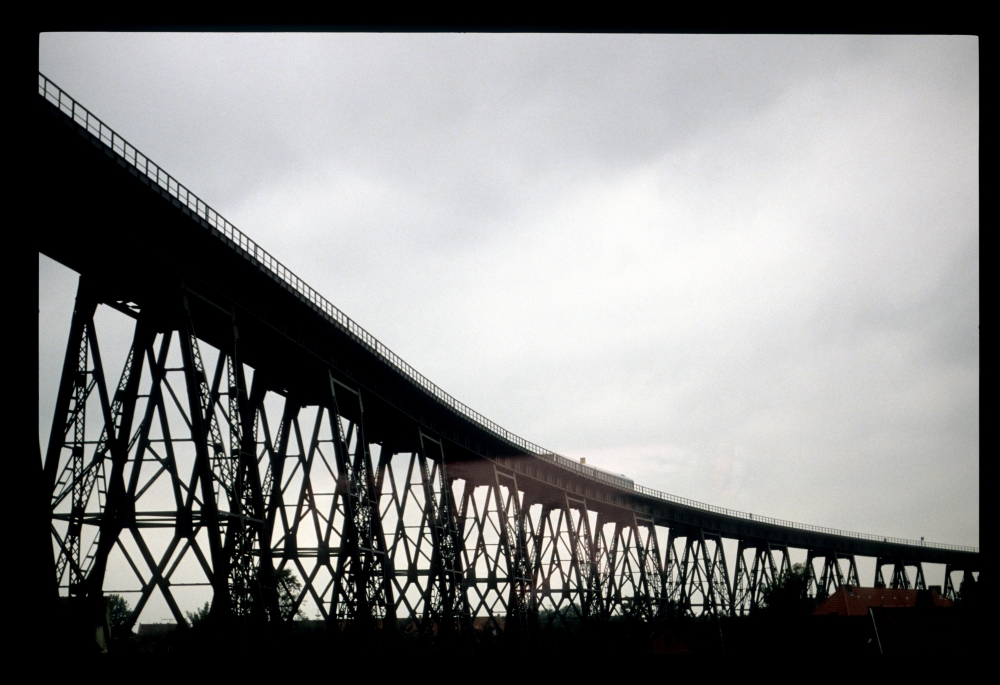
All the following pictures of the Rendsburg High Bridge were taken from our train:

Rendsburg High Bridge, 15.7.1989

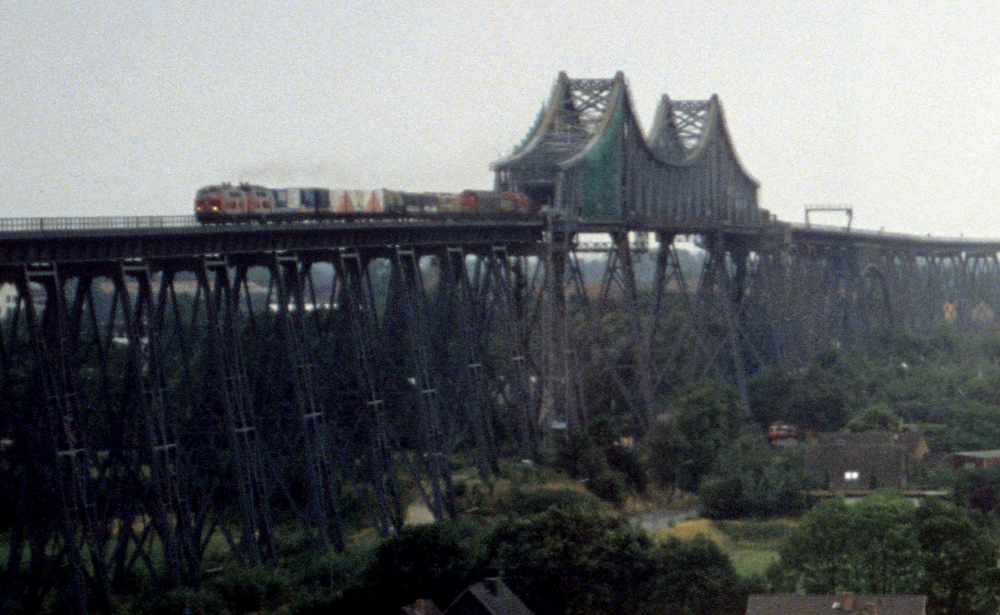
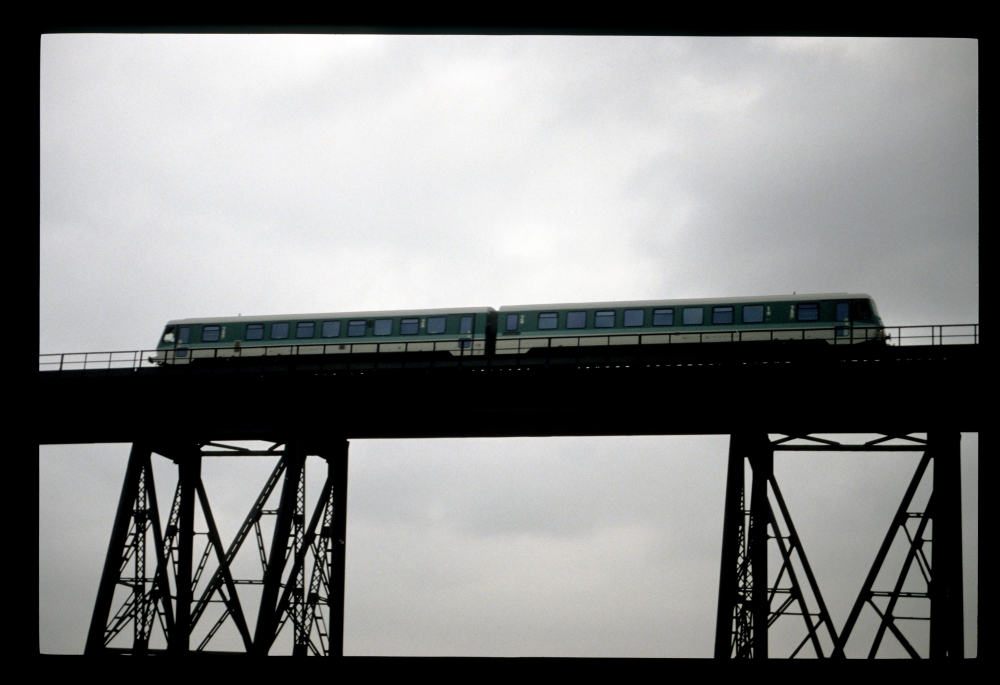
The following enlargement from the previous photograph shows the two class 218 locomotives pulling their train over the center span:

Two class 218 locomotives with a goods train on the Rendsburg High Bridge, 15.7.1989

Rendsburg High Bridge, 15.7.1989

Rendsburg High Bridge, 15.7.1989

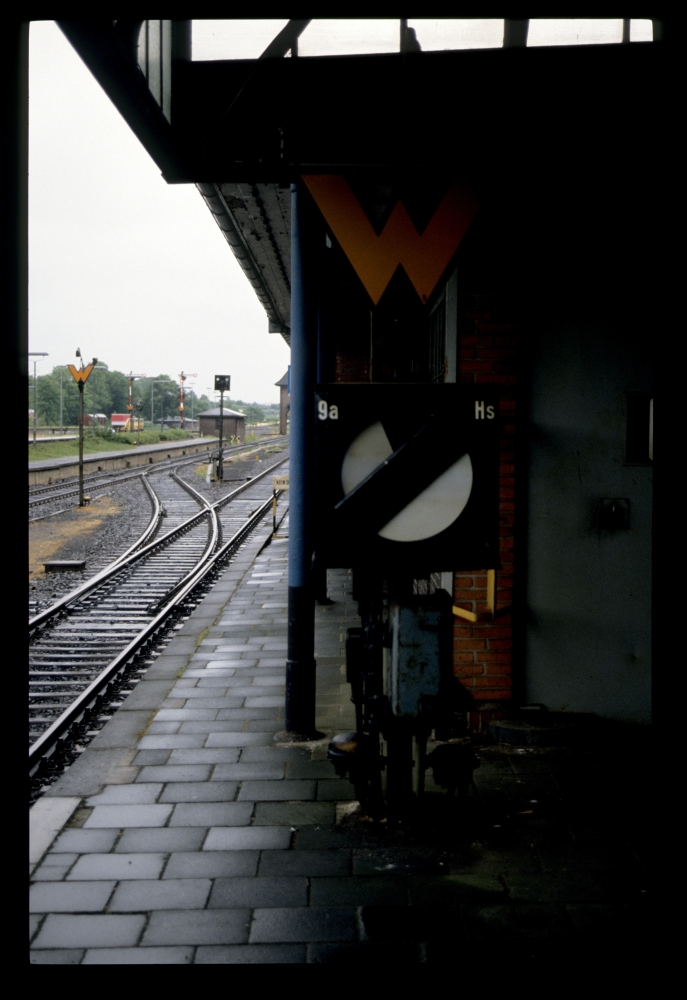
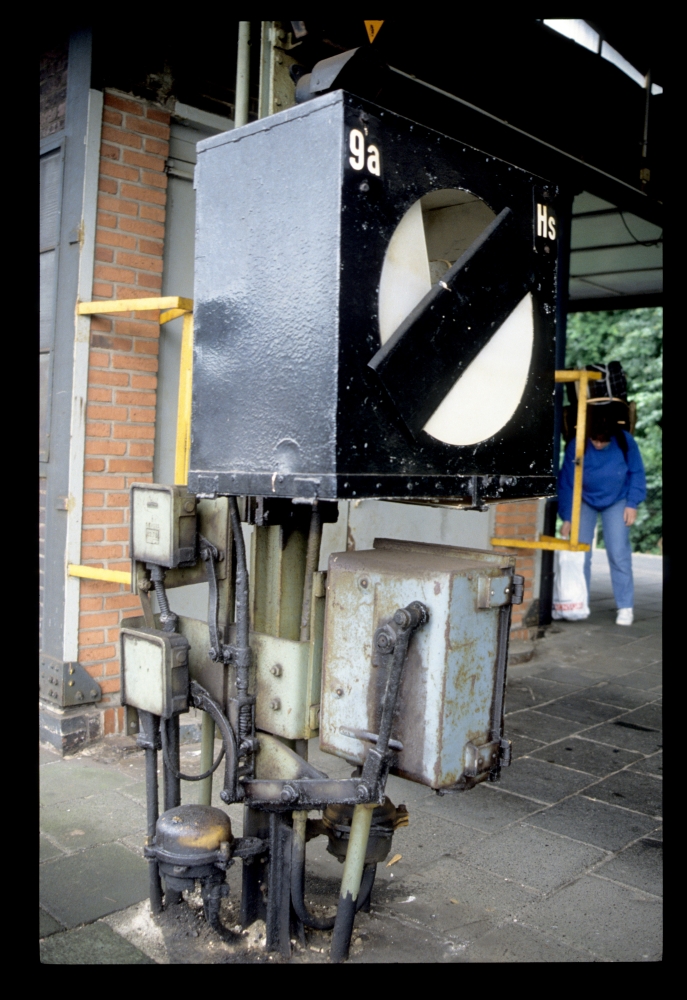
At Flensburg, I took two images of a shunting signal:

Shunting signal 9a, Flensburg, 15.7.1989

It is amazing how much metal and levers are necessary to convey a single bit of information:

Shunting signal 9a, Flensburg, 15.7.1989

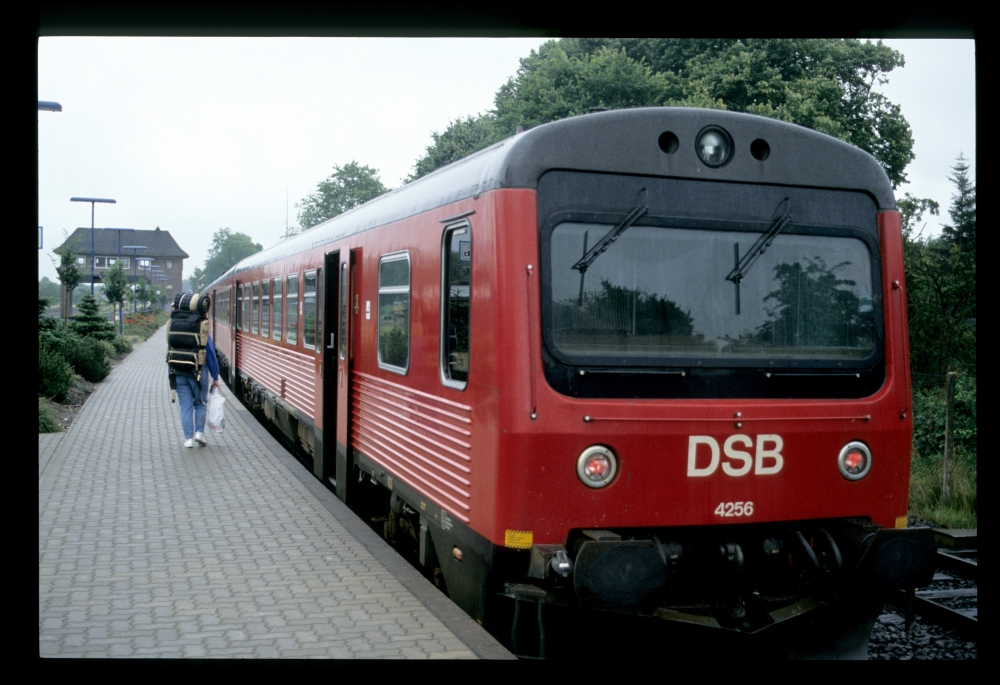
And here is our connecting train to Padborg on the Danish side of the border. In the background, just to the right of the signal box, one can discern the two arms of the cleared semaphore:

DSB MR 4256, Flensburg, 15.7.1989

The next posting will then show a few pictures from Padborg.

Friday, September 22, 2017

Switzerland 1988: SZU - pictures from a station that no longer exists

Deutsche Version dieses Postings

Actually, Biel RB was not the last station where I took photographs on your Switzerland trip: While we were relaxing with relatives, we took a final trip on the SZU (Sihltal-Zürich-Uetliberg-Bahn), which yielded a few last pictures.

At some station, I took this picture of a SZU EMU, with the unique pantograph mounting which is required by the offset of the overhead lines from the track center of more than a meter:

SZU EMU

Here we are at the last station of the line, at Uetliberg. The steep decline begins right there in the platform tracks:

Station and EMU, Uetliberg, 26.8.1988

And here is the small panel of the interlocking (if you are interested in the labels, here is a link to this image in full resolution):

Interlocking panel, Uetliberg, 26.8.1988

The other end of the SZU line was at Zürich Selnau, which at that time was a station of its own. A short time later, the whole station was demolished, and the line was led directly into Zürich main station. At Zürich Selnau, I took a few pictures of the Integra frame in the train bureau:

Train bureau, Zürich Selnau (old) SZU, 26.8.1988

Interlocking frame, Zürich Selnau (old) SZU, 26.8.1988

Interlocking frame, Zürich Selnau (old) SZU, 26.8.1988

And these were the final pictures from that unique (in both meanings of the word) trip to Switzerland, almost 30 years ago.

Thursday, September 21, 2017

Switzerland 1988: Biel RB, signal box 3

Deutsche Version dieses Postings

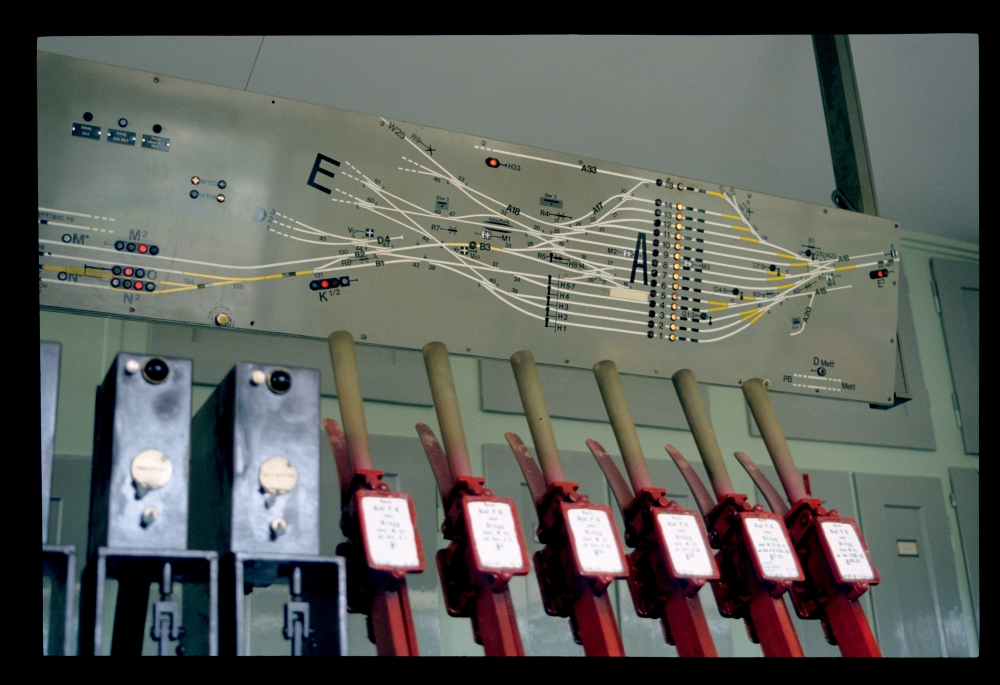
Signal box 3 controlled the points leading into the marshalling tracks of Biel RB. The track plan above the lever frame shows its area of responsibility.

Track plan, signal box 3, Biel RB, 23.8.1988

The signal box controlled 29 sets of single points and five double slip switches, which required 39 levers altogether. In addition, there is a lever for a shunting signal on the far right. Of course, no FPL levers are necessary on this signal box:

Lever frame, signal box 3, Biel RB, 23.8.1988

The two block instruments—which we have already seen in the previous posting—only provide flank protection for some train routes:

Block instruments and route levers, signal box 3, Biel RB, 23.8.1988

Block instruments, signal box 3, Biel RB, 23.8.1988

Here is the small locking bed on the back side of the lever frame. It contains only two route bars, which end about in the middle of the frame, because they only lock a few points and the shunting signal for flank protection:

Lever frame and locking bed, signal box 3, Biel RB, 23.8.1988

Once again, the reason why the signal box exists—the hump, with a group of wagons rolling down:

Marshalling hump, Biel RB, 23.8.1988

Behind double-wire lines, one can see here the signal box, with more wagons behind it rolling down the hump :

Signal box 3, Biel RB, 23.8.1988

And here are my last pictures of Biel RB—a storage yard somewhere "back", with a "Wagon d'arrosage" (a weed spraying wagon?) ...

"Wagon d'arrosage", Biel RB, 23.8.1988

... and a final picture of one of SBB's large six-axle shunting engines:

Am 6/6 18522, Biel RB, 23.8.1988

Wednesday, September 20, 2017

Switzerland 1988: Some details of the interlocking apparatus on signal box 2 at Biel RB

Deutsche Version dieses Postings

As I have promised in the last posting, here is a list of some facilities of and around the interlocking frame on Biel RB's signal box 2.

1. On the far right, there are two approval block instruments for train routes at signal box 1:
  • Freigabe nach Stellw. I nach Mett ab Gl. 1-23 ("Approval to SB I to Mett out of track 1-23")
  • Freigabe nach Stellw. I von Mett auf Gl. 1-23("Approval to SB I from Mett into track 1-23")
Above these instruments, there are plunger locks, but I do not know why:

Signal box 2, approval for routes from and to Mett, Biel RB, 23.8.1988

The instruments connected to the ones above are a multitude of single block instruments at signal box 1. The following picture shows only those for routes to Mett, and one can see that some instruments are used for single tracks, whereas others are for track pairs, and one is for tracks 12 to 23:

Signal box 1, block instruments for routes to Mett, Biel RB, 23.8.1988

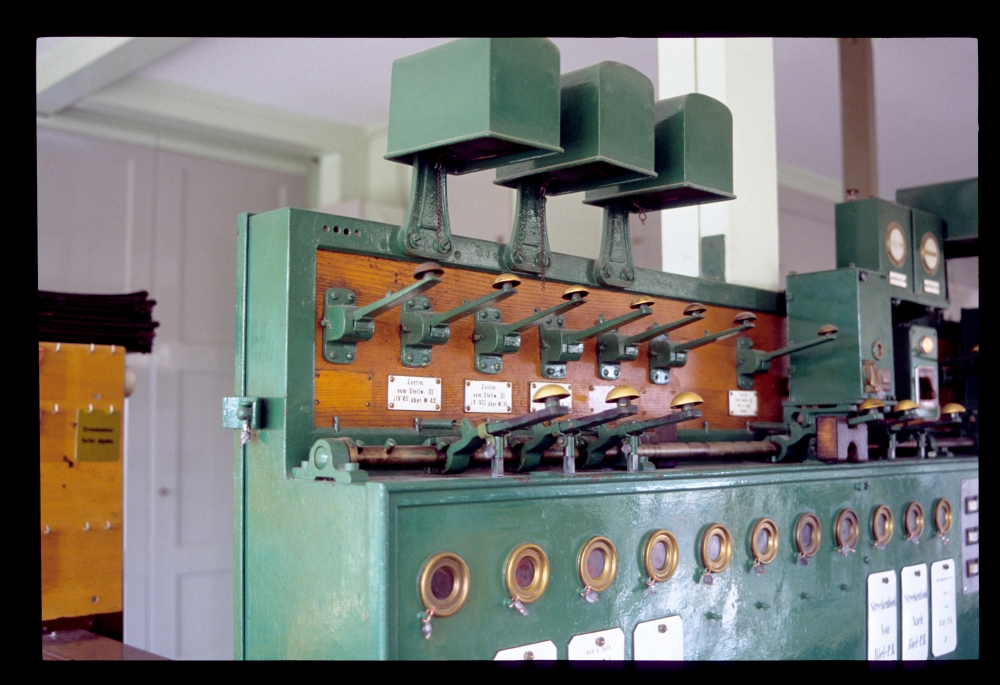
2. On the other side, signal box 3 must agree to some routes at signal box 2. For this purpose, signal box 2 has three instruments:
  • von u. nach Biel P.B. oder Brügg Zustimmung vom Stellwerk III iIV-VII über W 42 ("from and to Biel main station or Brügg - approval from signal box 3 - iIV-VII via points 42")
  • von u. nach Biel P.B. oder Brügg Zustimmung vom Stellwerk III iV-VIII über W 35 ("from and to Biel main station or Brügg - approval from signal box 3 - iV-VIII via points 35")
  • von u. nach Biel P.B. oder Brügg Zustimmung vom Stellwerk III iIX-XII über W 35 ("from and to Biel main station or Brügg - approval from signal box 3 - iIX-XII via points 35")
Signal box 2, approval block instruments, Biel RB, 23.8.1988

Curiously, there are only two corresponding instruments at signal box 3, which distribute the various routes differently between them, as one can see from the labels on them:
  • Einfahrten von Biel P.B. u. Brügg Zustim. nach Stellw. II iV-XII über W 35 ("Arriving routes from Biel main station and Brügg - approval to signal box 2 - iV-XII via points 35")
  • Ausfahrten nach Biel P.B. u. Brügg Ein- und Ausfahrten von u. nach Depot Zustim. nach Stellw. II iIV-VIII über W 42, o1, o2, k3, a / b "Departing routes to Biel main station and Brügg, arriving and departing routes from and to Depot - approval to signal box 2 - iIV-VIII via points 42 - o1, o2, k3, a / b"
Signal box 3, approval block instruments, Biel RB, 23.8.1988

3. Bell plungers and bells for signal box 3 for requesting and returning approvals

The middle row (between the block instruments below and the bells above) contains seven bell plungers. Only four of them are still operational:
  • Zustim. von Stellw. III iIV-VII über W 42 ("[Request] approval from signal box 3 iIV-VII via points 42")
  • Zustim. von Stellw. III iV-VIII über W 35 ("[Request] approval from signal box 3 iV-VIII via points 35")
  • Zustim. von Stellw. III iIX-XII über W 35 ("[Request] approval from signal box 3 iIX-XII via points 35")
  • Zustim. von Stellw. III von u. nach Depot ("[Request] approval from signal box 3 from and to depot")

Signal box 2, bell plungers, Biel RB, 23.8.1988

Alas, I did not take pictures of the bells on the opposite side, i.e., on signal box 3—one can only see their bolted brackets in the next picture. On the other hand, two other bell plungers can be seen, whose purpose was most probably to request the unblocking of the approval block instruments by signal box 2:

Signal box 2, bell plungers, Biel RB, 23.8.1988

In turn, signal box had corresponding bells—however, there are three of them. But the rightmost is missing the chain for pulling up the lid, therefore I assume that it was not used any more. The other two bells correspond to the two block instruments on signal box 3, i.e., the approvals for routes via points 35 or 42, respectively:

Signal box 2, bell plungers and bells, Biel RB, 23.8.1988

This concludes the communication devices between the two signal boxes, but there were other devices:

4. Two block instruments and a button lock for line block working towards Biel main station

Signal box 2, block instruments, Biel RB, 23.8.1988

5. Track buttons (whose purpose I do not know)

The buttons have labels "BbT" and then a track number in Roman numerals, i.e., BbTI, BbTII, ..., BbTXIV und BbTXXIII.

Signal box 2, track buttons, Biel RB, 23.8.1988

6. A sealed button SIU for home signals K, N, and O:

Explanation by Hanspeter: SIU is still used today, it means 'Signalfahrtstellungs-Isolierungs-Umgehung' ("Track circuit bypass for signal clearing"). This allows to clear a signal if a track circuit relay erroneously does not pick up.

Signal box 2, SIU button, Biel RB, 23.8.1988

7. As on box 1, there is a toggle switch 162/3-Hz – manual inductor:

Signal box 2, block instrument supply selector, Biel RB, 23.8.1988

8. Another set of buttons and/or lamps, which I could only enlarge quite blurred and whose purpose I do not know:

Signal box 2, ???, Biel RB, 23.8.1988

9. And to the left of the block instruments, there is a box with buttons for light shunting signals and bypass buttons for track circuits:

Signal box 2, shunting signal controls and track circuit bypasses, Biel RB, 23.8.1988

At last, there was a small Integra panel on the right, of which I did not take any usable photograph. I suppose it was used for line block working towards Brügg.

The next posting will show some images from and around signal box 3.

Tuesday, September 19, 2017

Switzerland 1988: What's this being pushed over the hump near Biel RB's signal box 2?

Deutsche Version dieses Postings

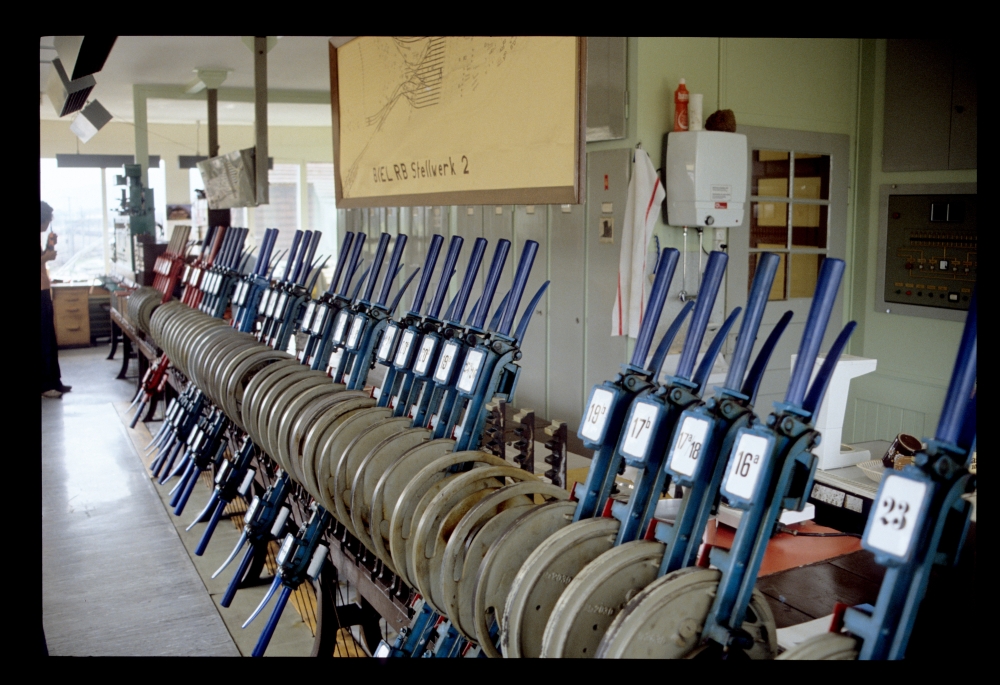
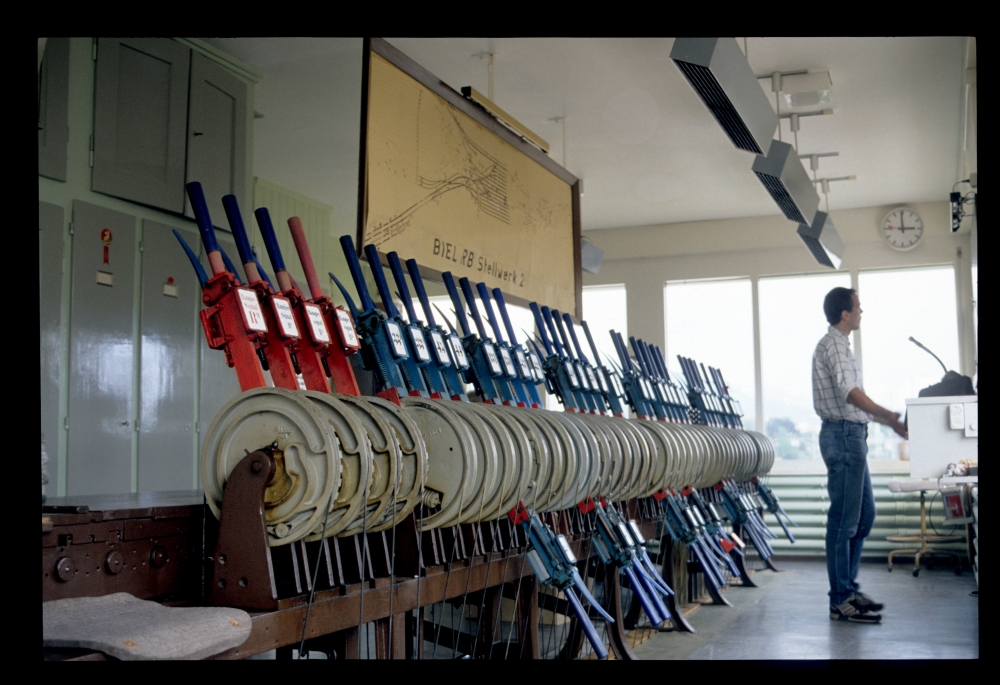
Here is the large lever frame of signal box 2:

Lever frame, signal box 2, Biel RB, 23.8.1988
The famous signal bridge can be seen here from the position of the train director. The single starting signal H8-14 is pictured exactly from the side, so that the arm is recognizable only as a fine line:

Signal bridge, Biel RB, 23.8.1988

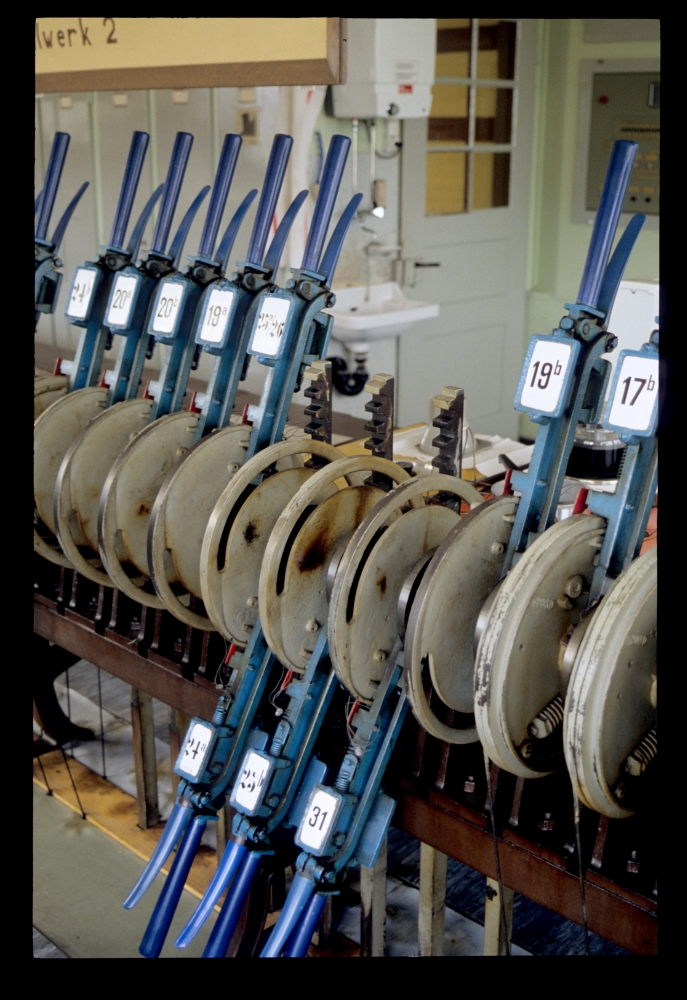
Some of the points on this signal box were moved by points rodding. Here, one can see three racks behind reversed levers 24a, 25b, and 31:

Points levers, signal box 2, Biel RB, 23.8.1988
Near and at the block instruments, there were a host of other instruments and indicators—I do not recognize all of them. The next posting shows individual pictures of all of them, along with my explanations of their purpose, where I know it:

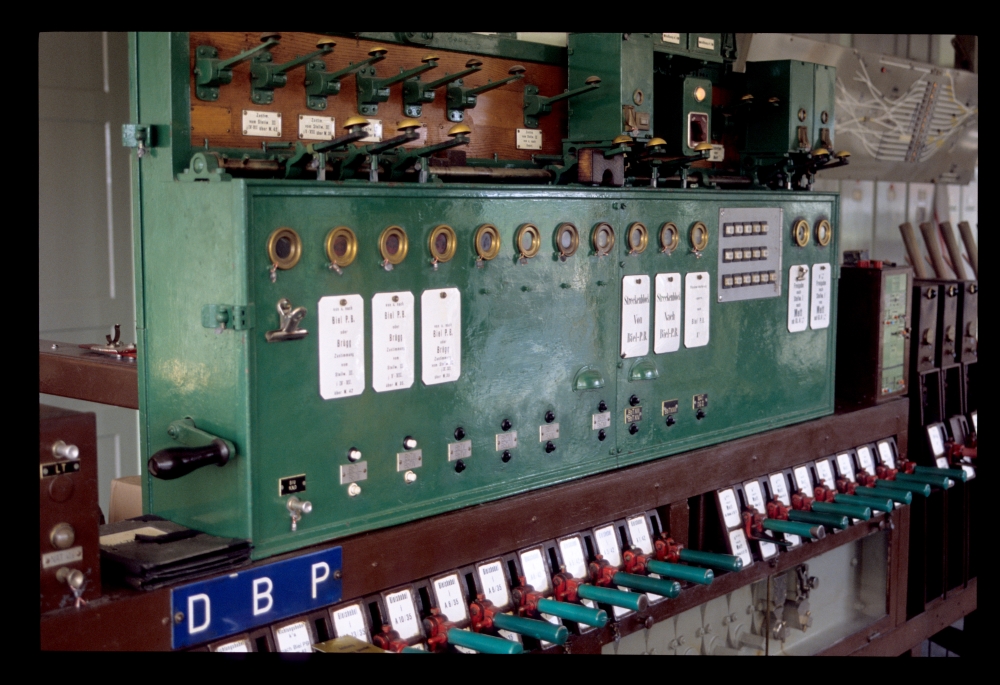
Block instruments, signal box 2, Biel RB, 23.8.1988
The logic of the route levers is quite interesting: They are, in a way, split into "direction levers" and "track levers". A standard design would have required an enormous number of route levers: The 15 tracks, with 3 outgoing lines and two directions make up 15 times 3 times 2 = 90 routes or 45 three-position route levers—and even that is not sufficient: Tracks 5 to 7 could be reached either via points 35 or points 42, so that there were an additional 3 times 3 times 2 = 18 routes or, potentially, 9 levers, for a total of 54. The "split route" design, in contrast, required only 22 levers—however, I have not thought about the layout of the locking bed necessary for this special design.

The following detail shows the labels at the route levers visible in the previous picture. One can see that there is a separate "track route lever" for each track, and additionally another one for tracks 5 to 7, for the alternating routes over points 35 or 42 (Clicking on the image opens it in full resolution):

"Track route levers", signal box 2, Biel RB, 23.8.1988

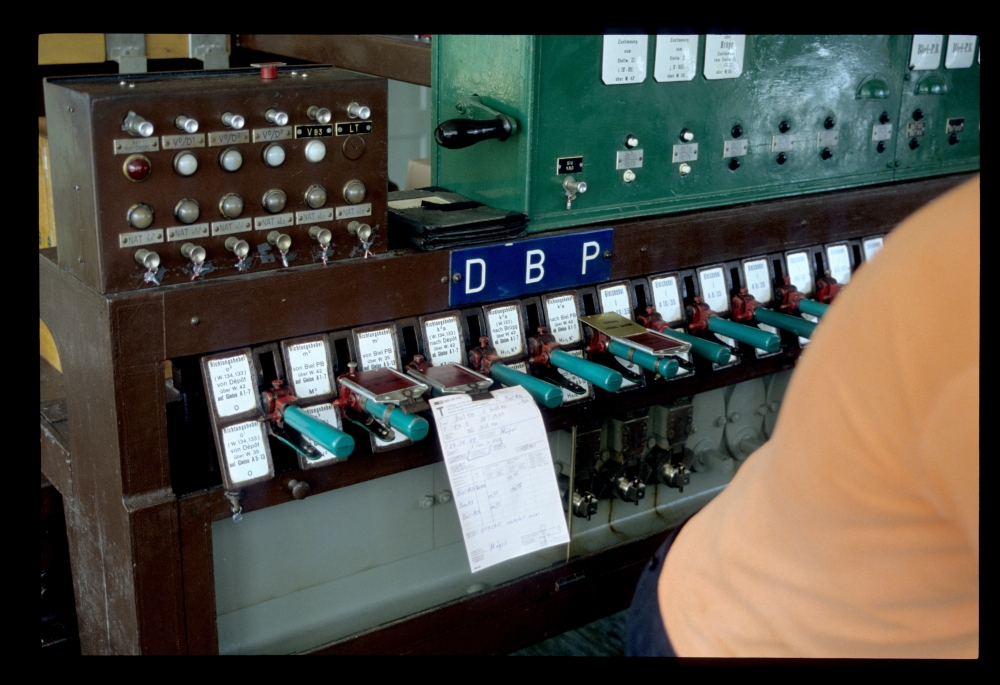
Here is a view of the "direction route levers". The three letters D, B, P mean "Depot", "Brügg" und "Personenbahnhof" (Biel main station):

Route levers, signal box 2, Biel RB, 23.8.1988

Near the block instruments, the frame contains the signal levers. The three home signals were already colour light signals, which were controlled by re-used route levers. Next to them are the six levers for the starting semaphores:

Signal levers and block instruments, signal box 2, Biel RB, 23.8.1988

On top of the block instruments, there is a row of plungers for requesting approvals from other signal boxes and some bells—some explanations will follow in the next posting:

Bell plungers and bells, signal box 2, Biel RB, 23.8.1988

Above the signal levers, there was a track panel with a few signal indicators:

Signal and track panel, signal box 2, Biel RB, 23.8.1988

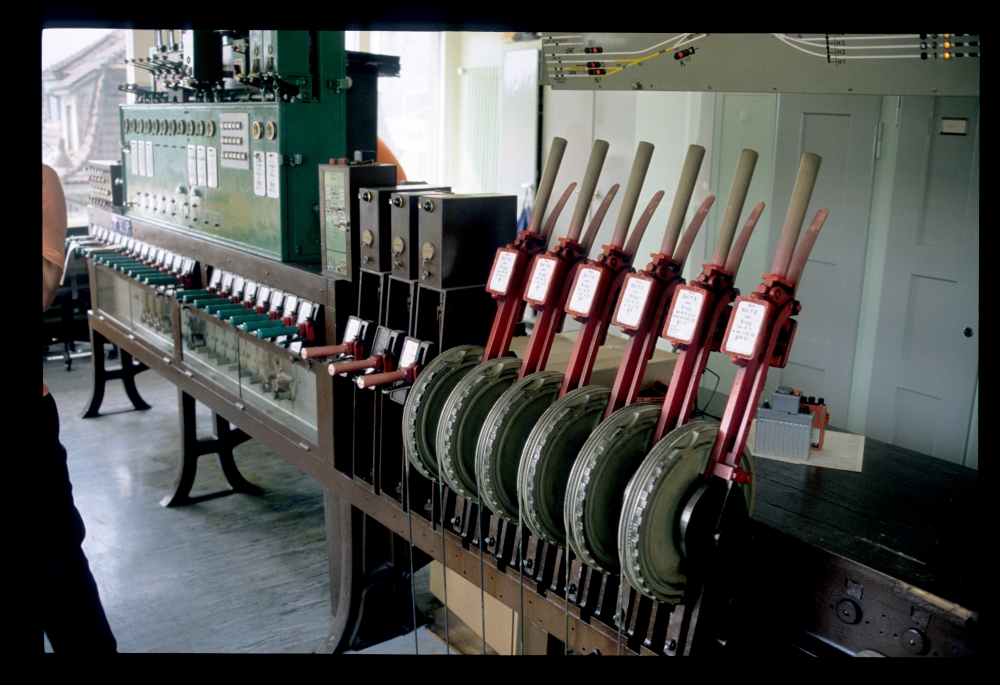
And here, one can (almost) see the complete lever frame, beginning with four shunting signal levers and then all the points levers. By the way, there were no FPL levers on this frame, as with the goods trains only and the low speeds, these were not required:

Lever frame, signal box 2, Biel RB, 23.8.1988

Here, now, is the special picture from the hump—however, I have no idea why it was necessary to hump two passenger wagons:

Marshalling passenger wagons, Biel RB, 23.8.1988

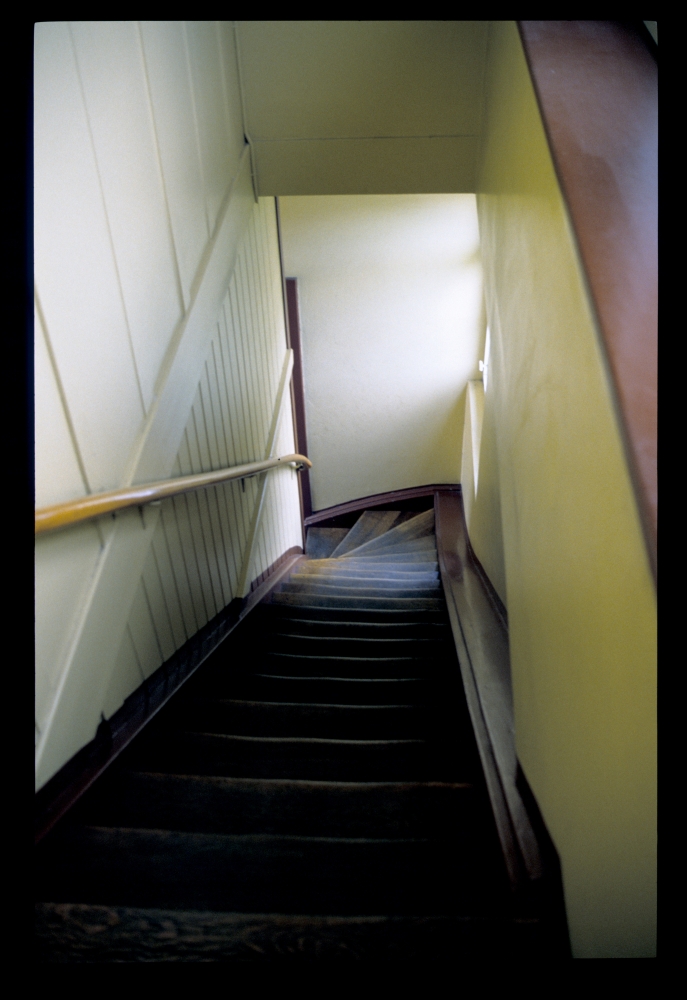
Sometimes, I took photos of stairs in higher signal boxes—here is one:

Stairs, signal box 2, Biel RB, 23.8.1988

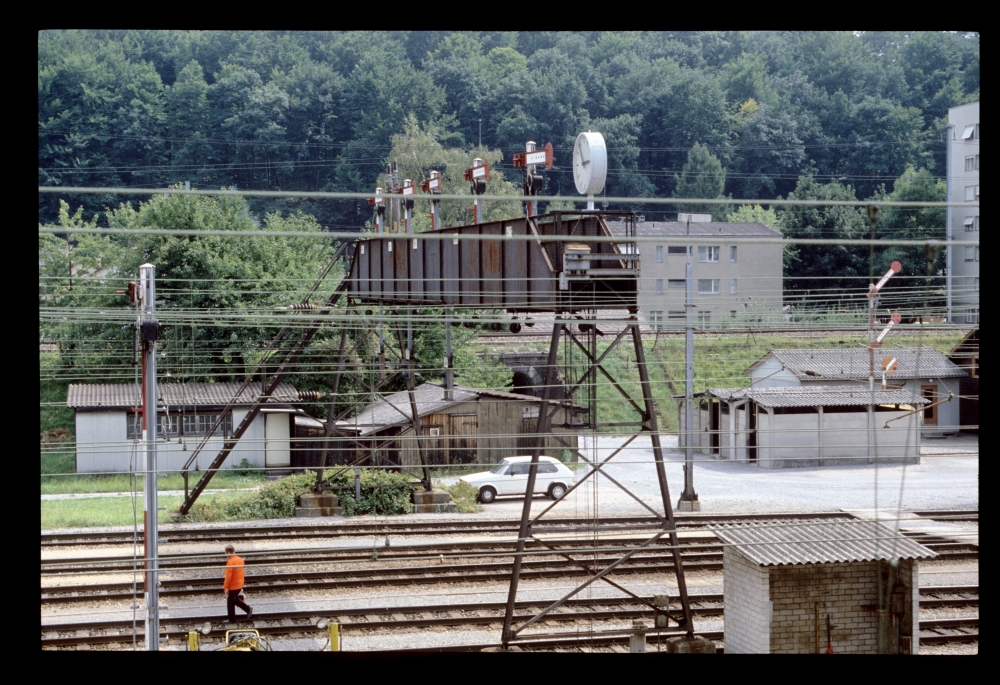
And here is the signal box from the outside. In front of it, one can see the rodding for six points near to the box, with some double-wire lines behind it:

Signal box 2, Biel RB, 23.8.1988

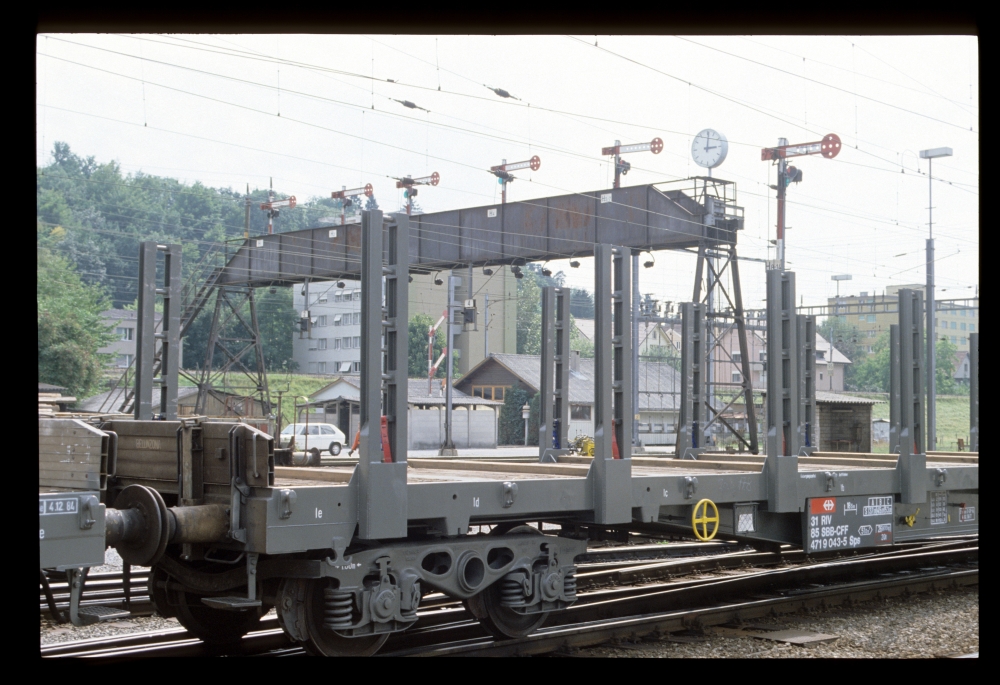
Through the stakes of a wagon with two bogeys, one can see the signal bridge and, to its right, the single semaphore H8-14:

Signal bridge and H8-14, Biel RB, 23.8.1988

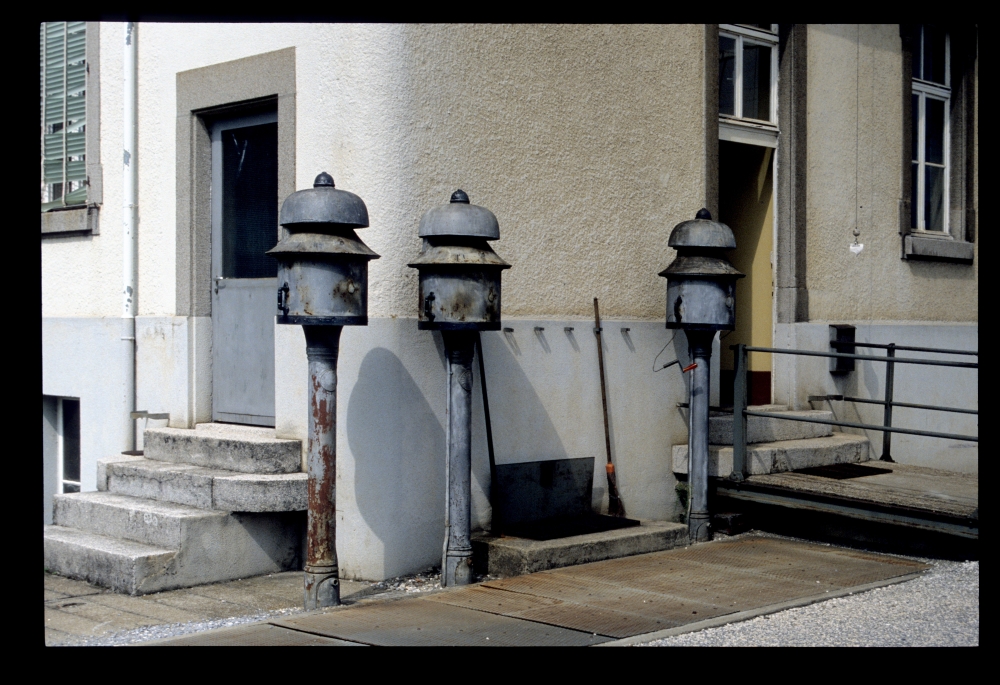
And finally, here is a picture of three bells in front of signal box 2:

Bells near signal box 2, Biel RB, 23.8.1988