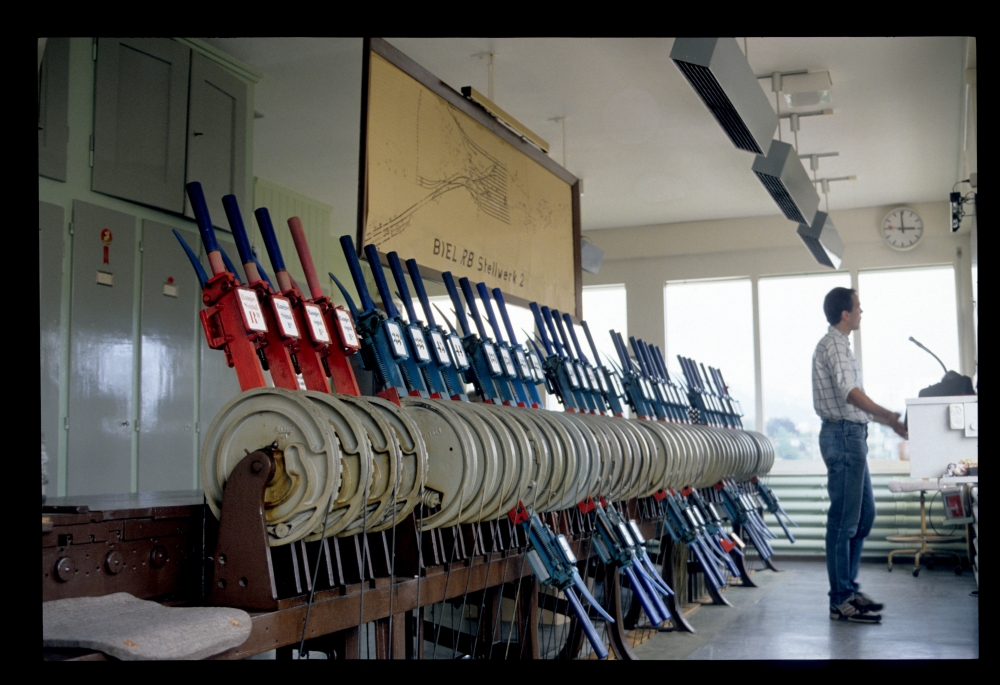
Here is the large lever frame of signal box 2:
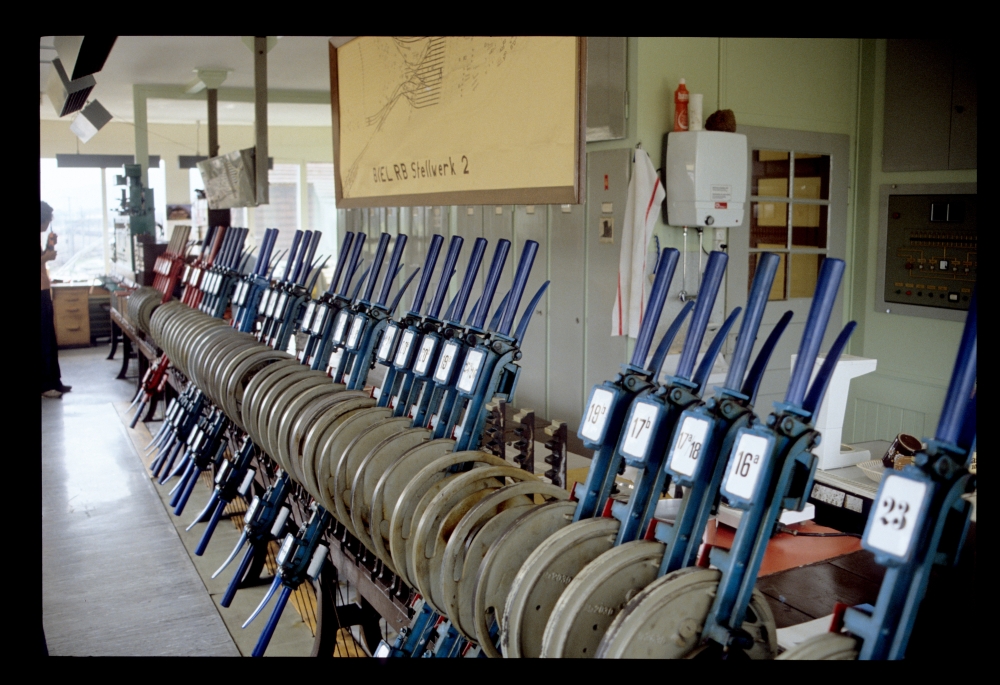
Lever frame, signal box 2, Biel RB, 23.8.1988
The famous signal bridge can be seen here from the position of the train director. The single starting signal H8-14 is pictured exactly from the side, so that the arm is recognizable only as a fine line:
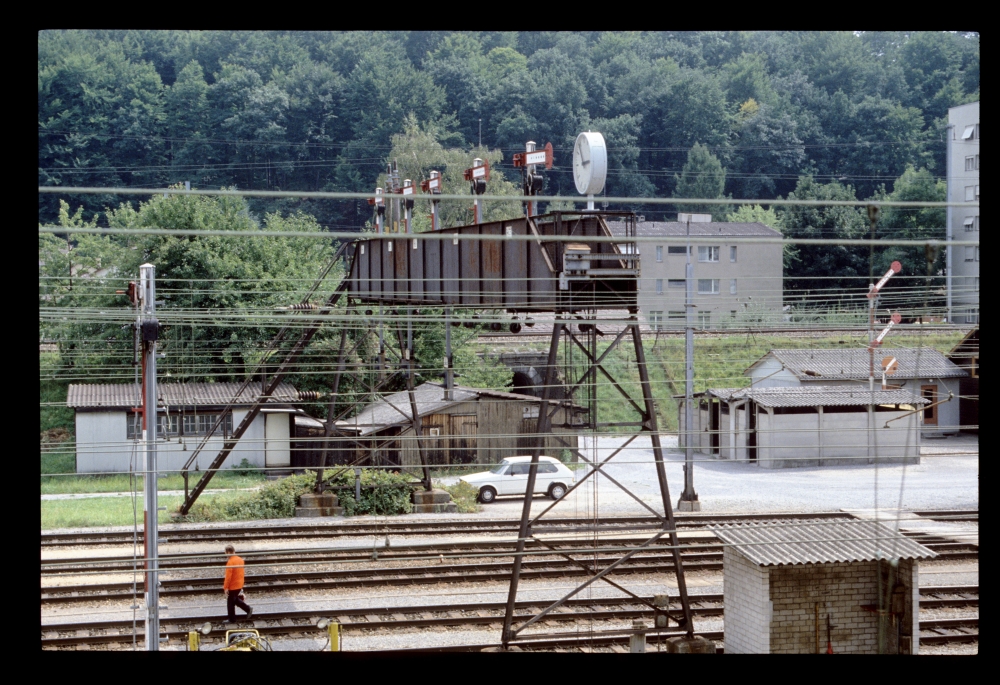
Signal bridge, Biel RB, 23.8.1988
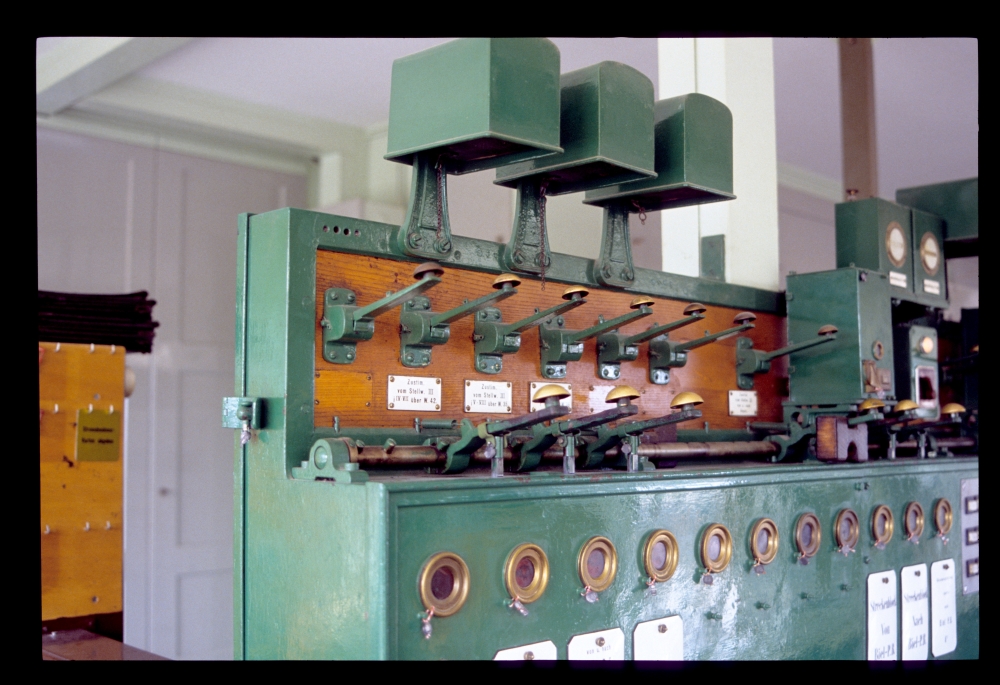
Some of the points on this signal box were moved by points rodding. Here, one can see three racks behind reversed levers 24a, 25b, and 31:
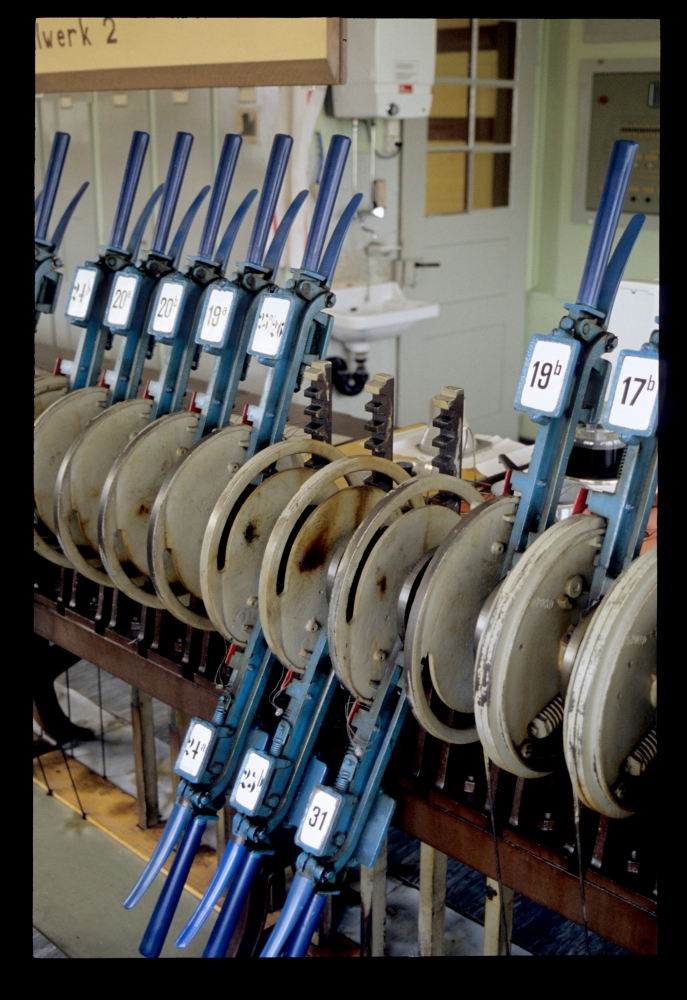
Points levers, signal box 2, Biel RB, 23.8.1988
Near and at the block instruments, there were a host of other instruments and indicators—I do not recognize all of them. The next posting shows individual pictures of all of them, along with my explanations of their purpose, where I know it:
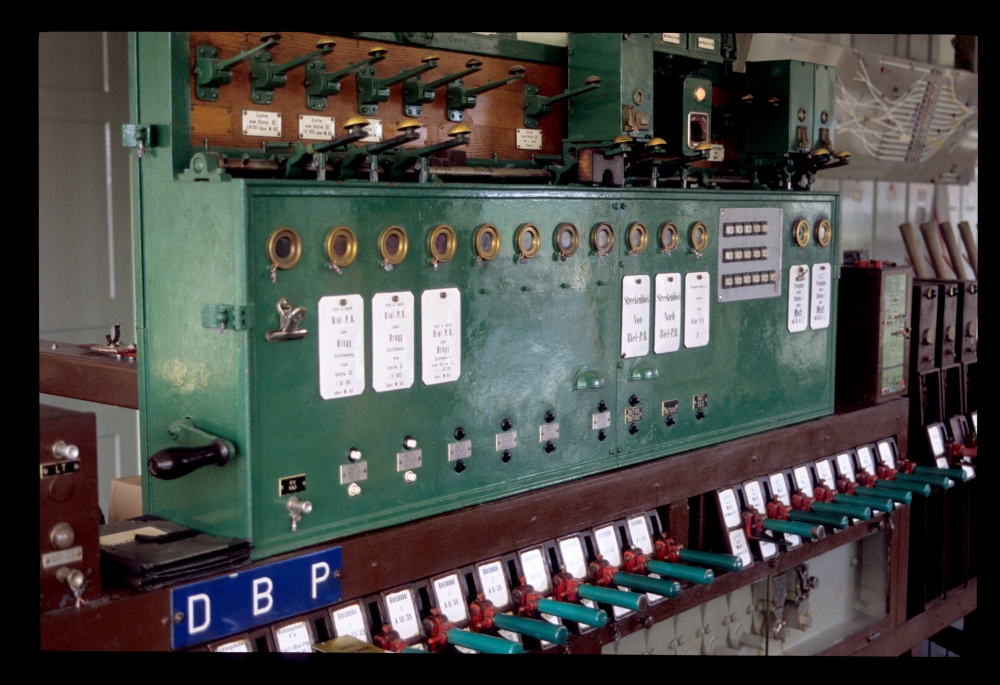
Block instruments, signal box 2, Biel RB, 23.8.1988
The logic of the route levers is quite interesting: They are, in a way, split into "direction levers" and "track levers". A standard design would have required an enormous number of route levers: The 15 tracks, with 3 outgoing lines and two directions make up 15 times 3 times 2 = 90 routes or 45 three-position route levers—and even that is not sufficient: Tracks 5 to 7 could be reached either via points 35 or points 42, so that there were an additional 3 times 3 times 2 = 18 routes or, potentially, 9 levers, for a total of 54. The "split route" design, in contrast, required only 22 levers—however, I have not thought about the layout of the locking bed necessary for this special design.
The following detail shows the labels at the route levers visible in the previous picture. One can see that there is a separate "track route lever" for each track, and additionally another one for tracks 5 to 7, for the alternating routes over points 35 or 42 (Clicking on the image opens it in full resolution):

"Track route levers", signal box 2, Biel RB, 23.8.1988
Here is a view of the "direction route levers". The three letters D, B, P mean "Depot", "Brügg" und "Personenbahnhof" (Biel main station):
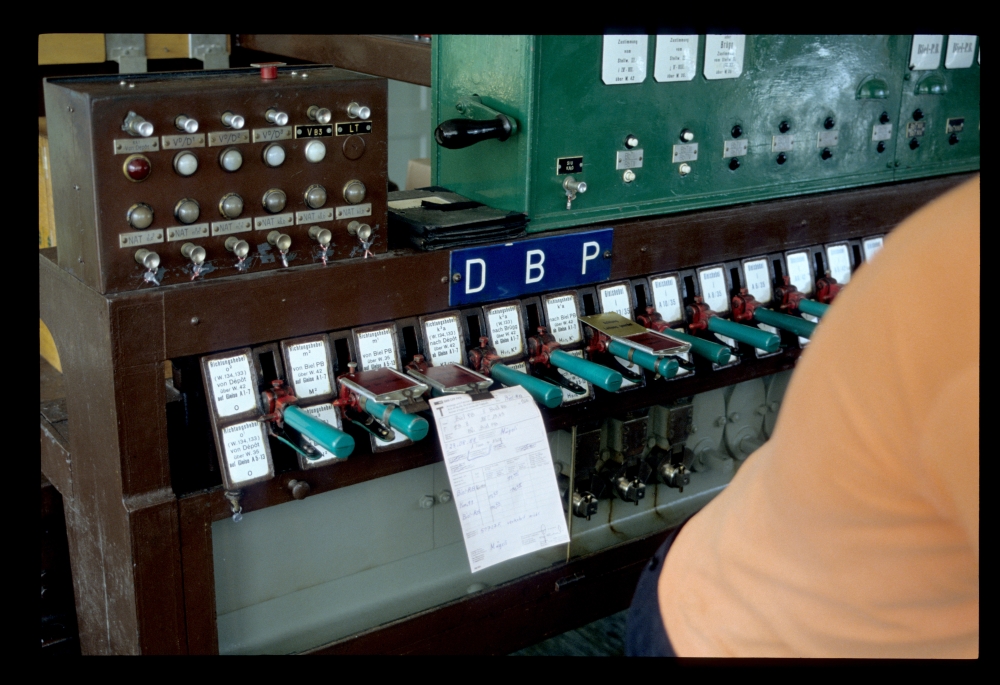
Route levers, signal box 2, Biel RB, 23.8.1988
Near the block instruments, the frame contains the signal levers. The three home signals were already colour light signals, which were controlled by re-used route levers. Next to them are the six levers for the starting semaphores:
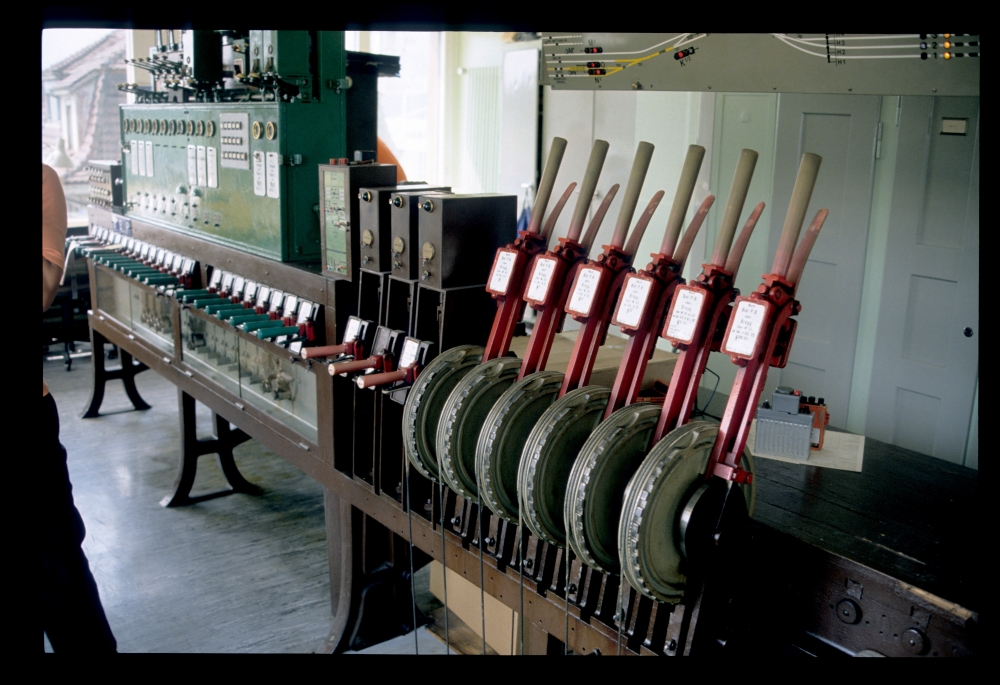
Signal levers and block instruments, signal box 2, Biel RB, 23.8.1988
On top of the block instruments, there is a row of plungers for requesting approvals from other signal boxes and some bells—some explanations will follow in the next posting:
Bell plungers and bells, signal box 2, Biel RB, 23.8.1988
Above the signal levers, there was a track panel with a few signal indicators:

Signal and track panel, signal box 2, Biel RB, 23.8.1988
And here, one can (almost) see the complete lever frame, beginning with four shunting signal levers and then all the points levers. By the way, there were no FPL levers on this frame, as with the goods trains only and the low speeds, these were not required:
Lever frame, signal box 2, Biel RB, 23.8.1988
Here, now, is the special picture from the hump—however, I have no idea why it was necessary to hump two passenger wagons:
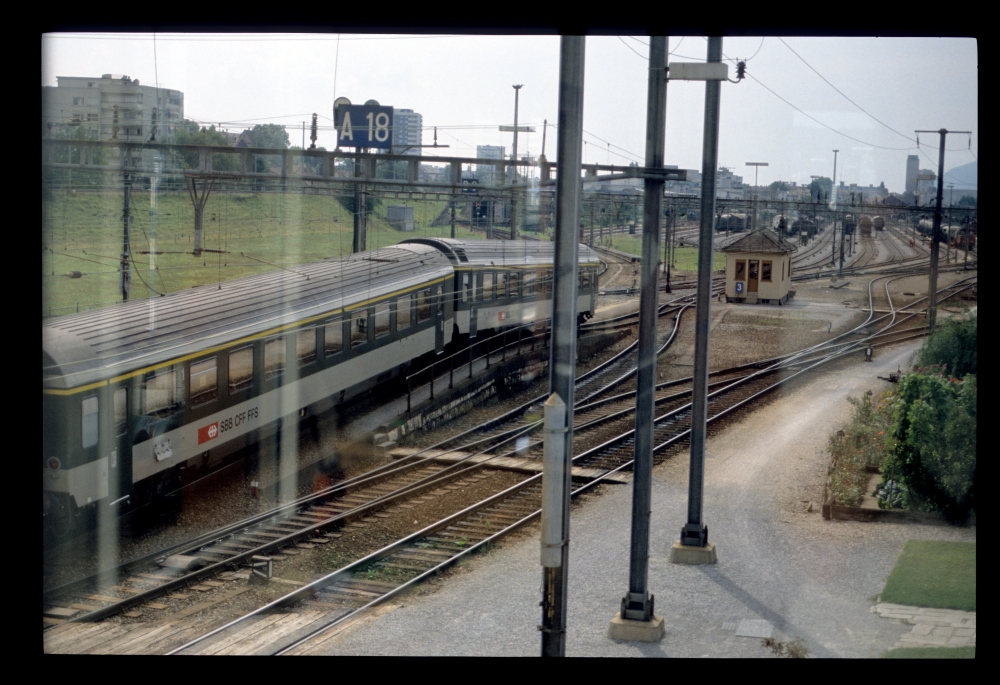
Marshalling passenger wagons, Biel RB, 23.8.1988
Sometimes, I took photos of stairs in higher signal boxes—here is one:
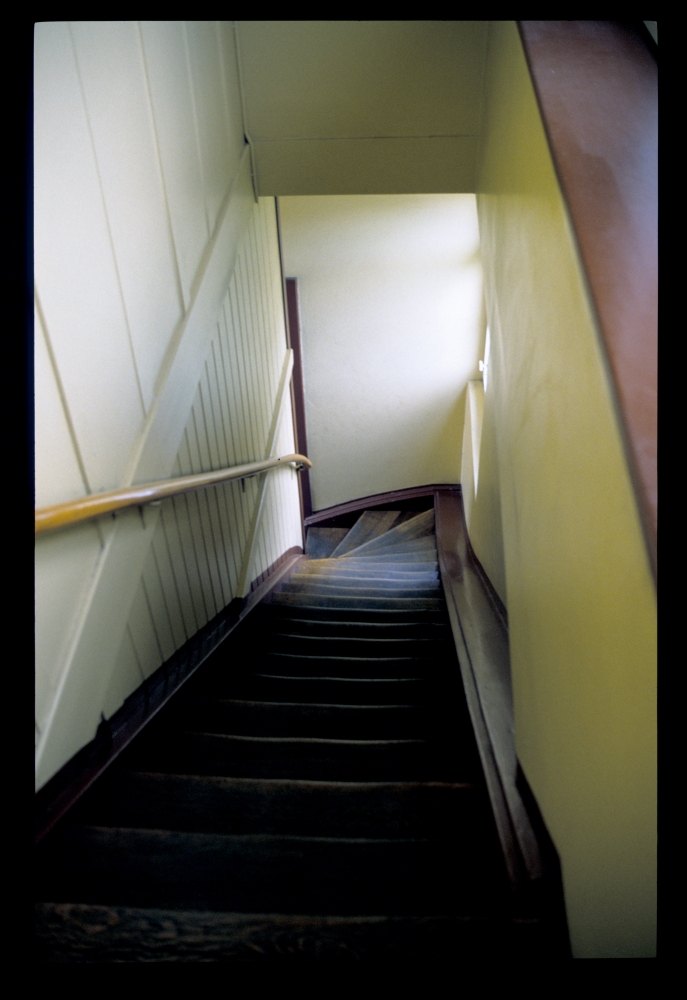
Stairs, signal box 2, Biel RB, 23.8.1988
And here is the signal box from the outside. In front of it, one can see the rodding for six points near to the box, with some double-wire lines behind it:

Signal box 2, Biel RB, 23.8.1988
Through the stakes of a wagon with two bogeys, one can see the signal bridge and, to its right, the single semaphore H8-14:
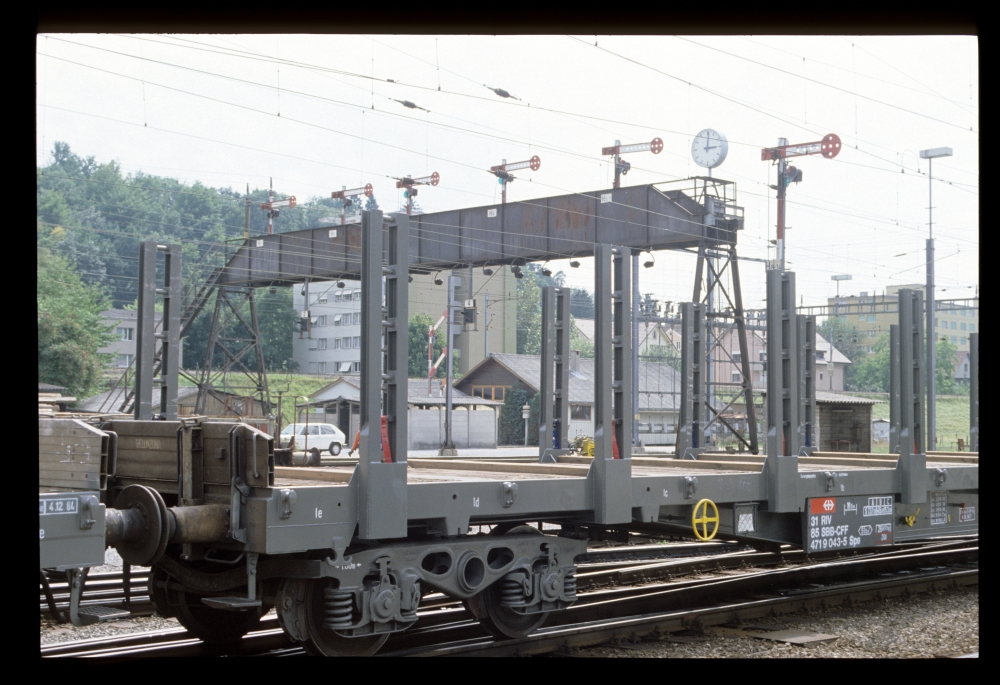
Signal bridge and H8-14, Biel RB, 23.8.1988
And finally, here is a picture of three bells in front of signal box 2:
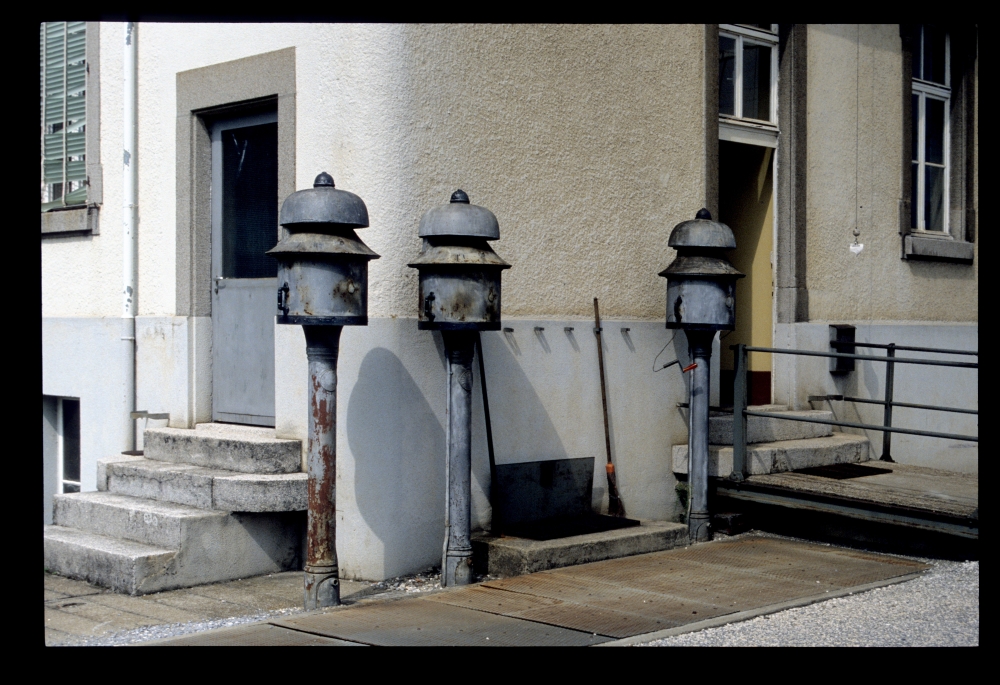
Bells near signal box 2, Biel RB, 23.8.1988
No comments:
Post a Comment